… and even more obviously, everybody needs a second recap in their quarantined life. After the recap of my A3640 went surprisingly well, and even ripped off pads were replaced and reconnected, I felt confident enough to do a board that’s a little bit bigger and a little bit more involved than that poor little 040 accelerator: My Amiga 4000.
As my Amiga 3640 processor card, the Amiga 4000D board was previously recapped in a job that replaced the SMD capacitors with their through-hole siblings.
I know, I know, another recap story, REALLY? Haven’t we heard enough of that already? Let’s just twist the caps off, the recap trolls on Facebook will tell you. Come on, folks. You are lucky enough to have the chance to operate some 30 plus year old machinery. Think about it for a second. What else that you have today will still be good in thirty years from now? Your iPhone or Android phone? Certainly not. Your MacBook? Your Chromebook? This stuff is going to be in the landfill and long forgotten in much less time. So PLEASE, treat these machines carefully. They are witnesses of a very different time, when reality consisted of the cold war and 1200 baud modems. If you have doubt about what to do, let someone help you. There is a friendly community of folks keeping these machines alive. And if you want to do it yourself, practice with something else first. Something that is ok to break. I heard there are a lot of cheap Ataris out there (just kidding!!)
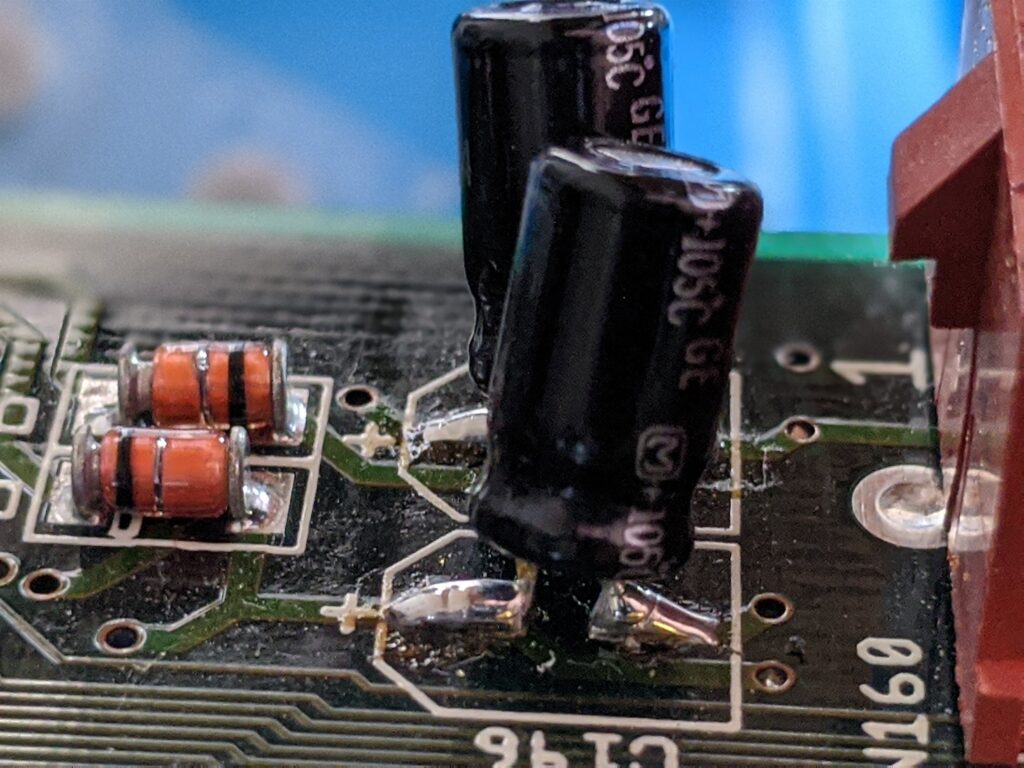
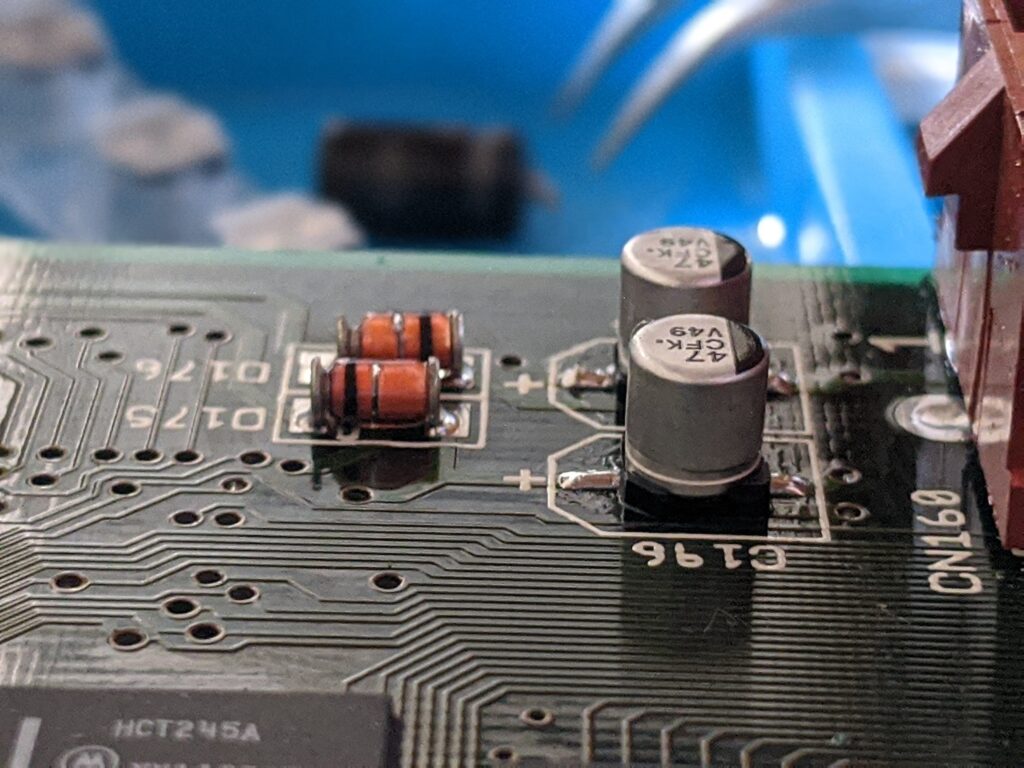
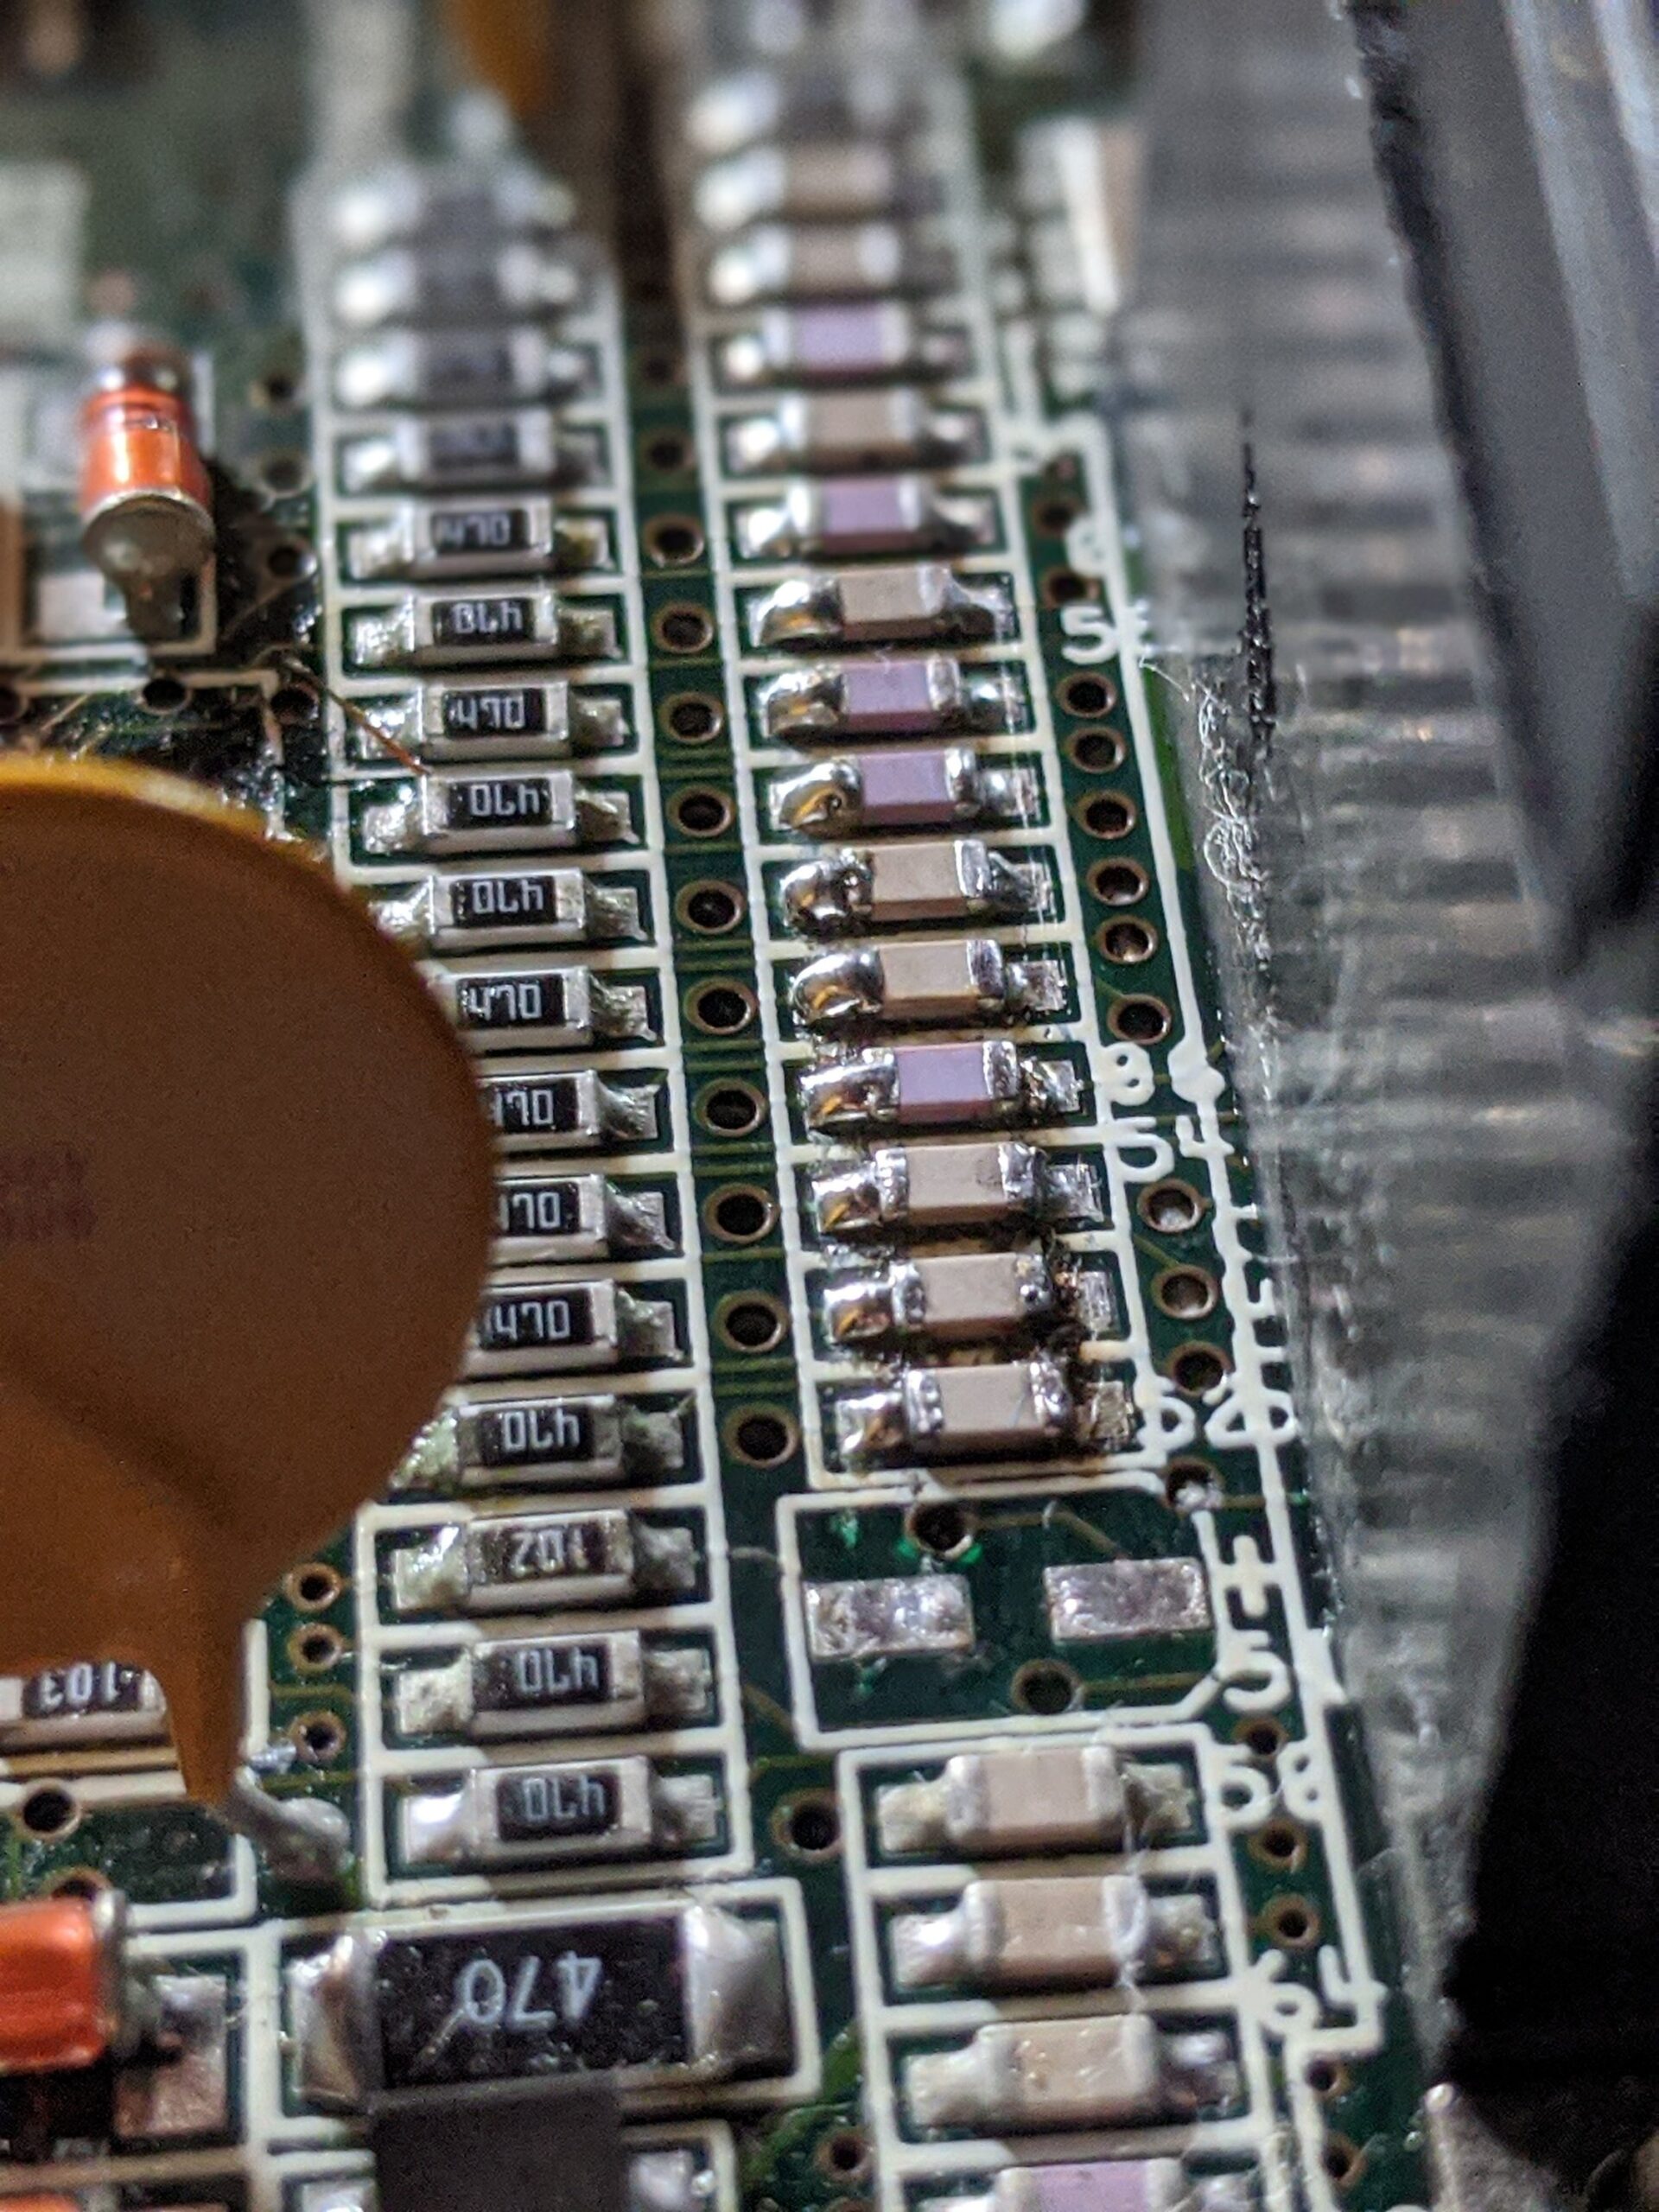
It’s not visible in the picture, but many of the legs of these caps were not attached to the board anymore
Taking the parts of is hence often easy. But those solder pads don’t look great. A lot of solder was used to make the through hole caps stick on the SMD pads.
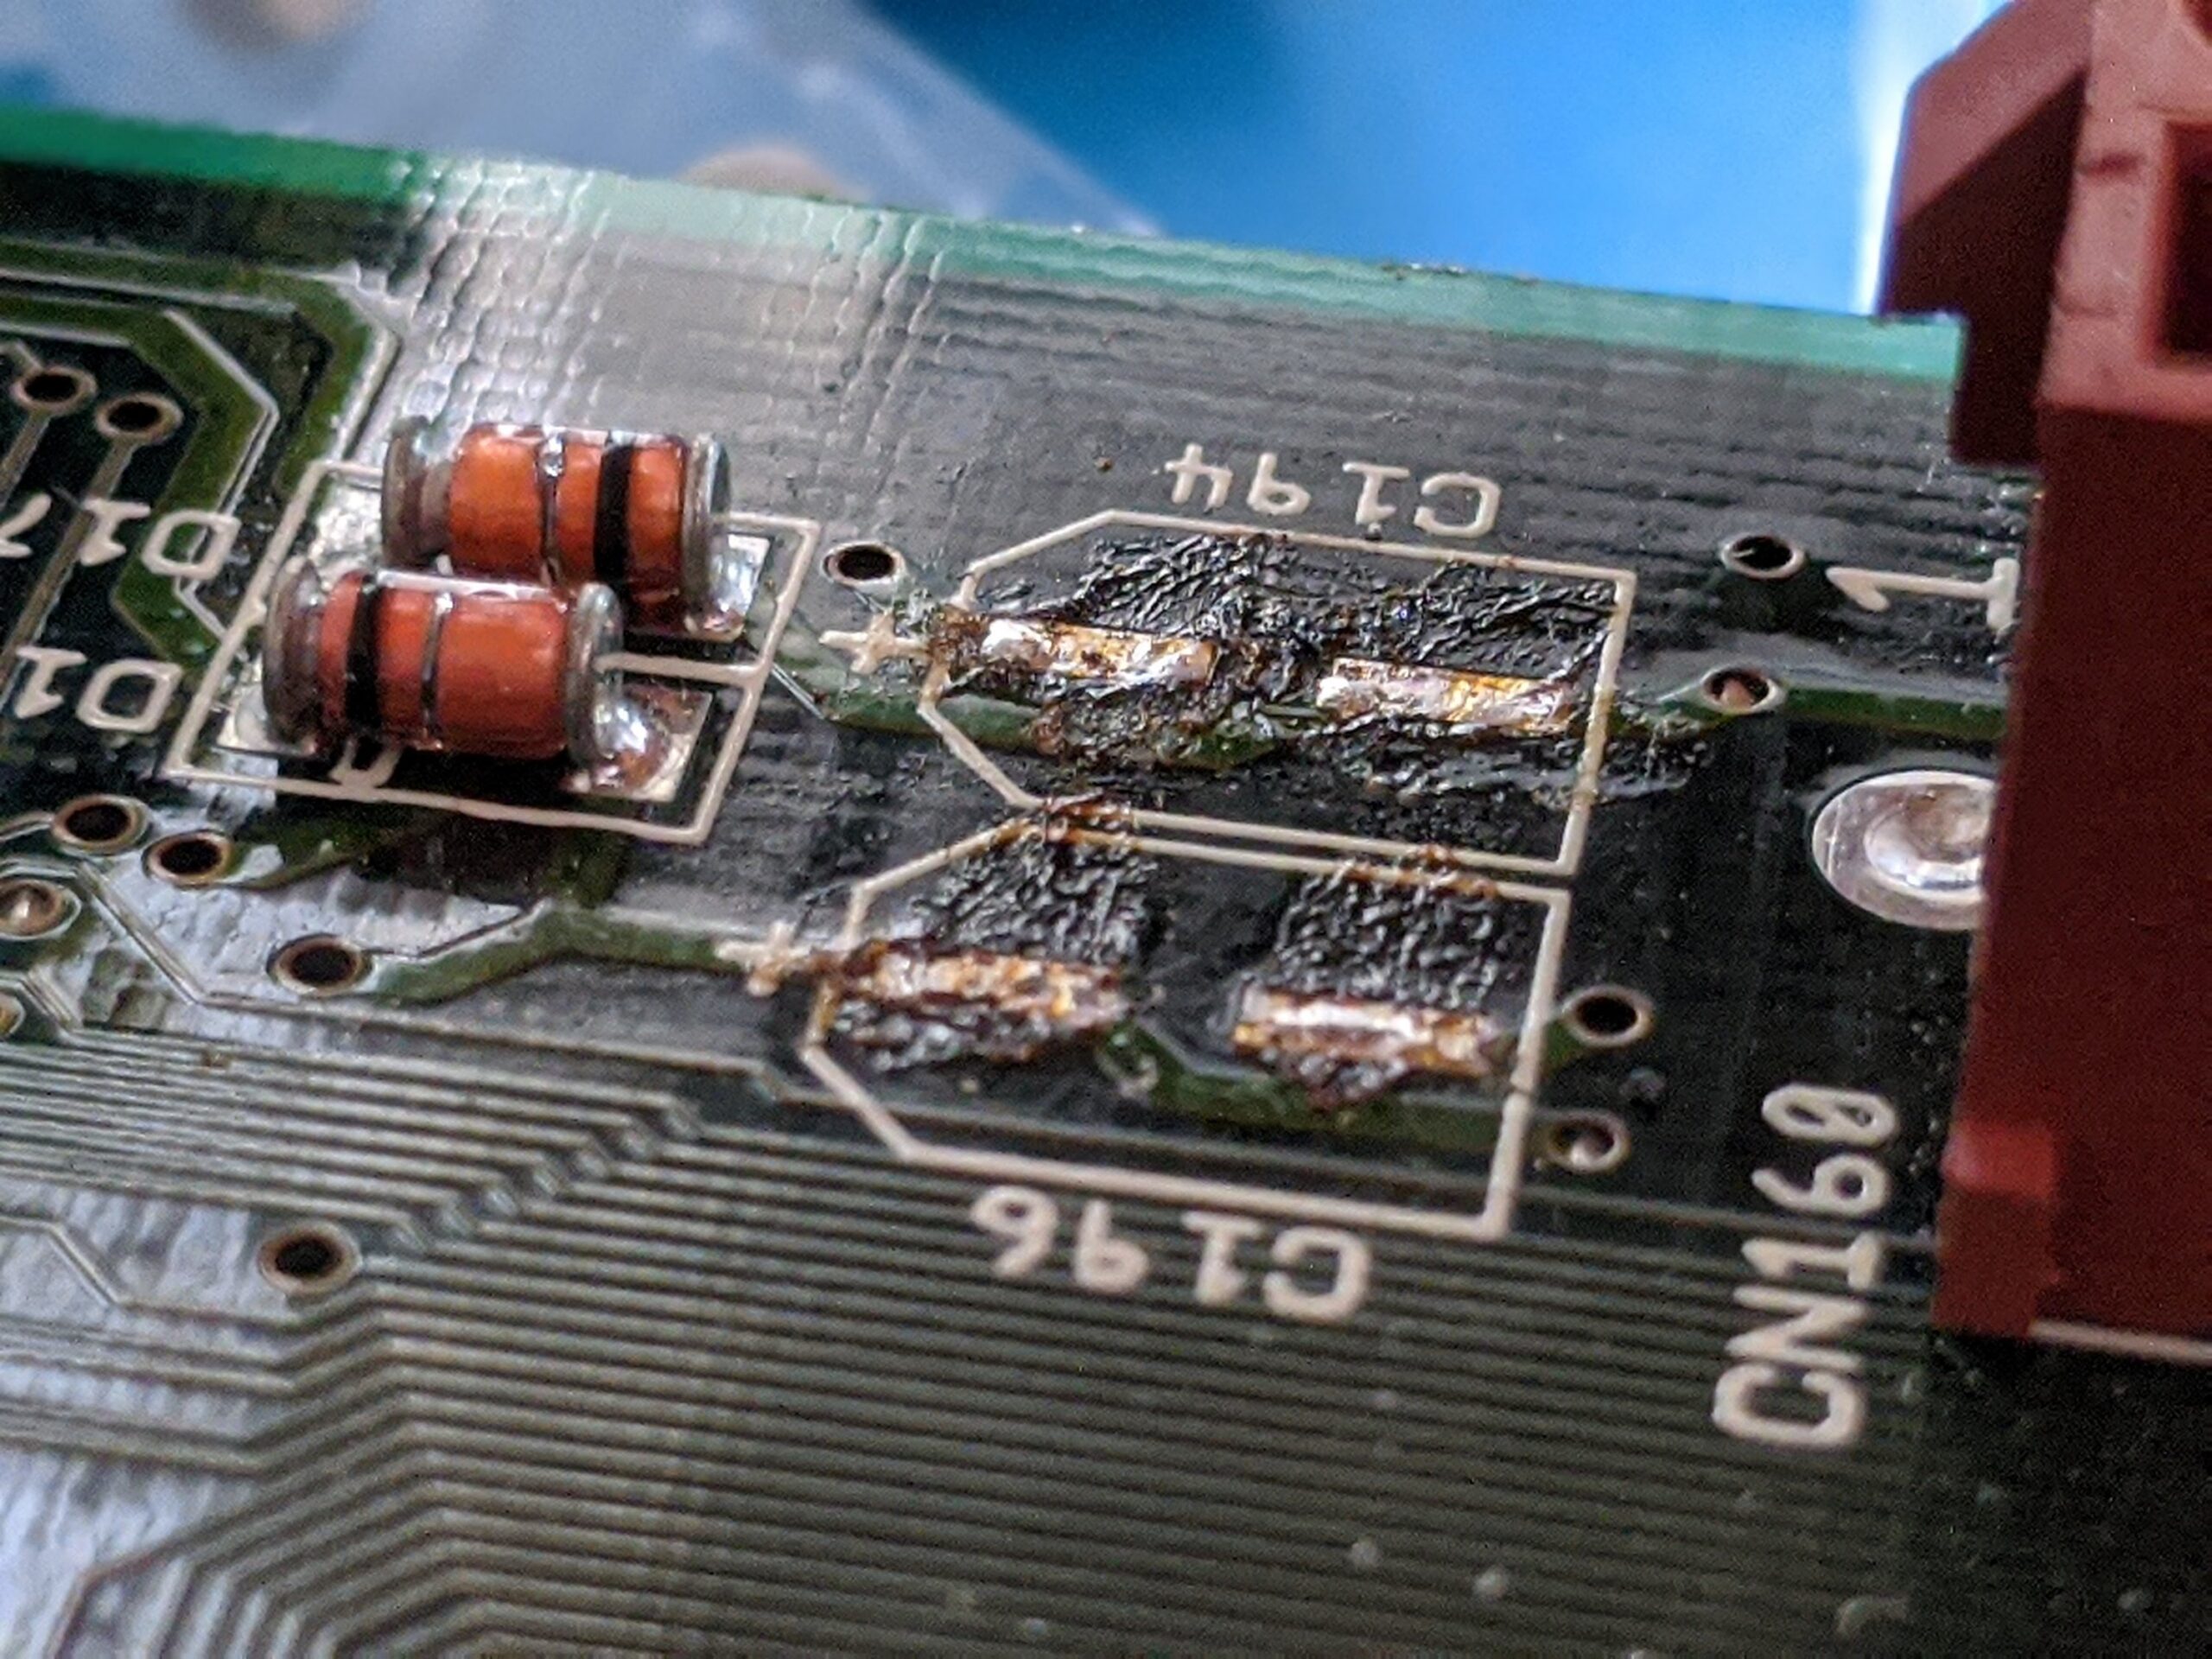
Using solder wick to remove the extra solder from the pad. It can be seen that the flux that was used in the previous job was never cleaned up correctly. This can destroy the board. I’ll talk about my attempts of cleaning PCBs without proper equipment some other time, but this case can be cleaned well with a bit of isopropyl alcohol and a Q-tip. Before using a Q-tip make sure that the solder pads don’t have solder raising up from them. This can act as a hook and rip off the pad when cleaning.
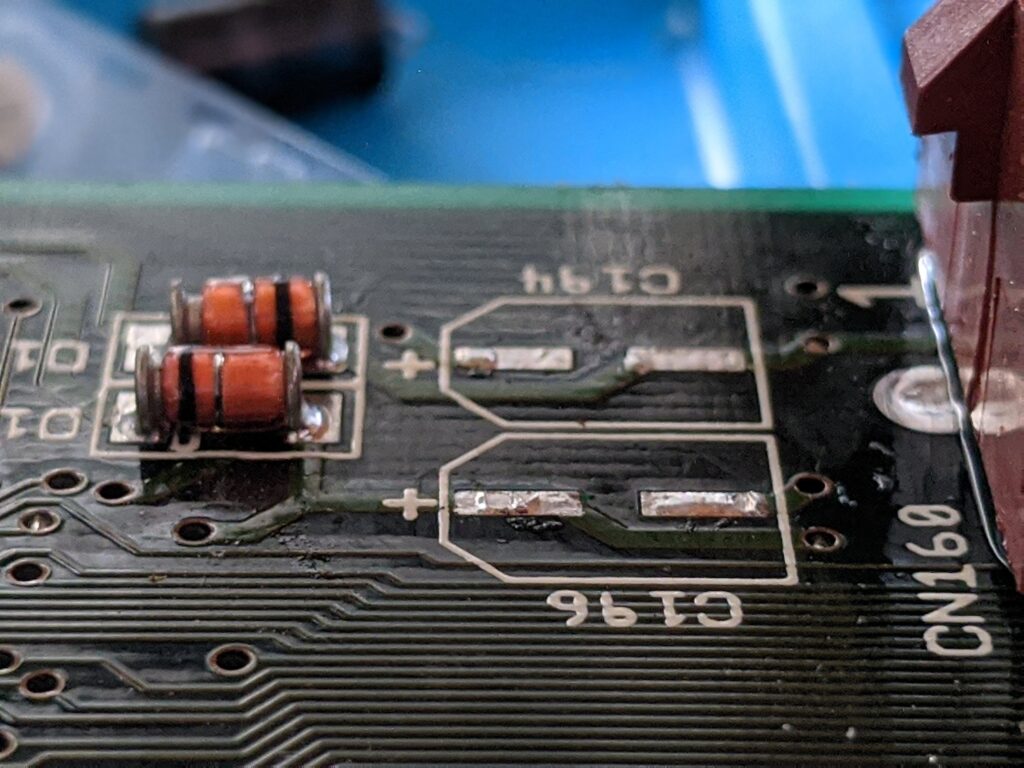
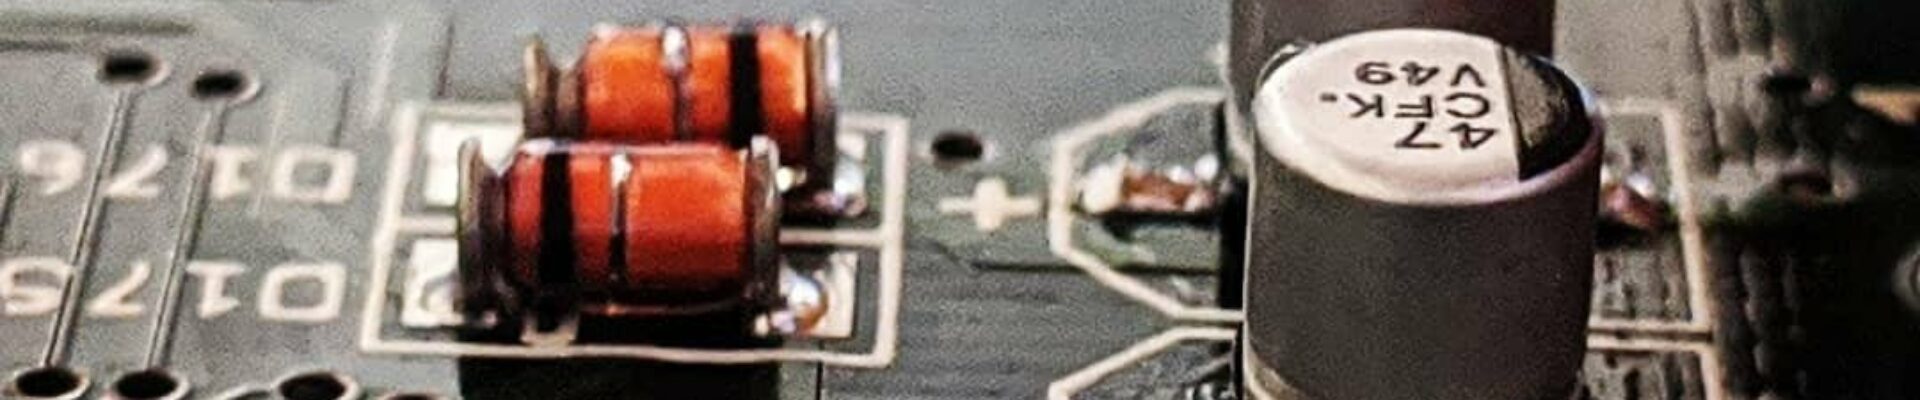
Ok, it’s not perfect, you can still see the pads being a little bit uneven, but I considered it good enough for my first recap and went on to put the SMD replacement on
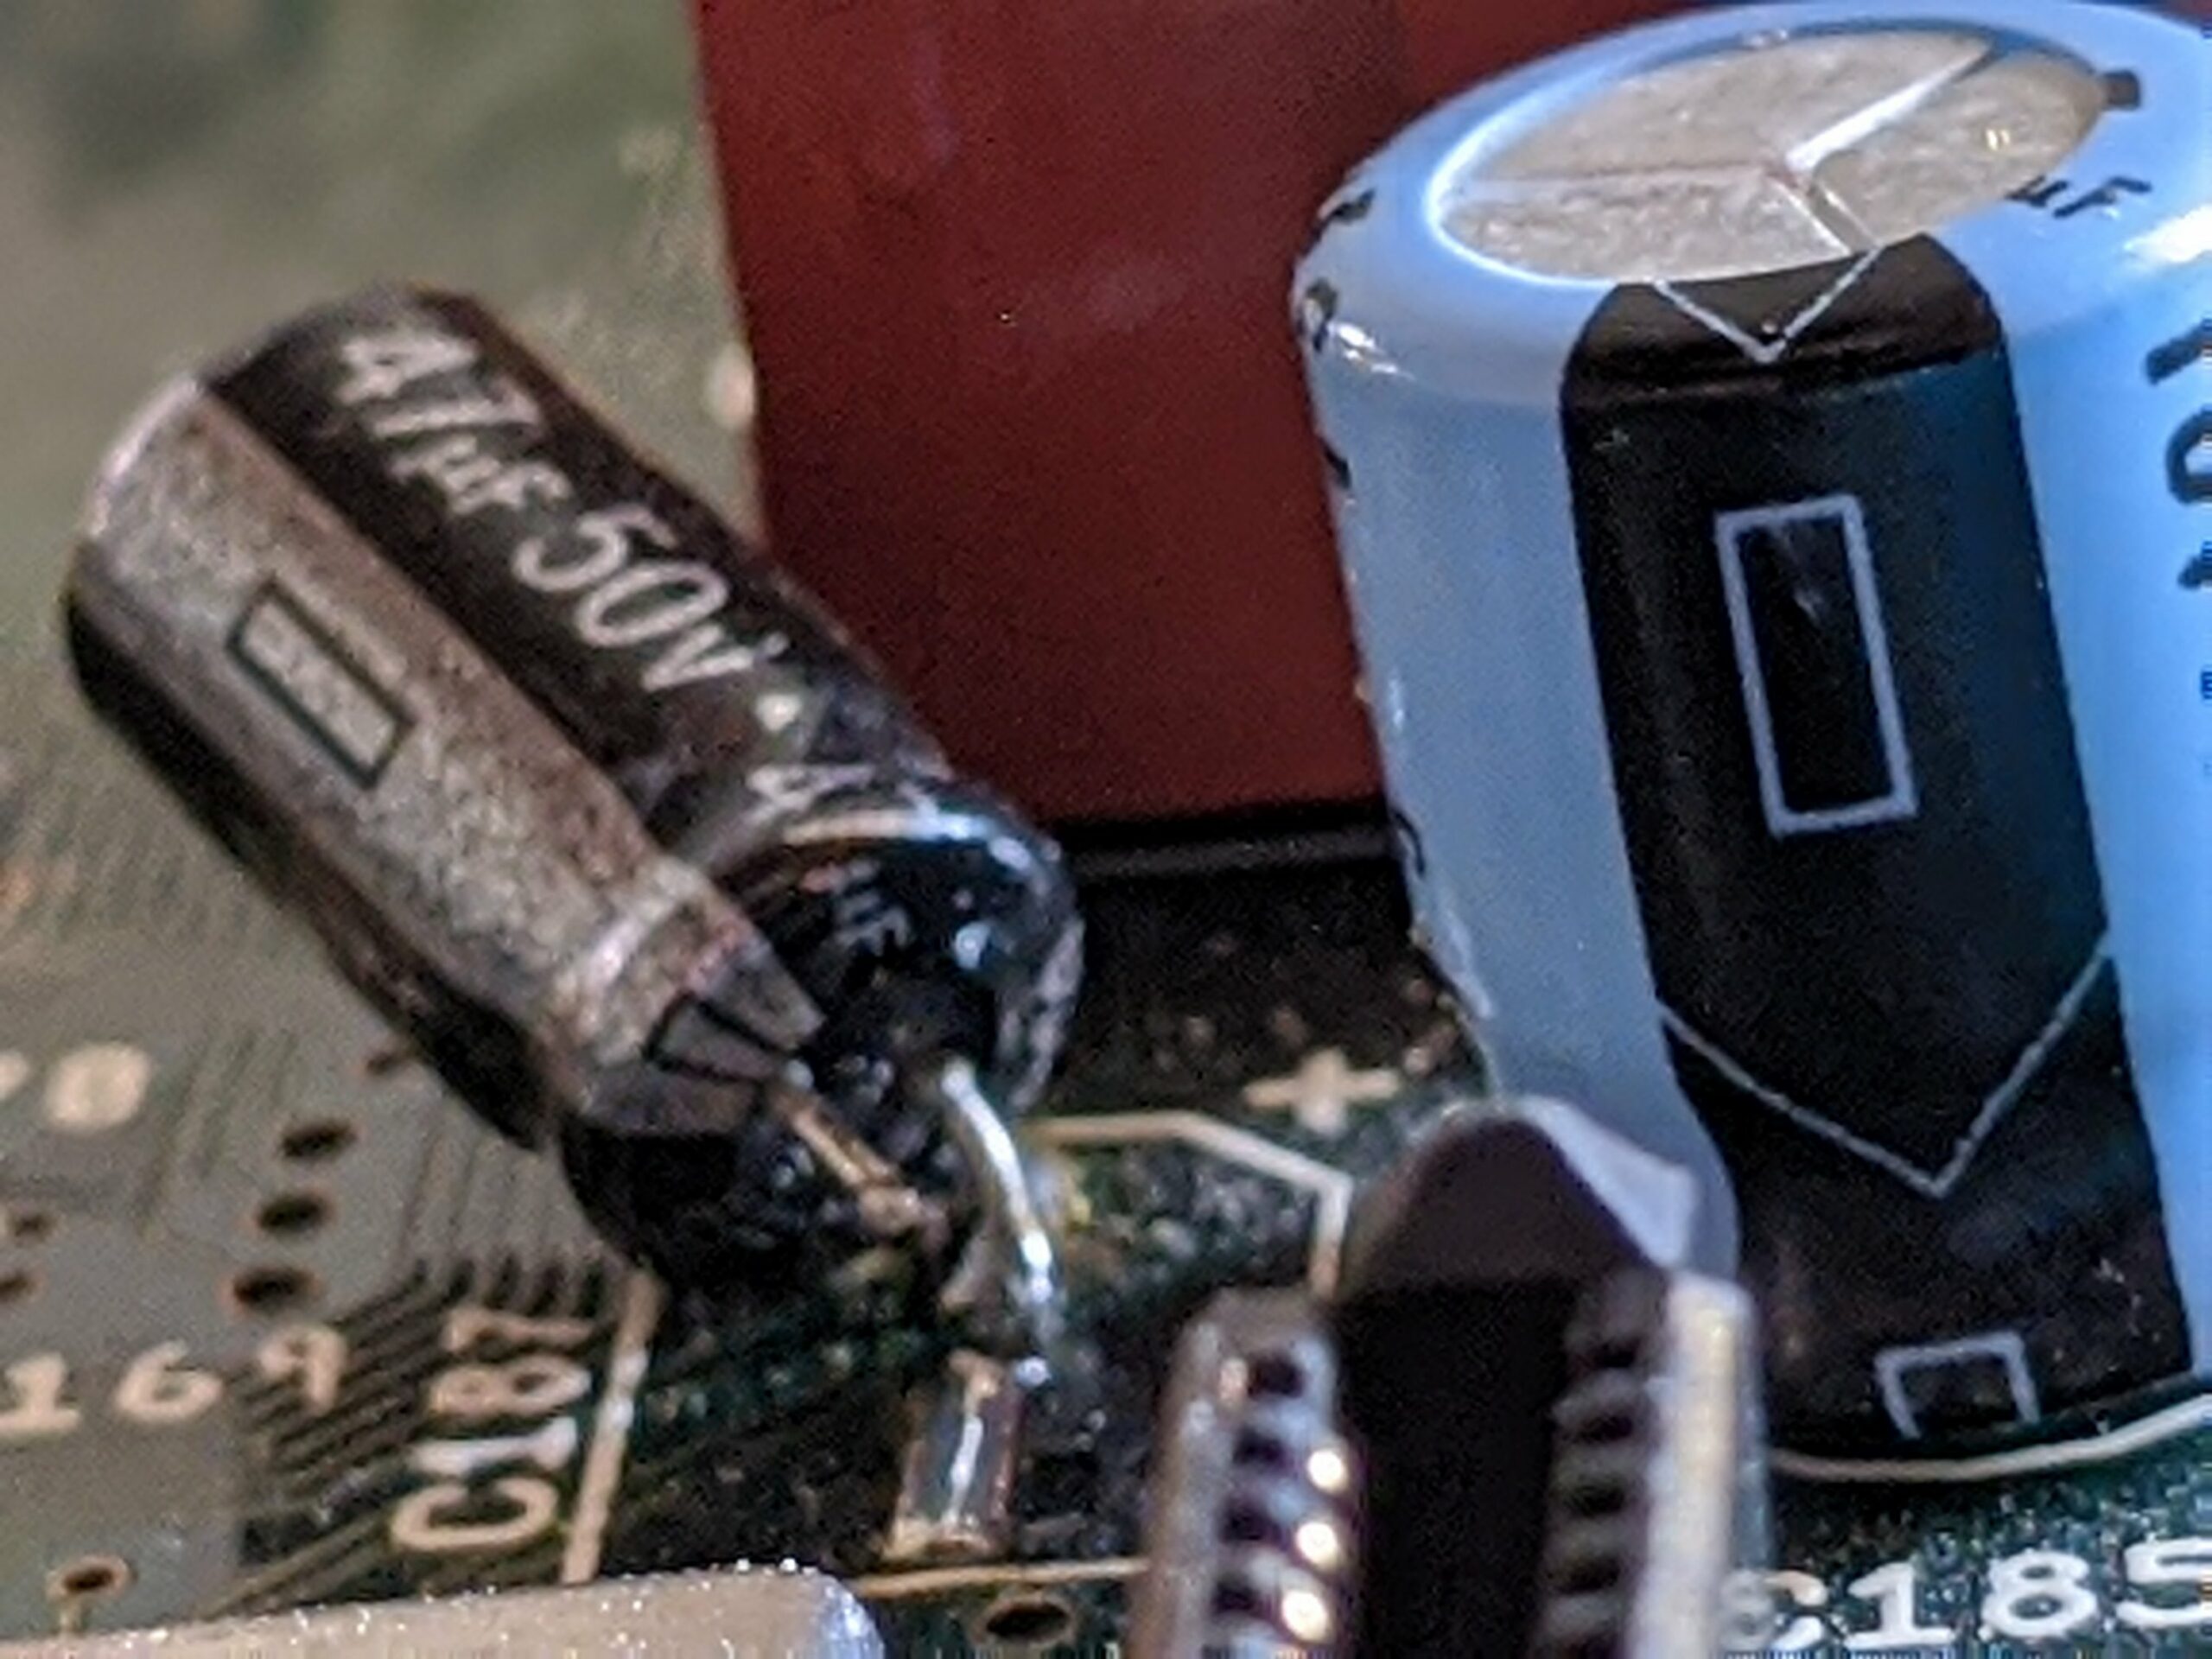
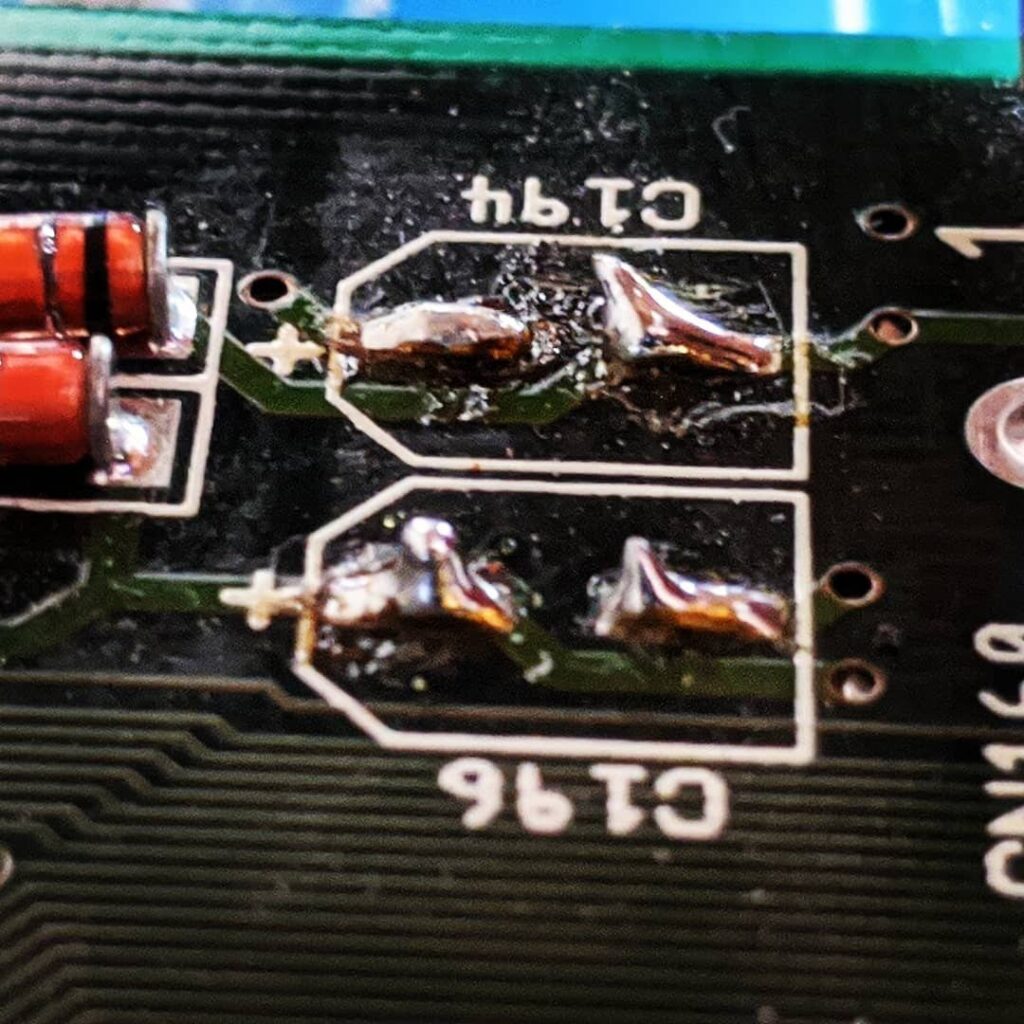
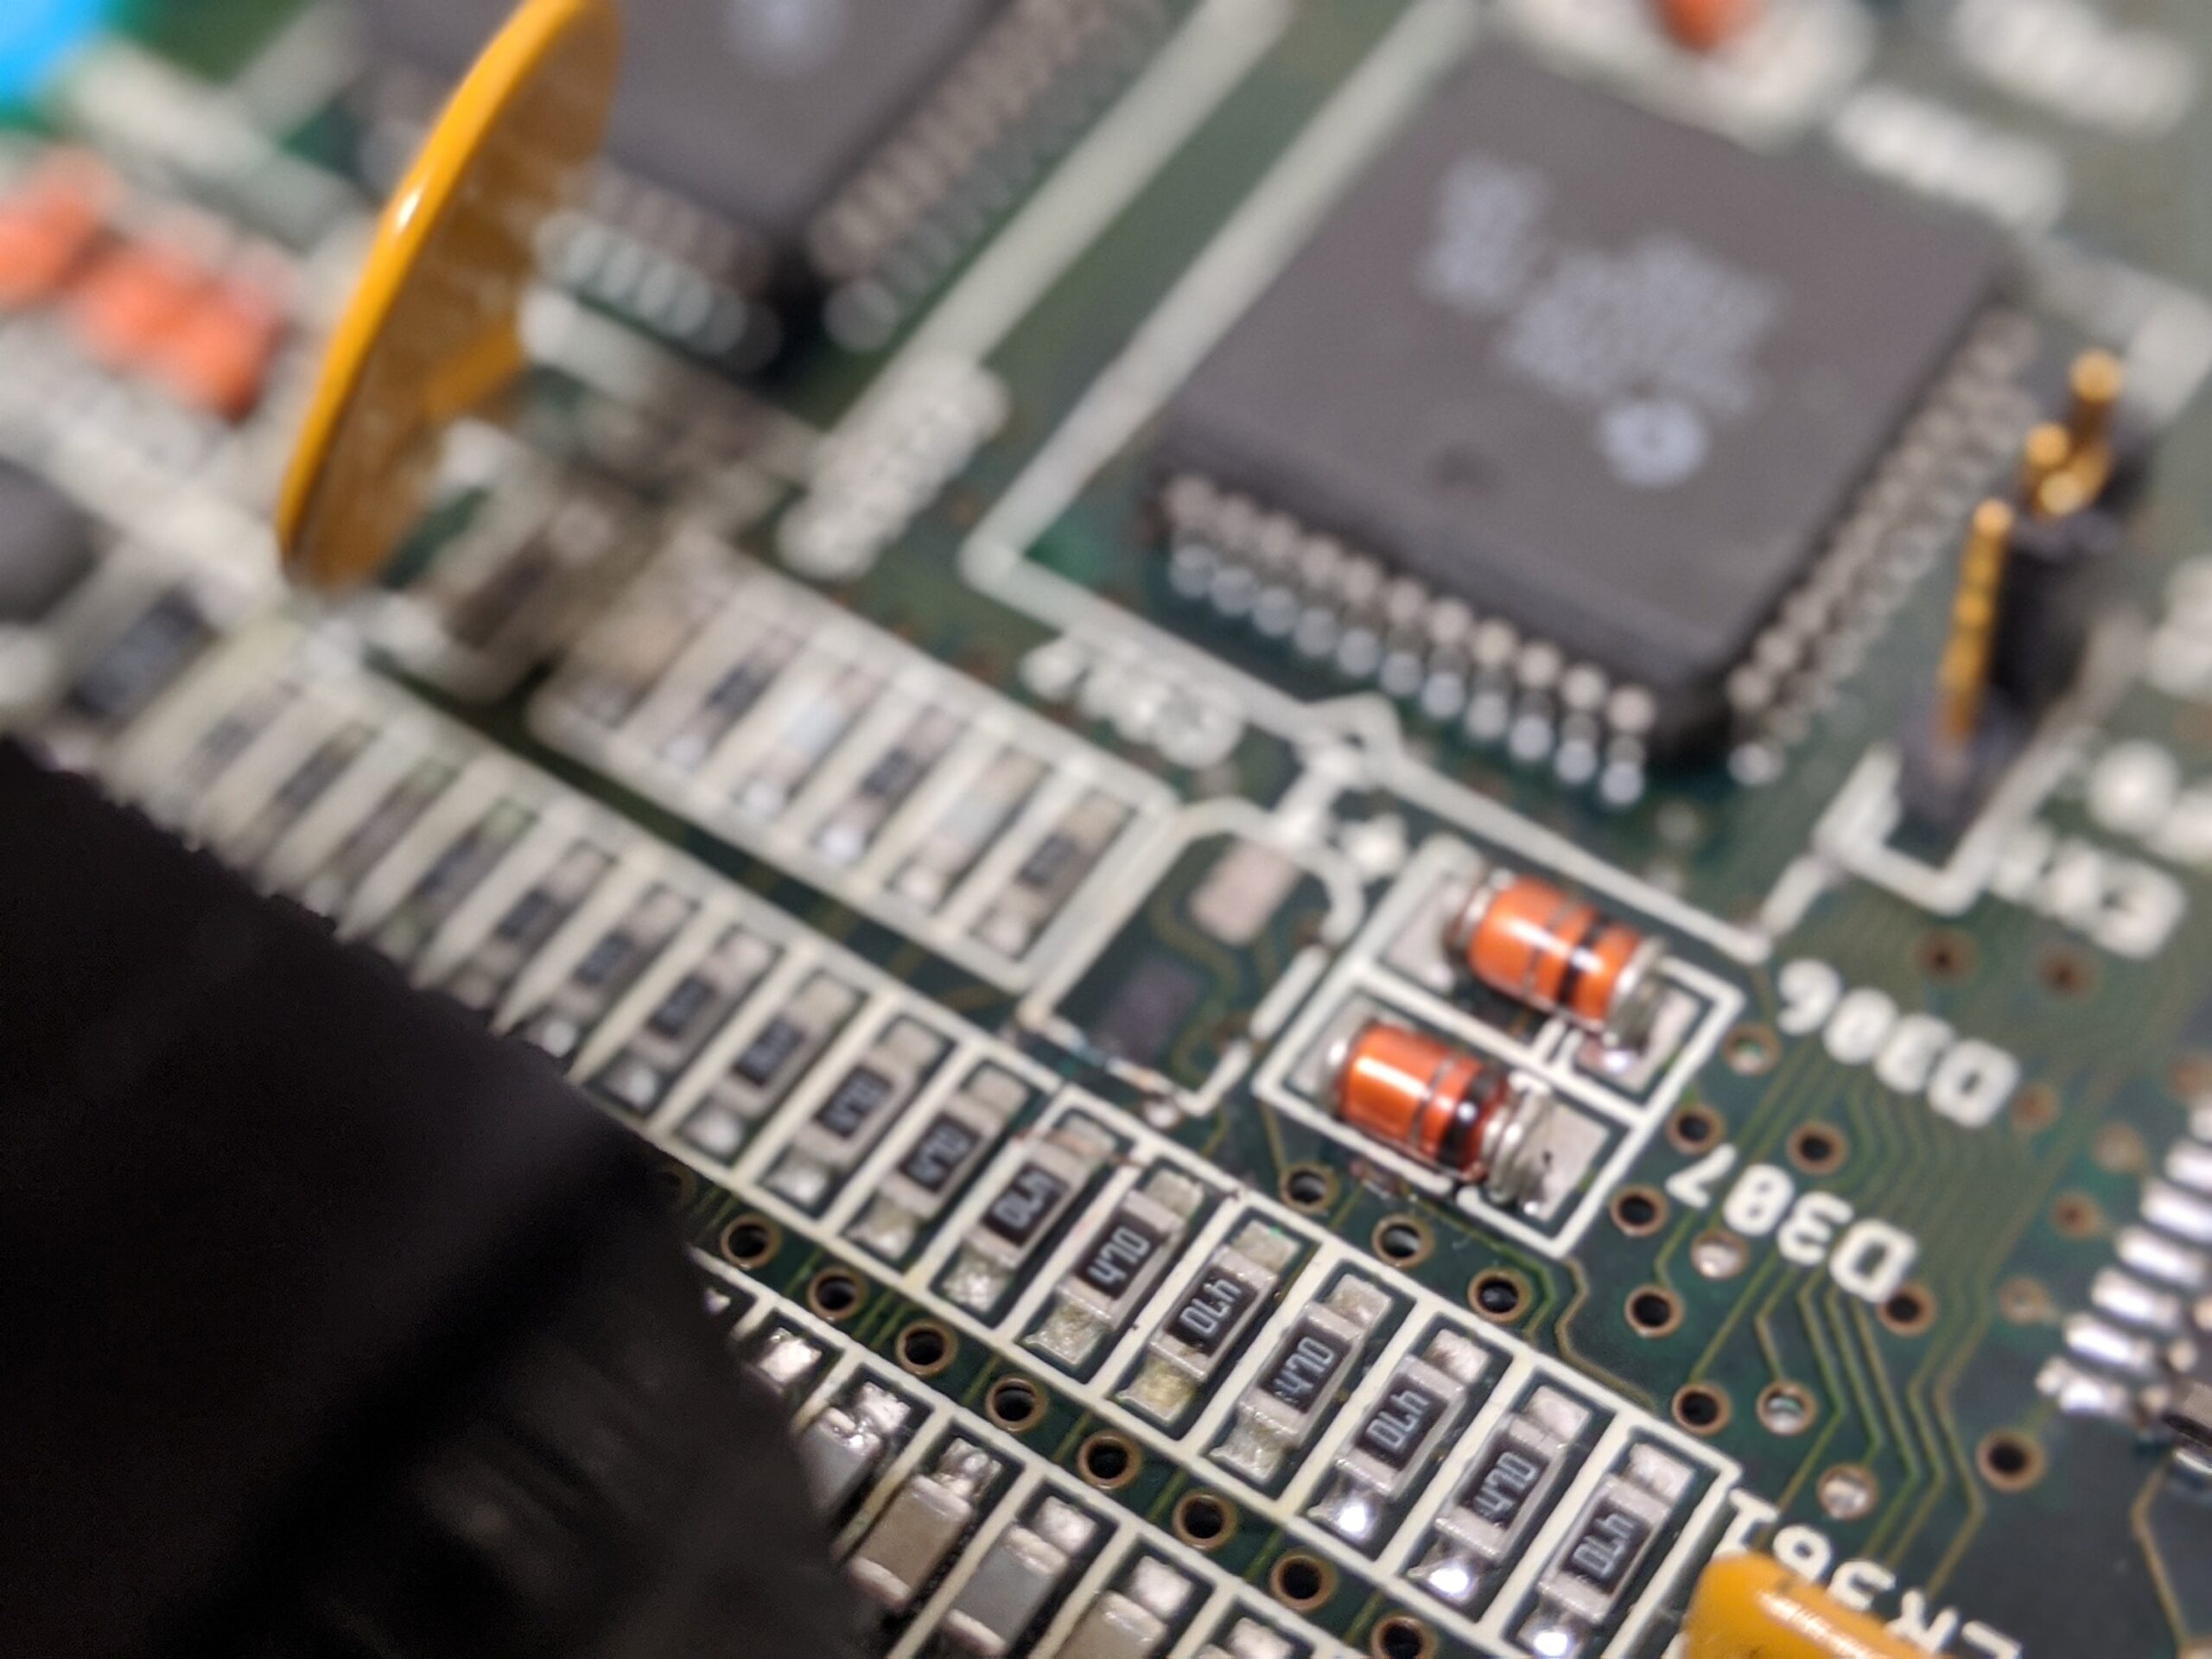
This party down here makes me straight out a little bit nauseous. Who thought that job is 差不多?
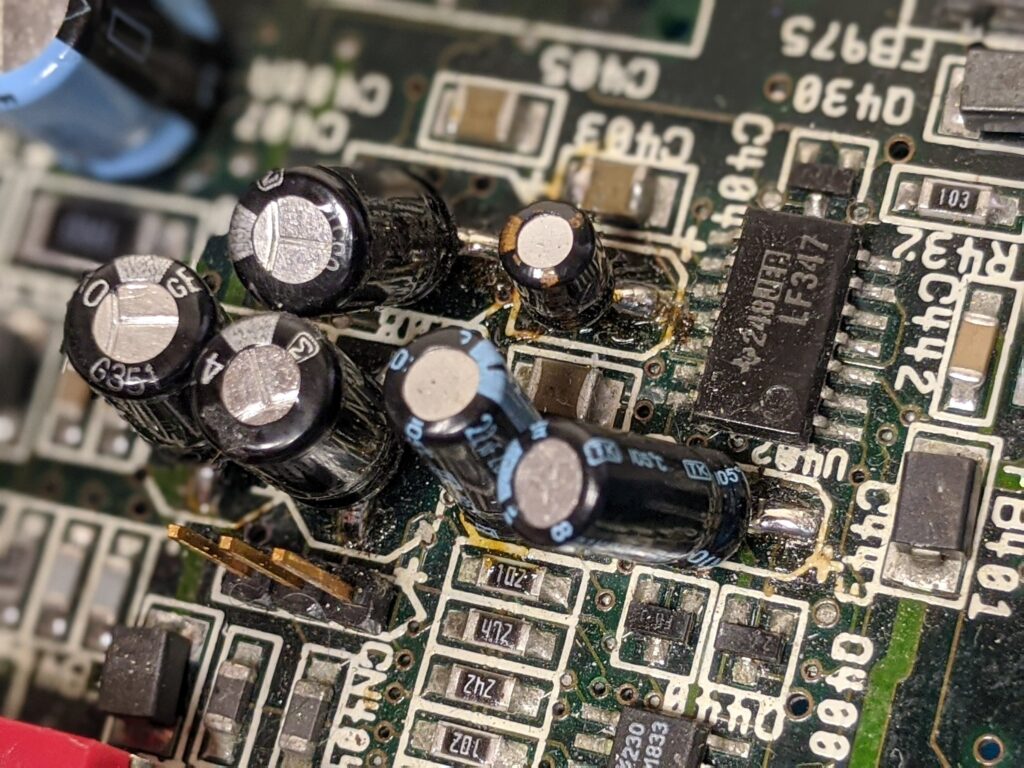
Sound is not working right, maybe this bundle of joy is at fault?
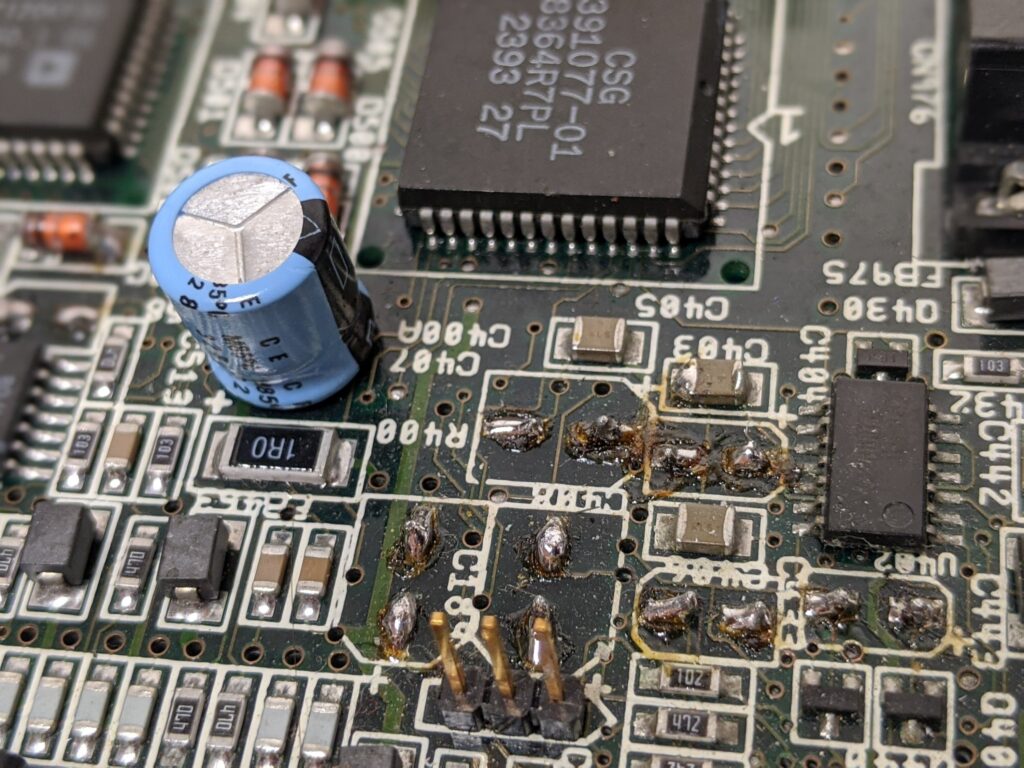
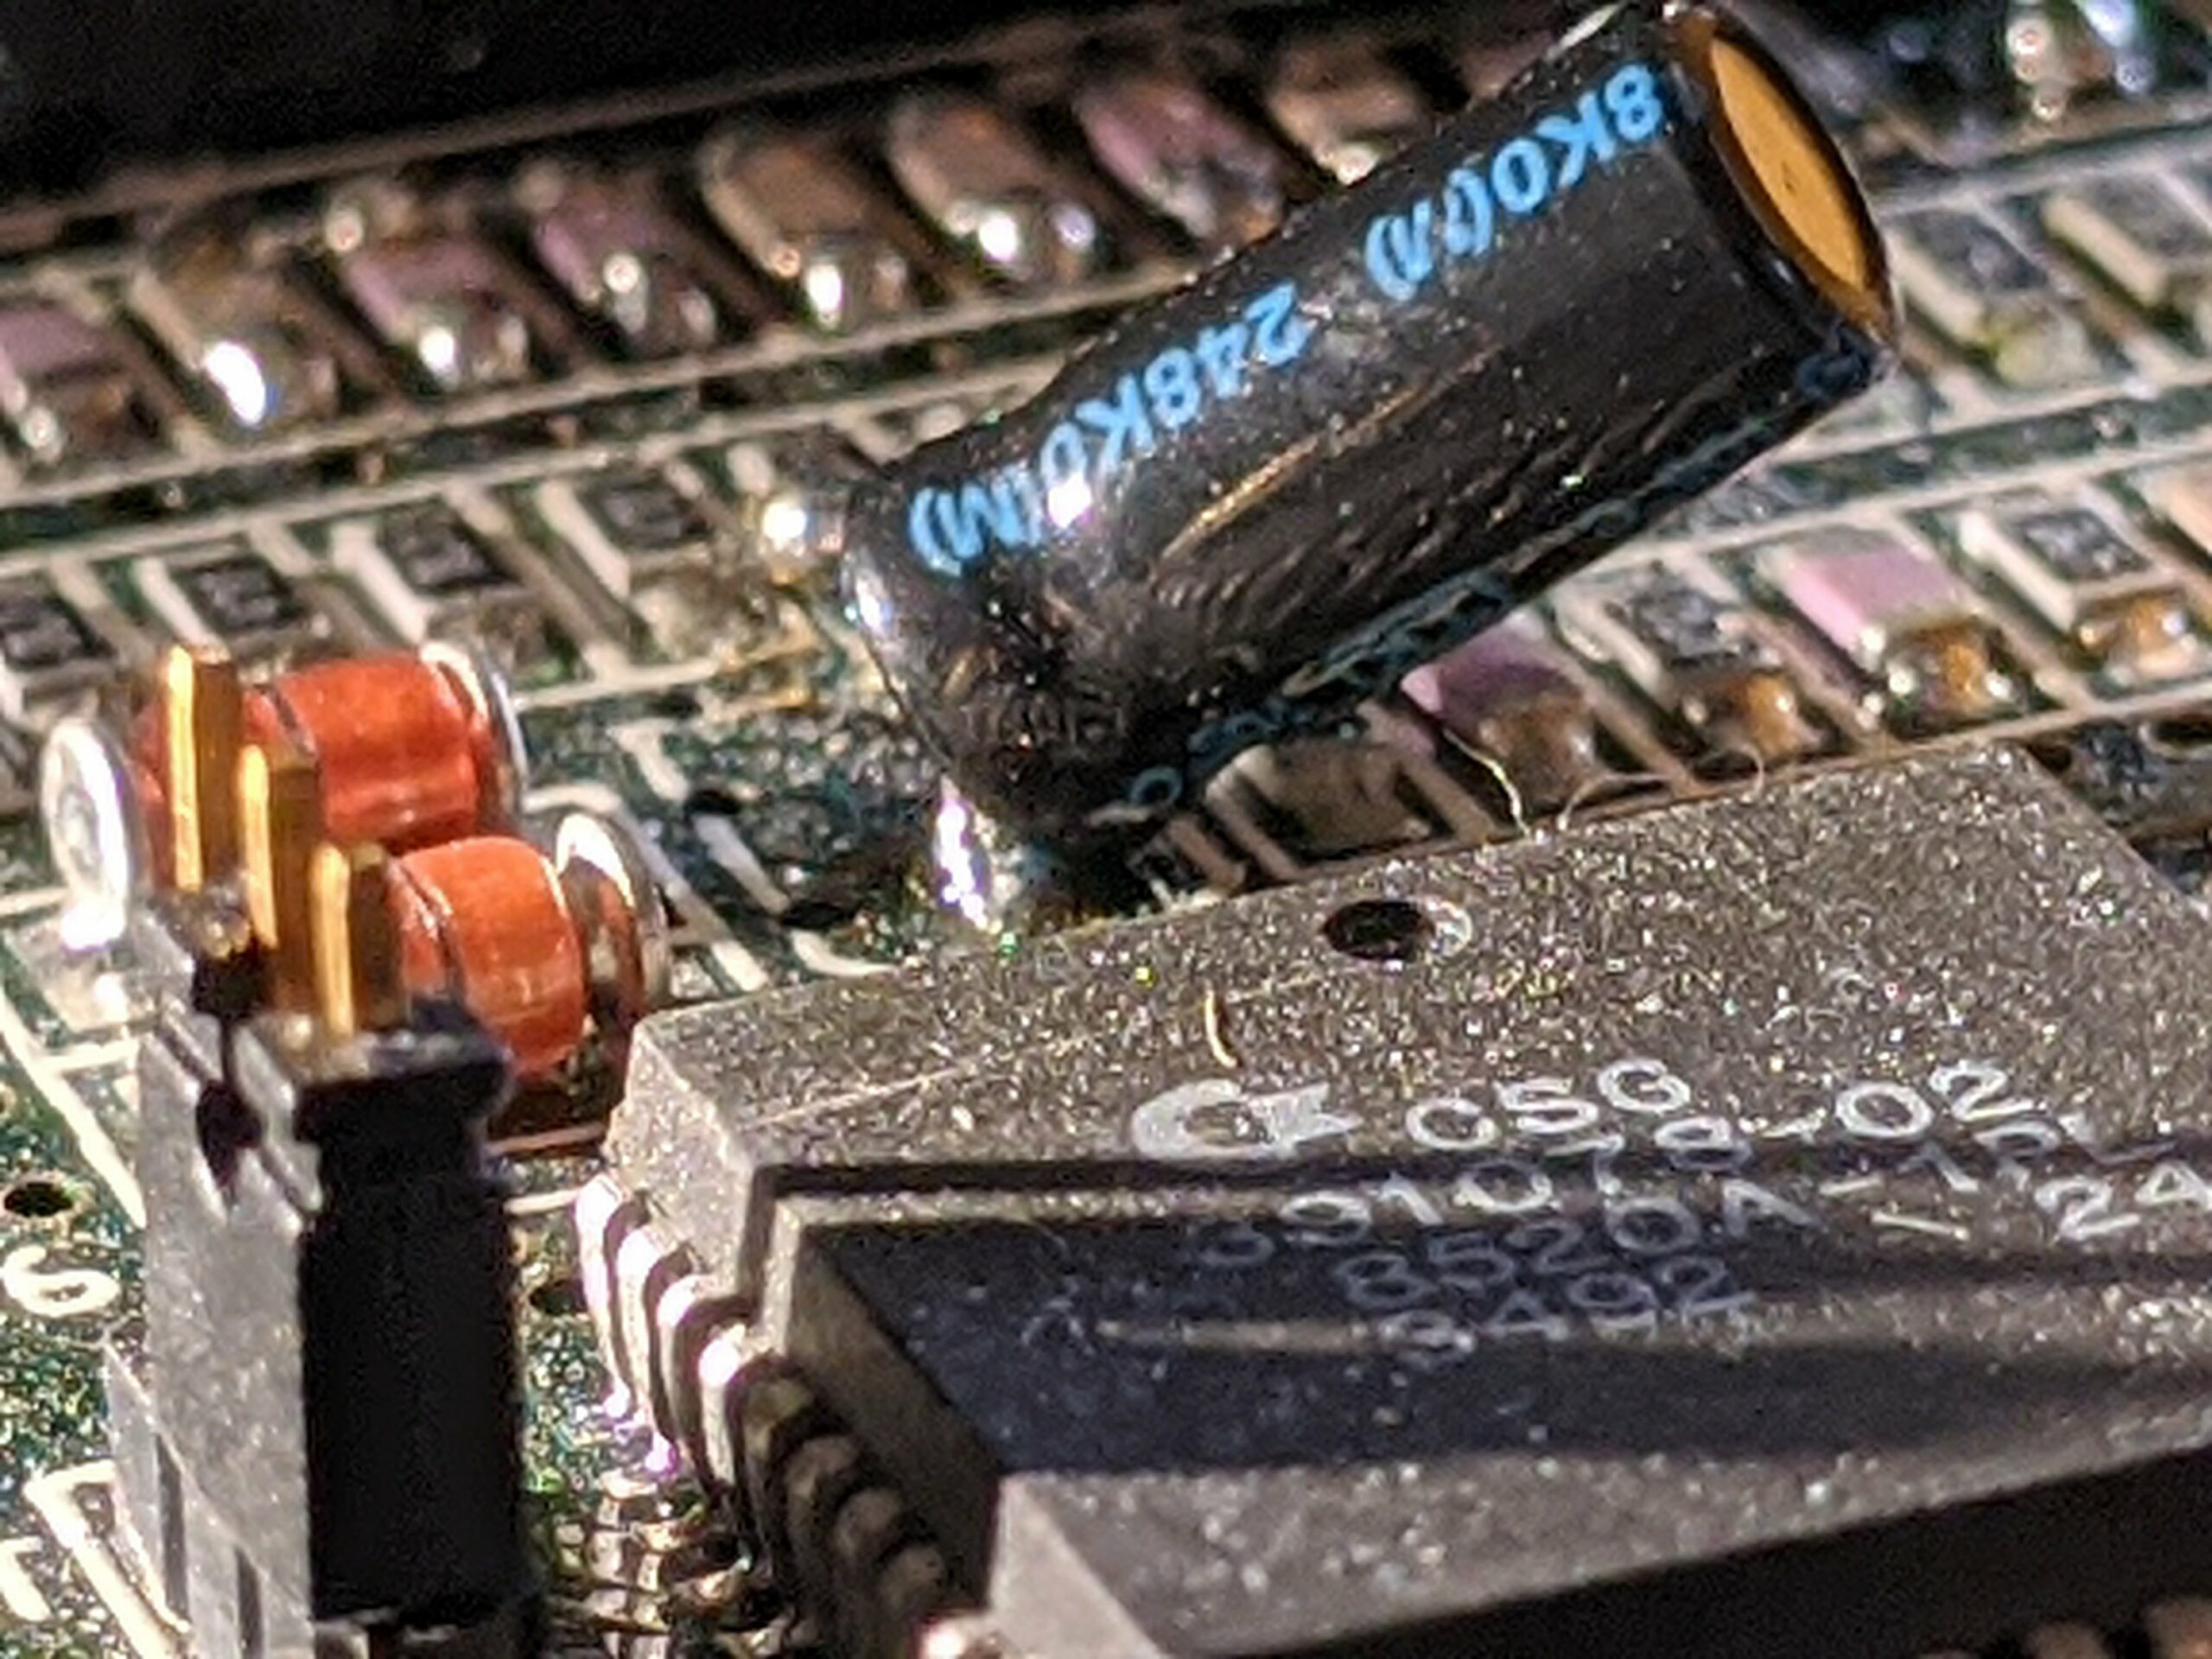
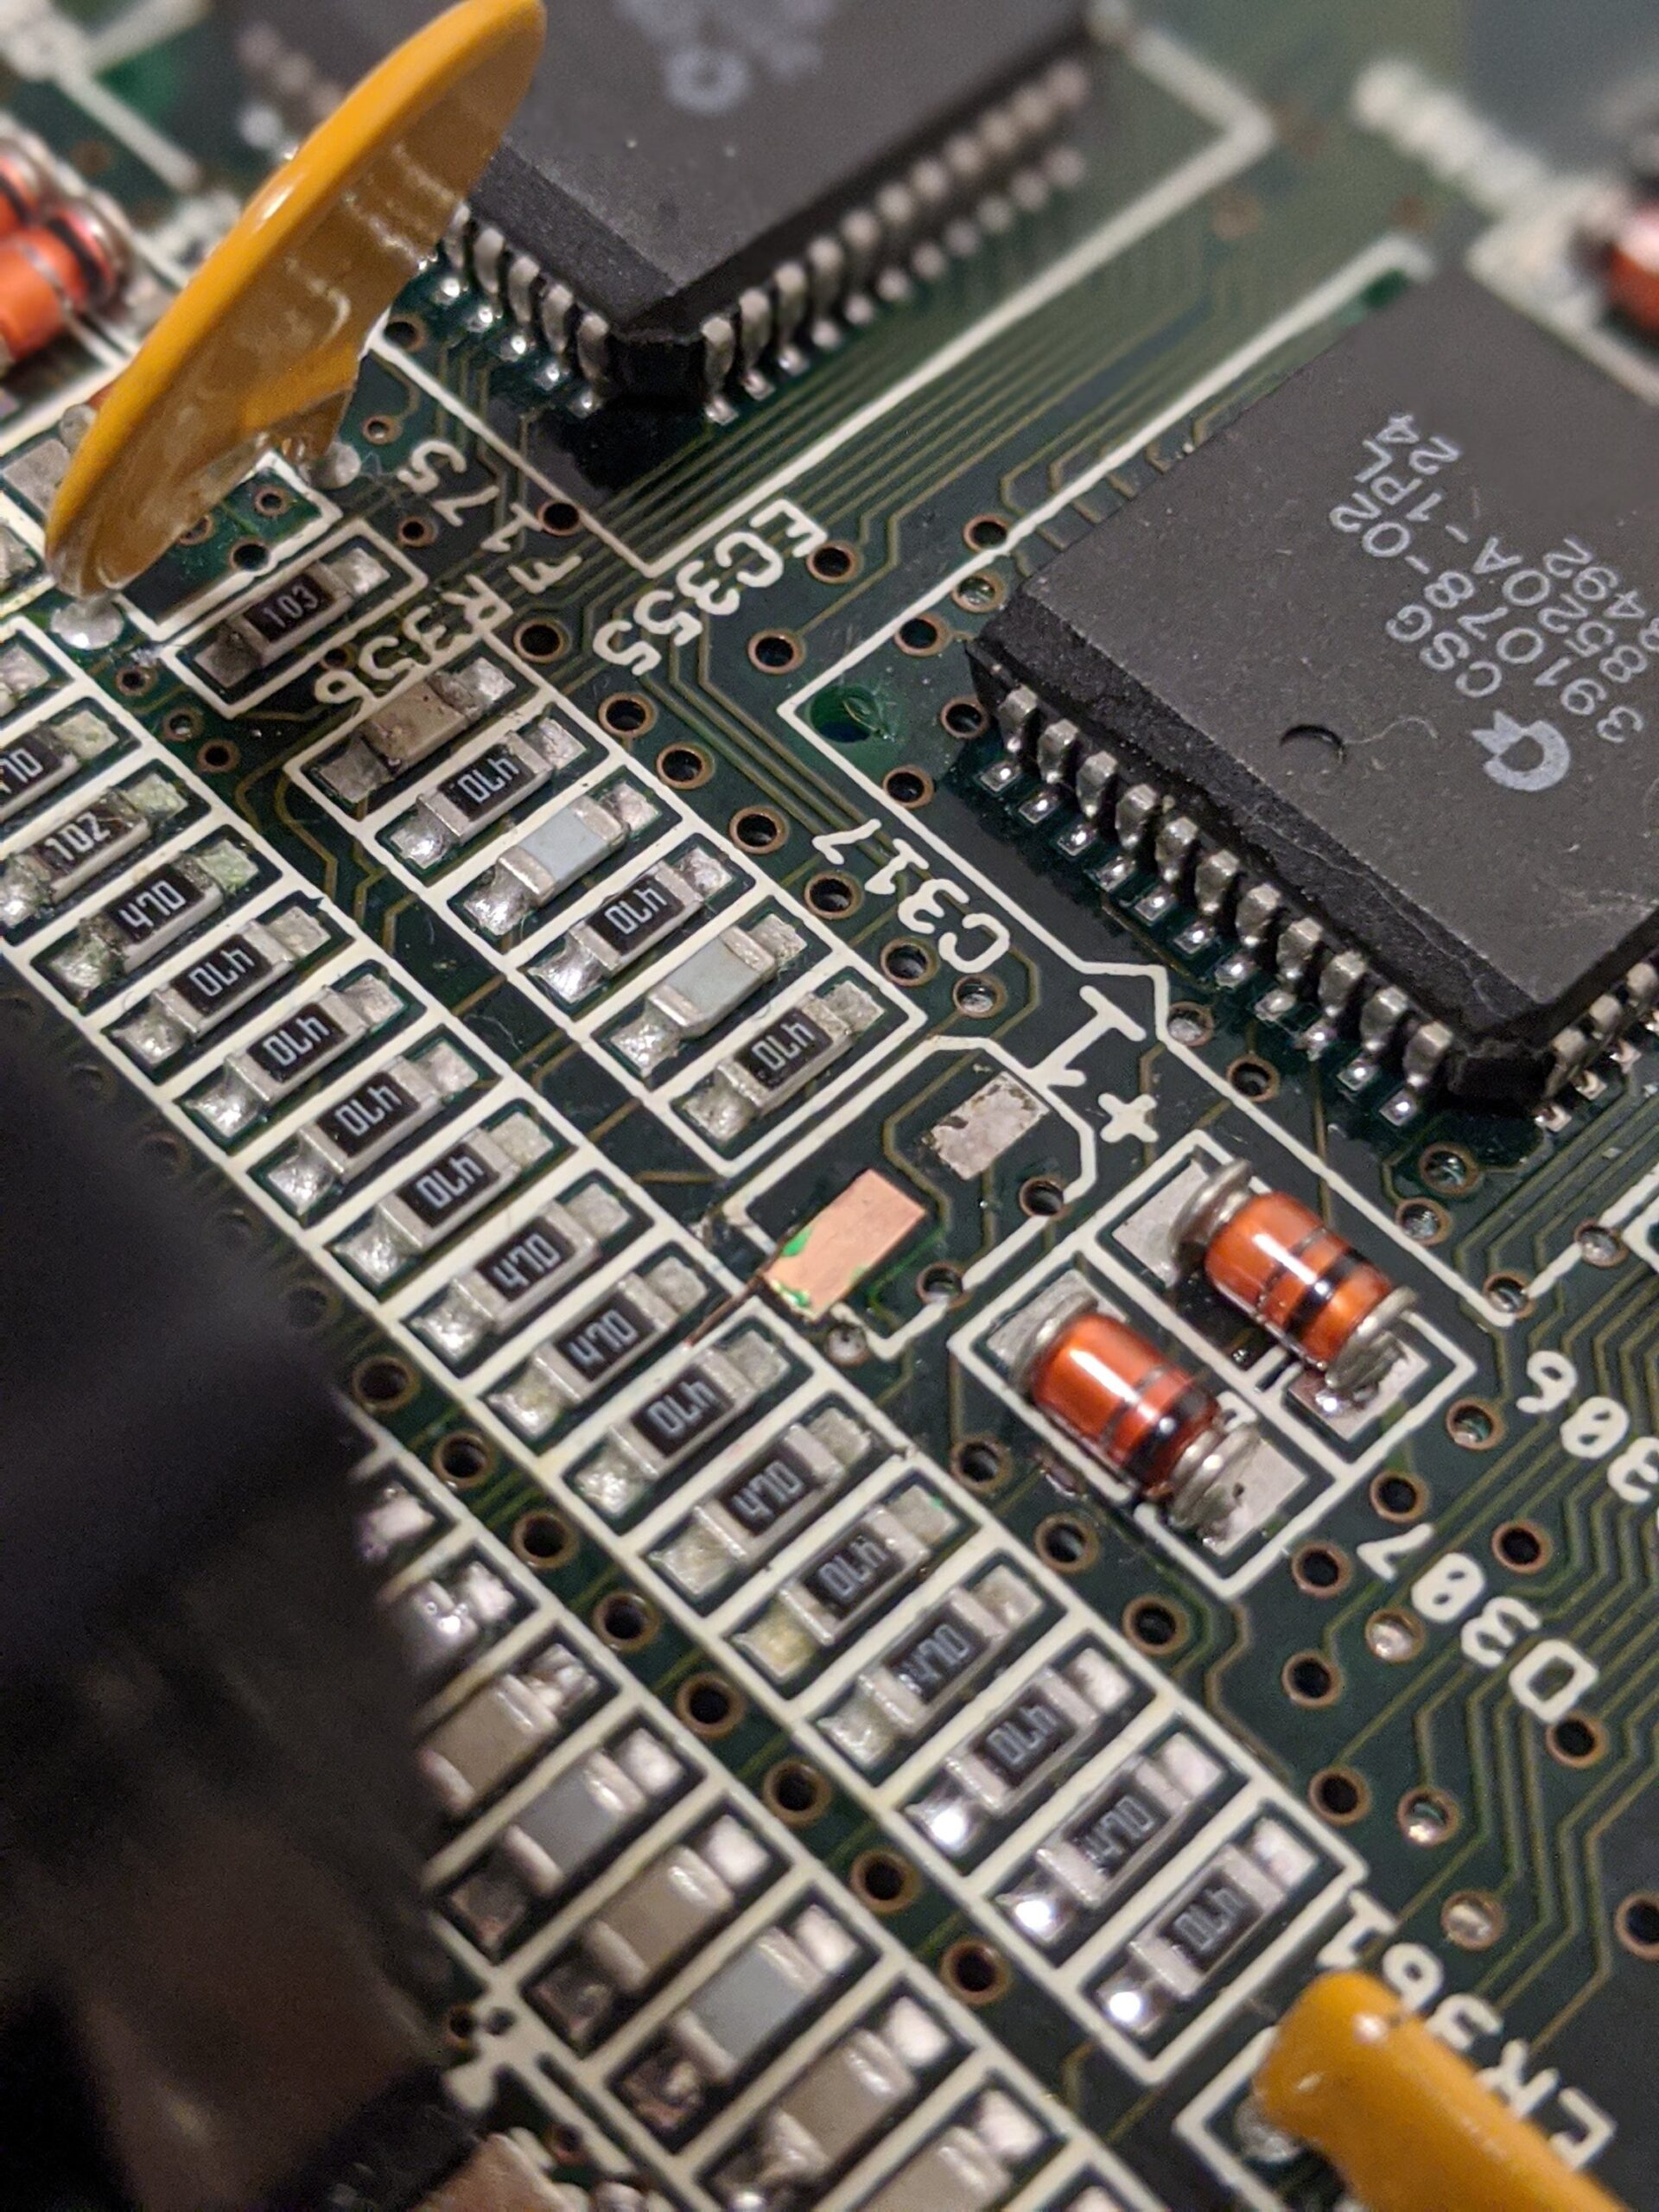
Let’s see if we can improve the looks of that…
… and also the sound! Much better! The ugliest one is once again one of these ripped off or corroded pads. Let’s get a piece of copper there to replace the old pad.
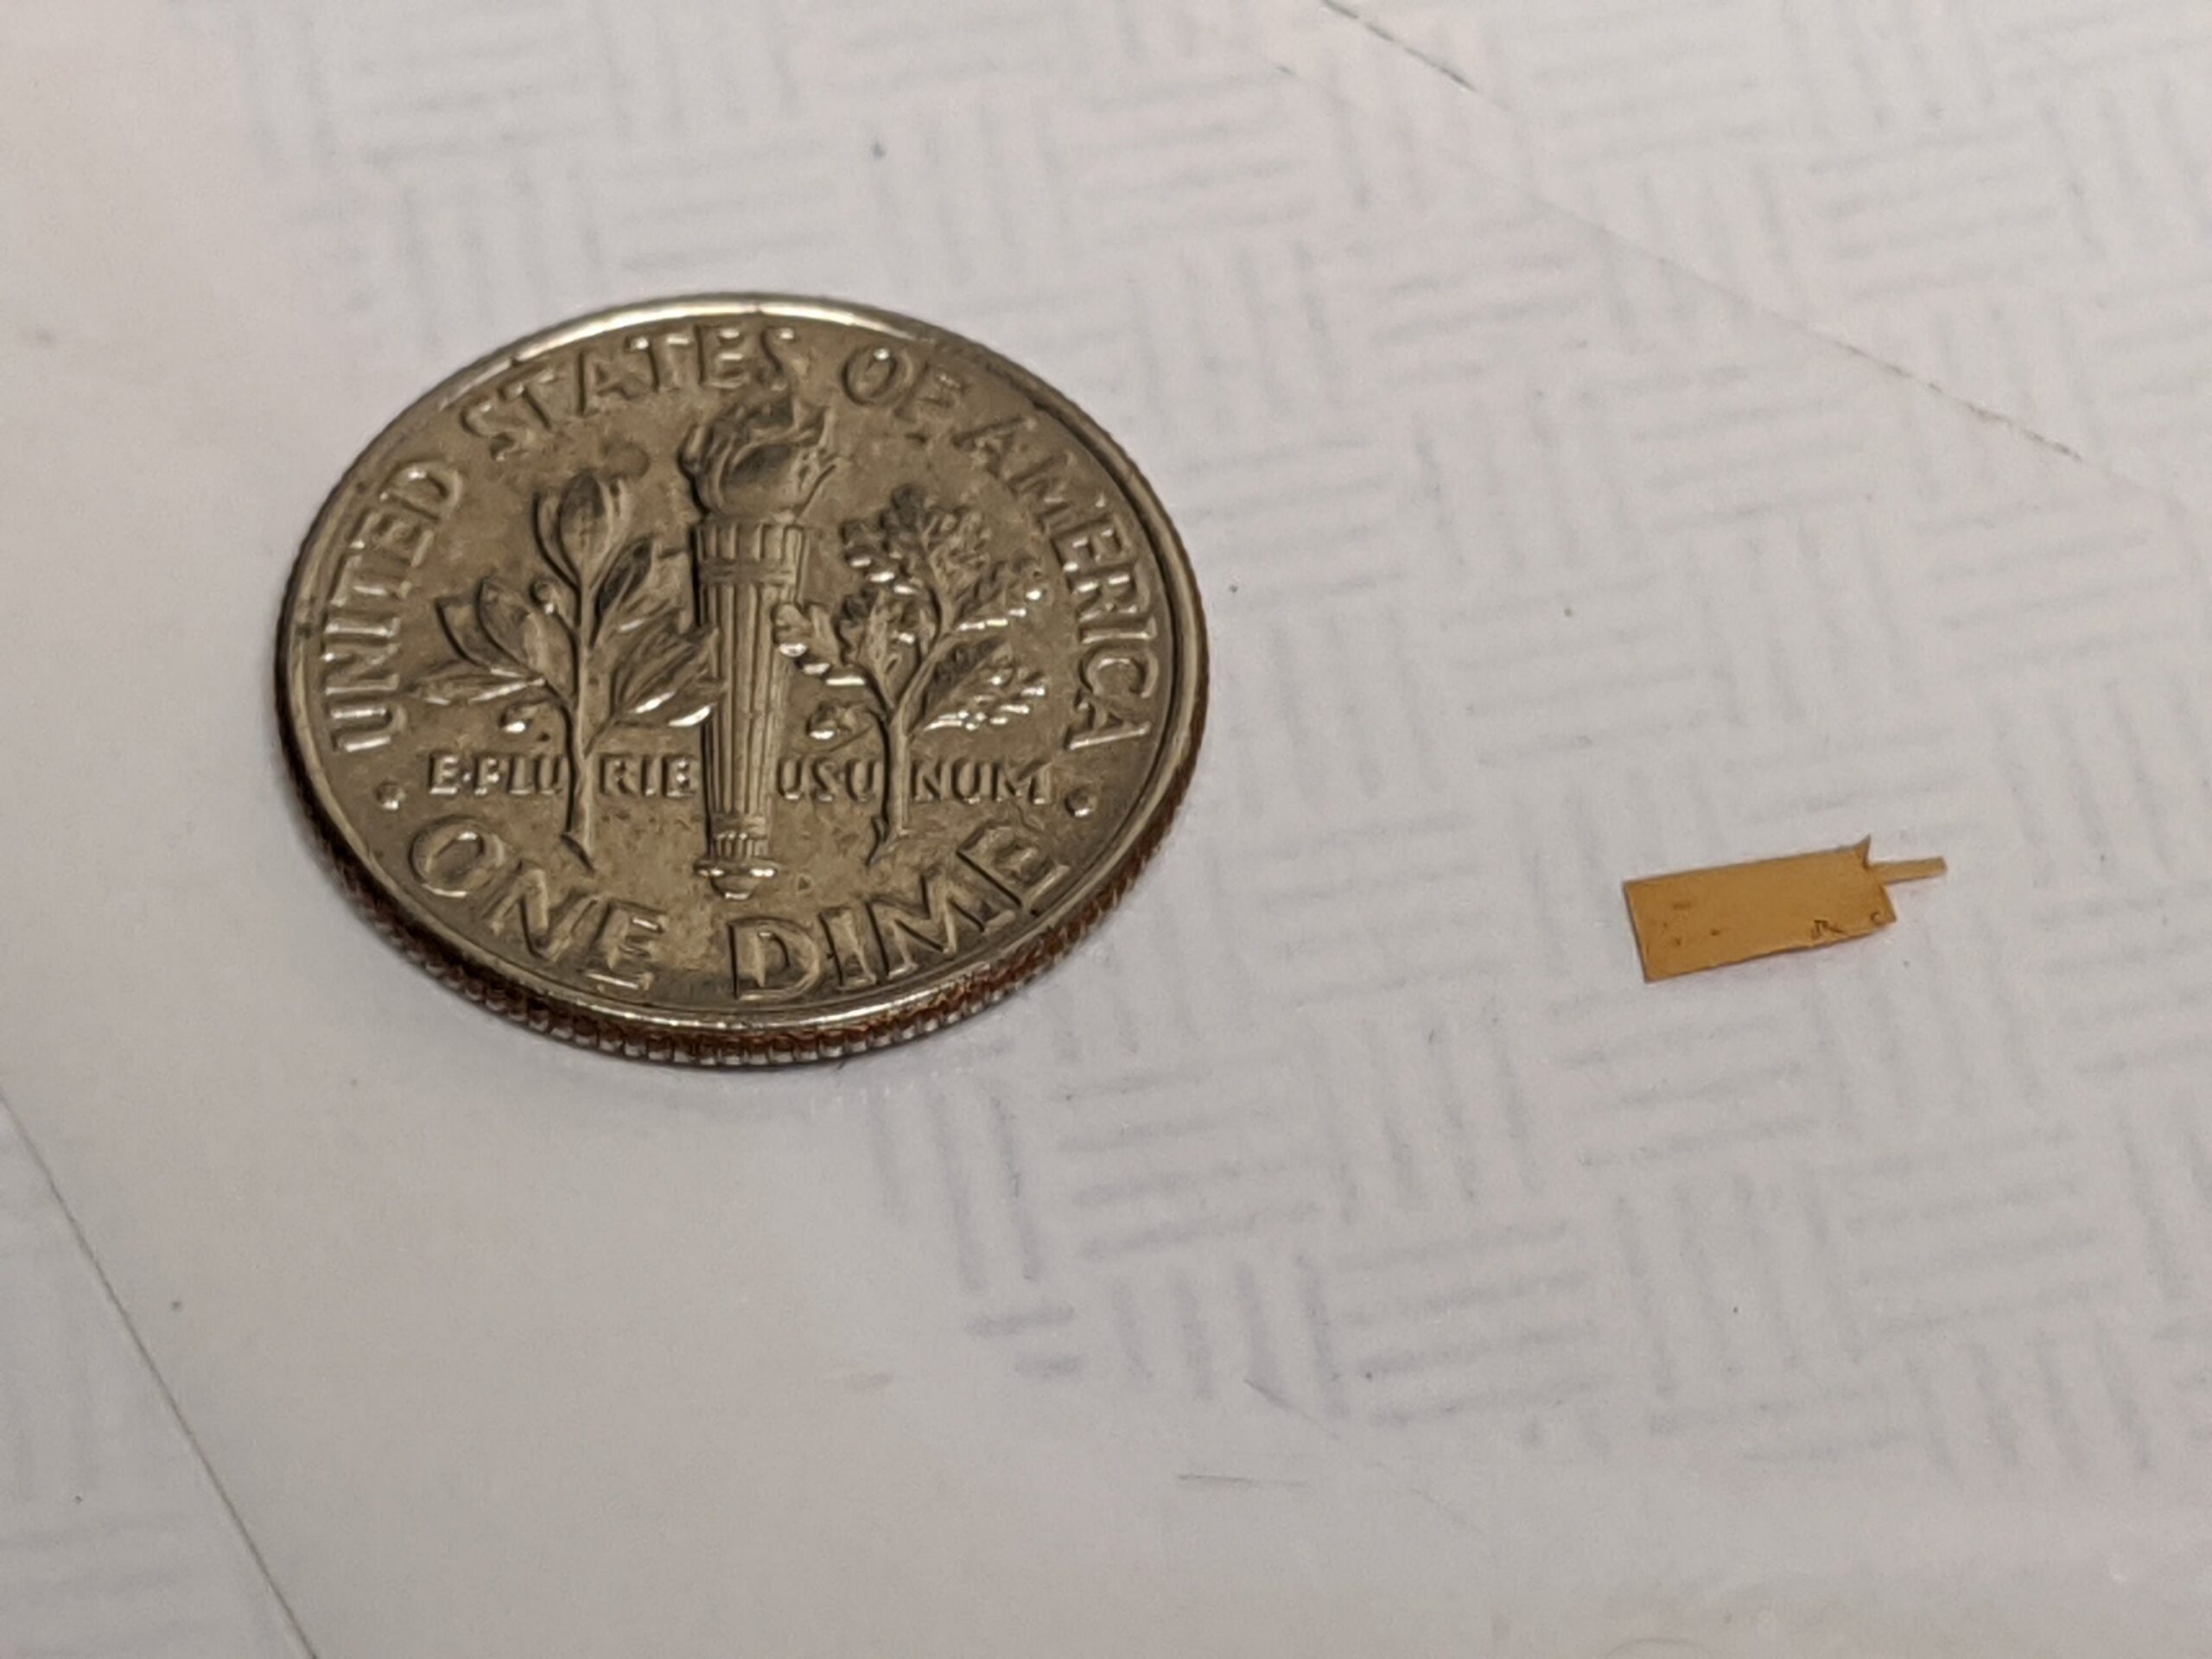
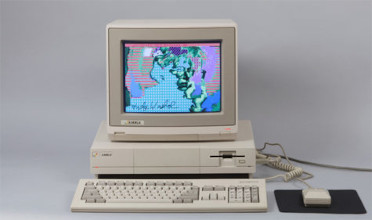
My size comparison coin. This stuff is too small 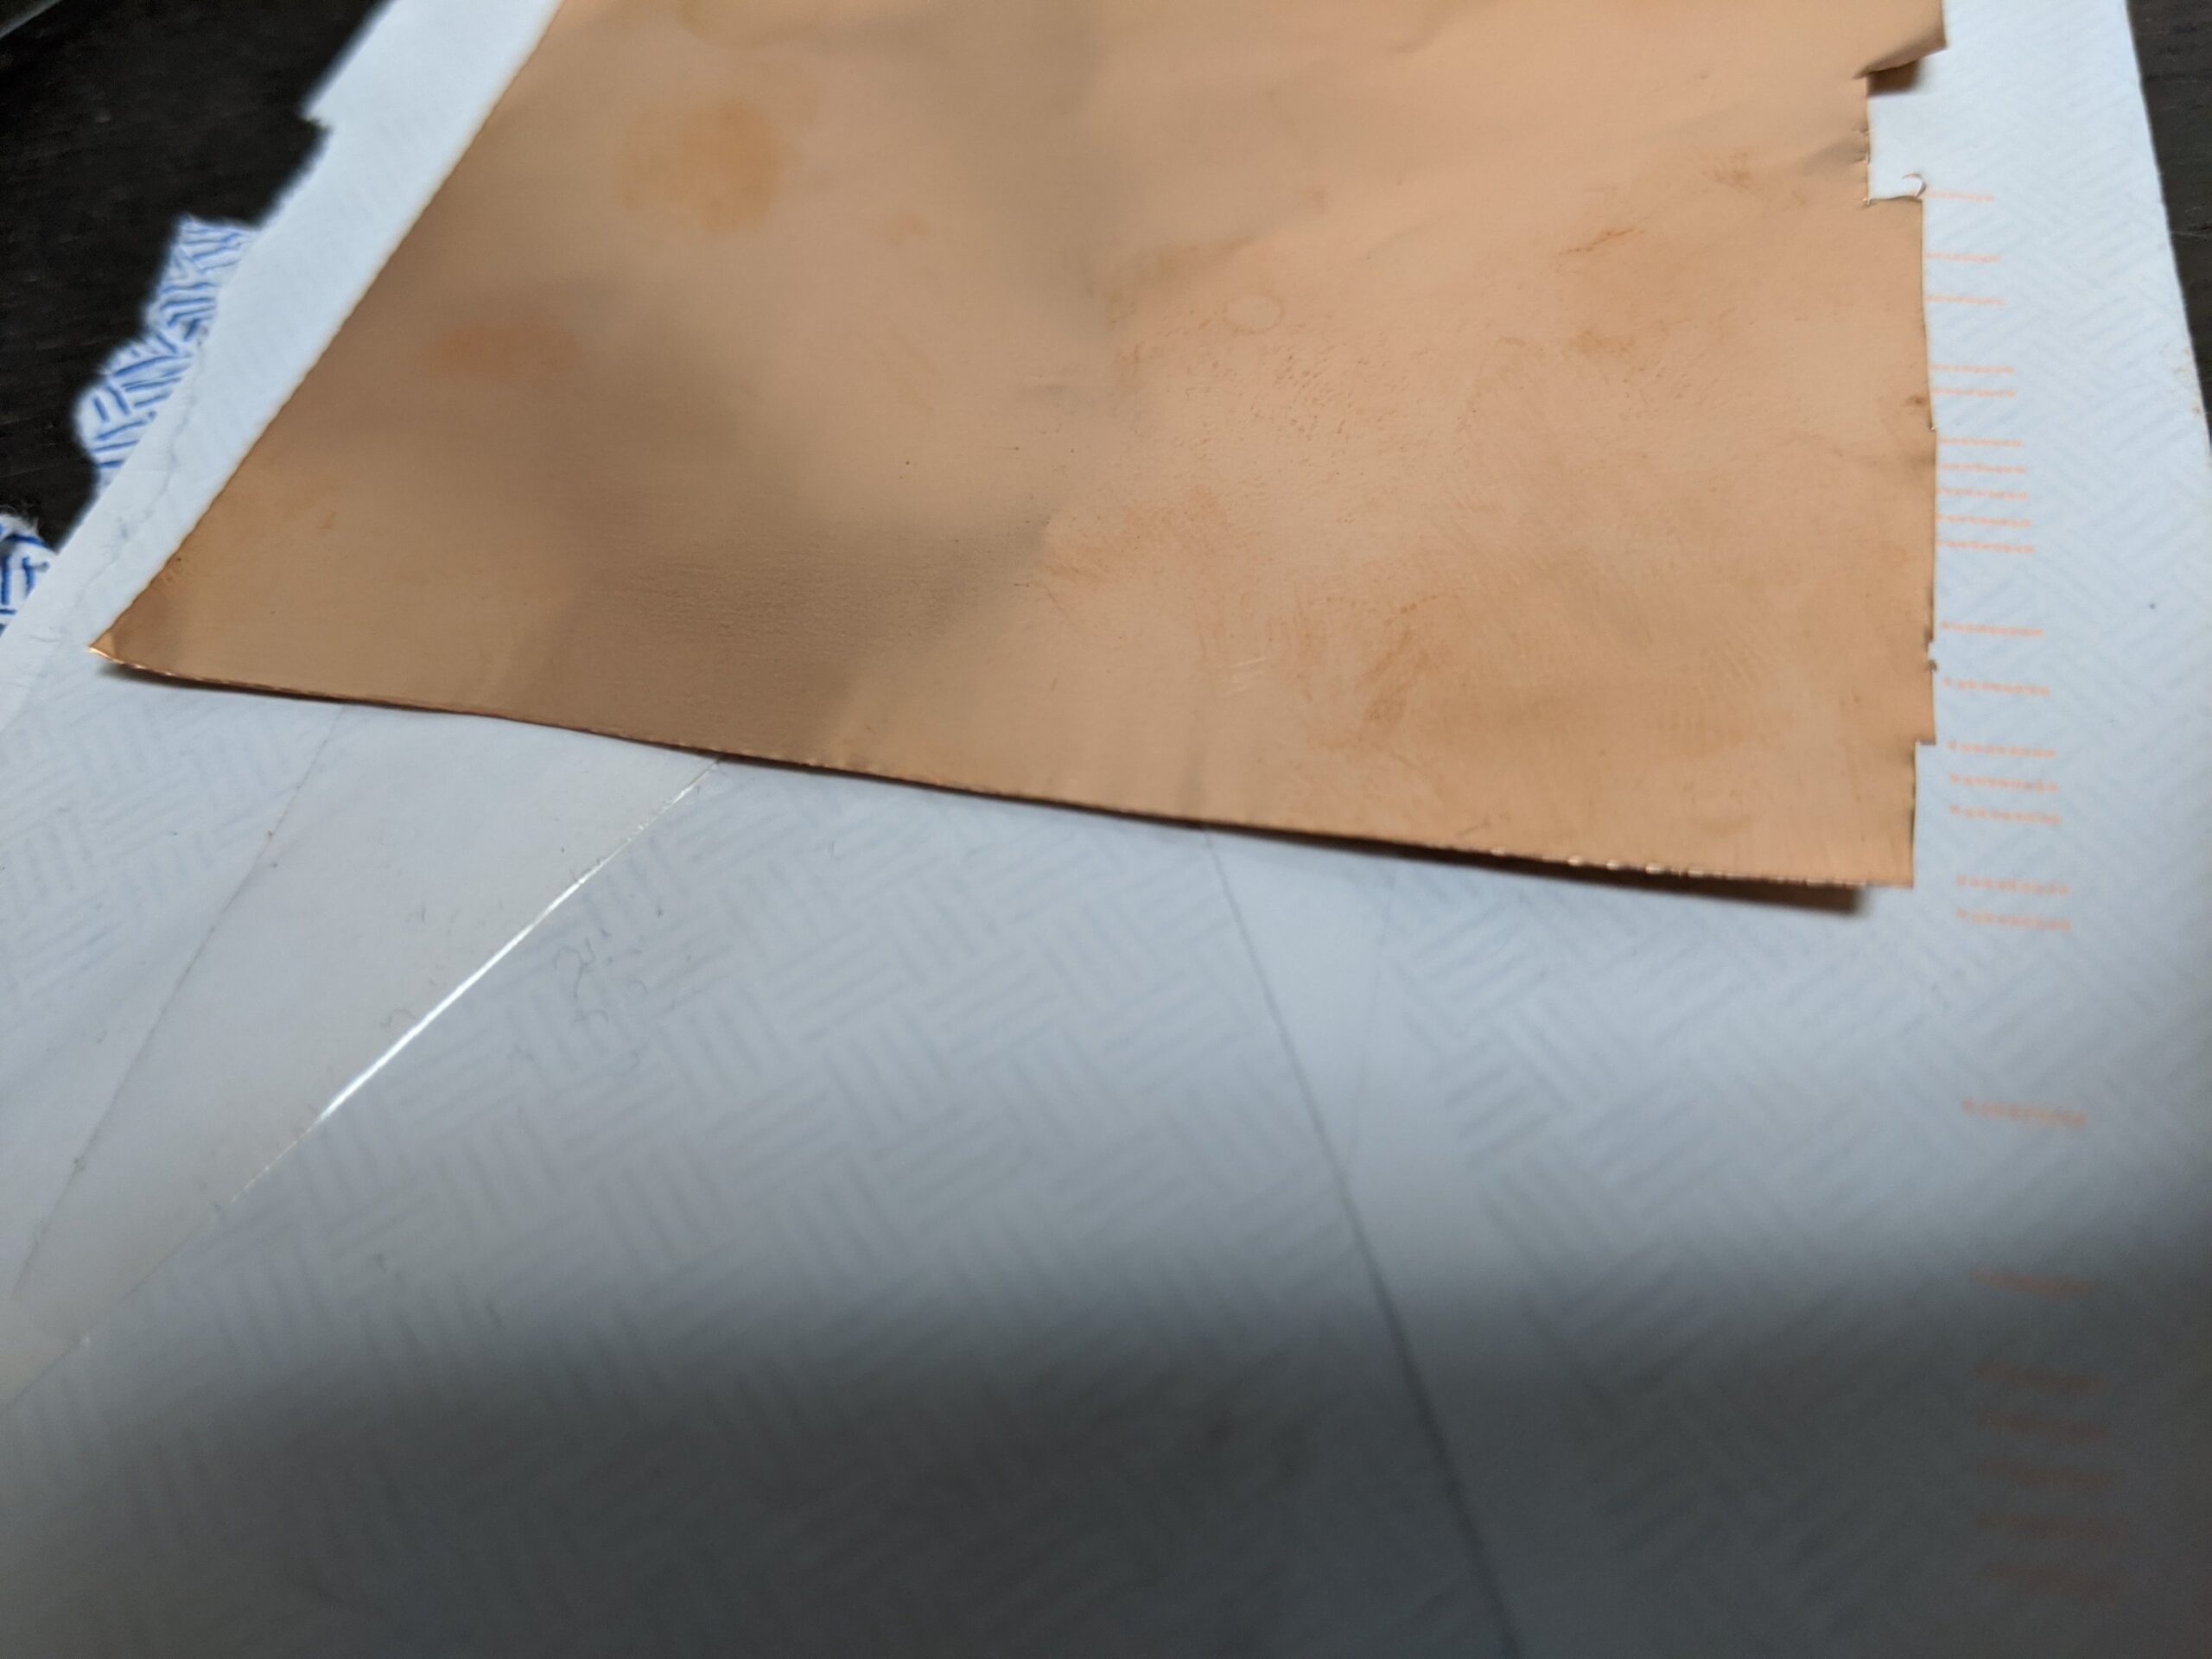
snip snip 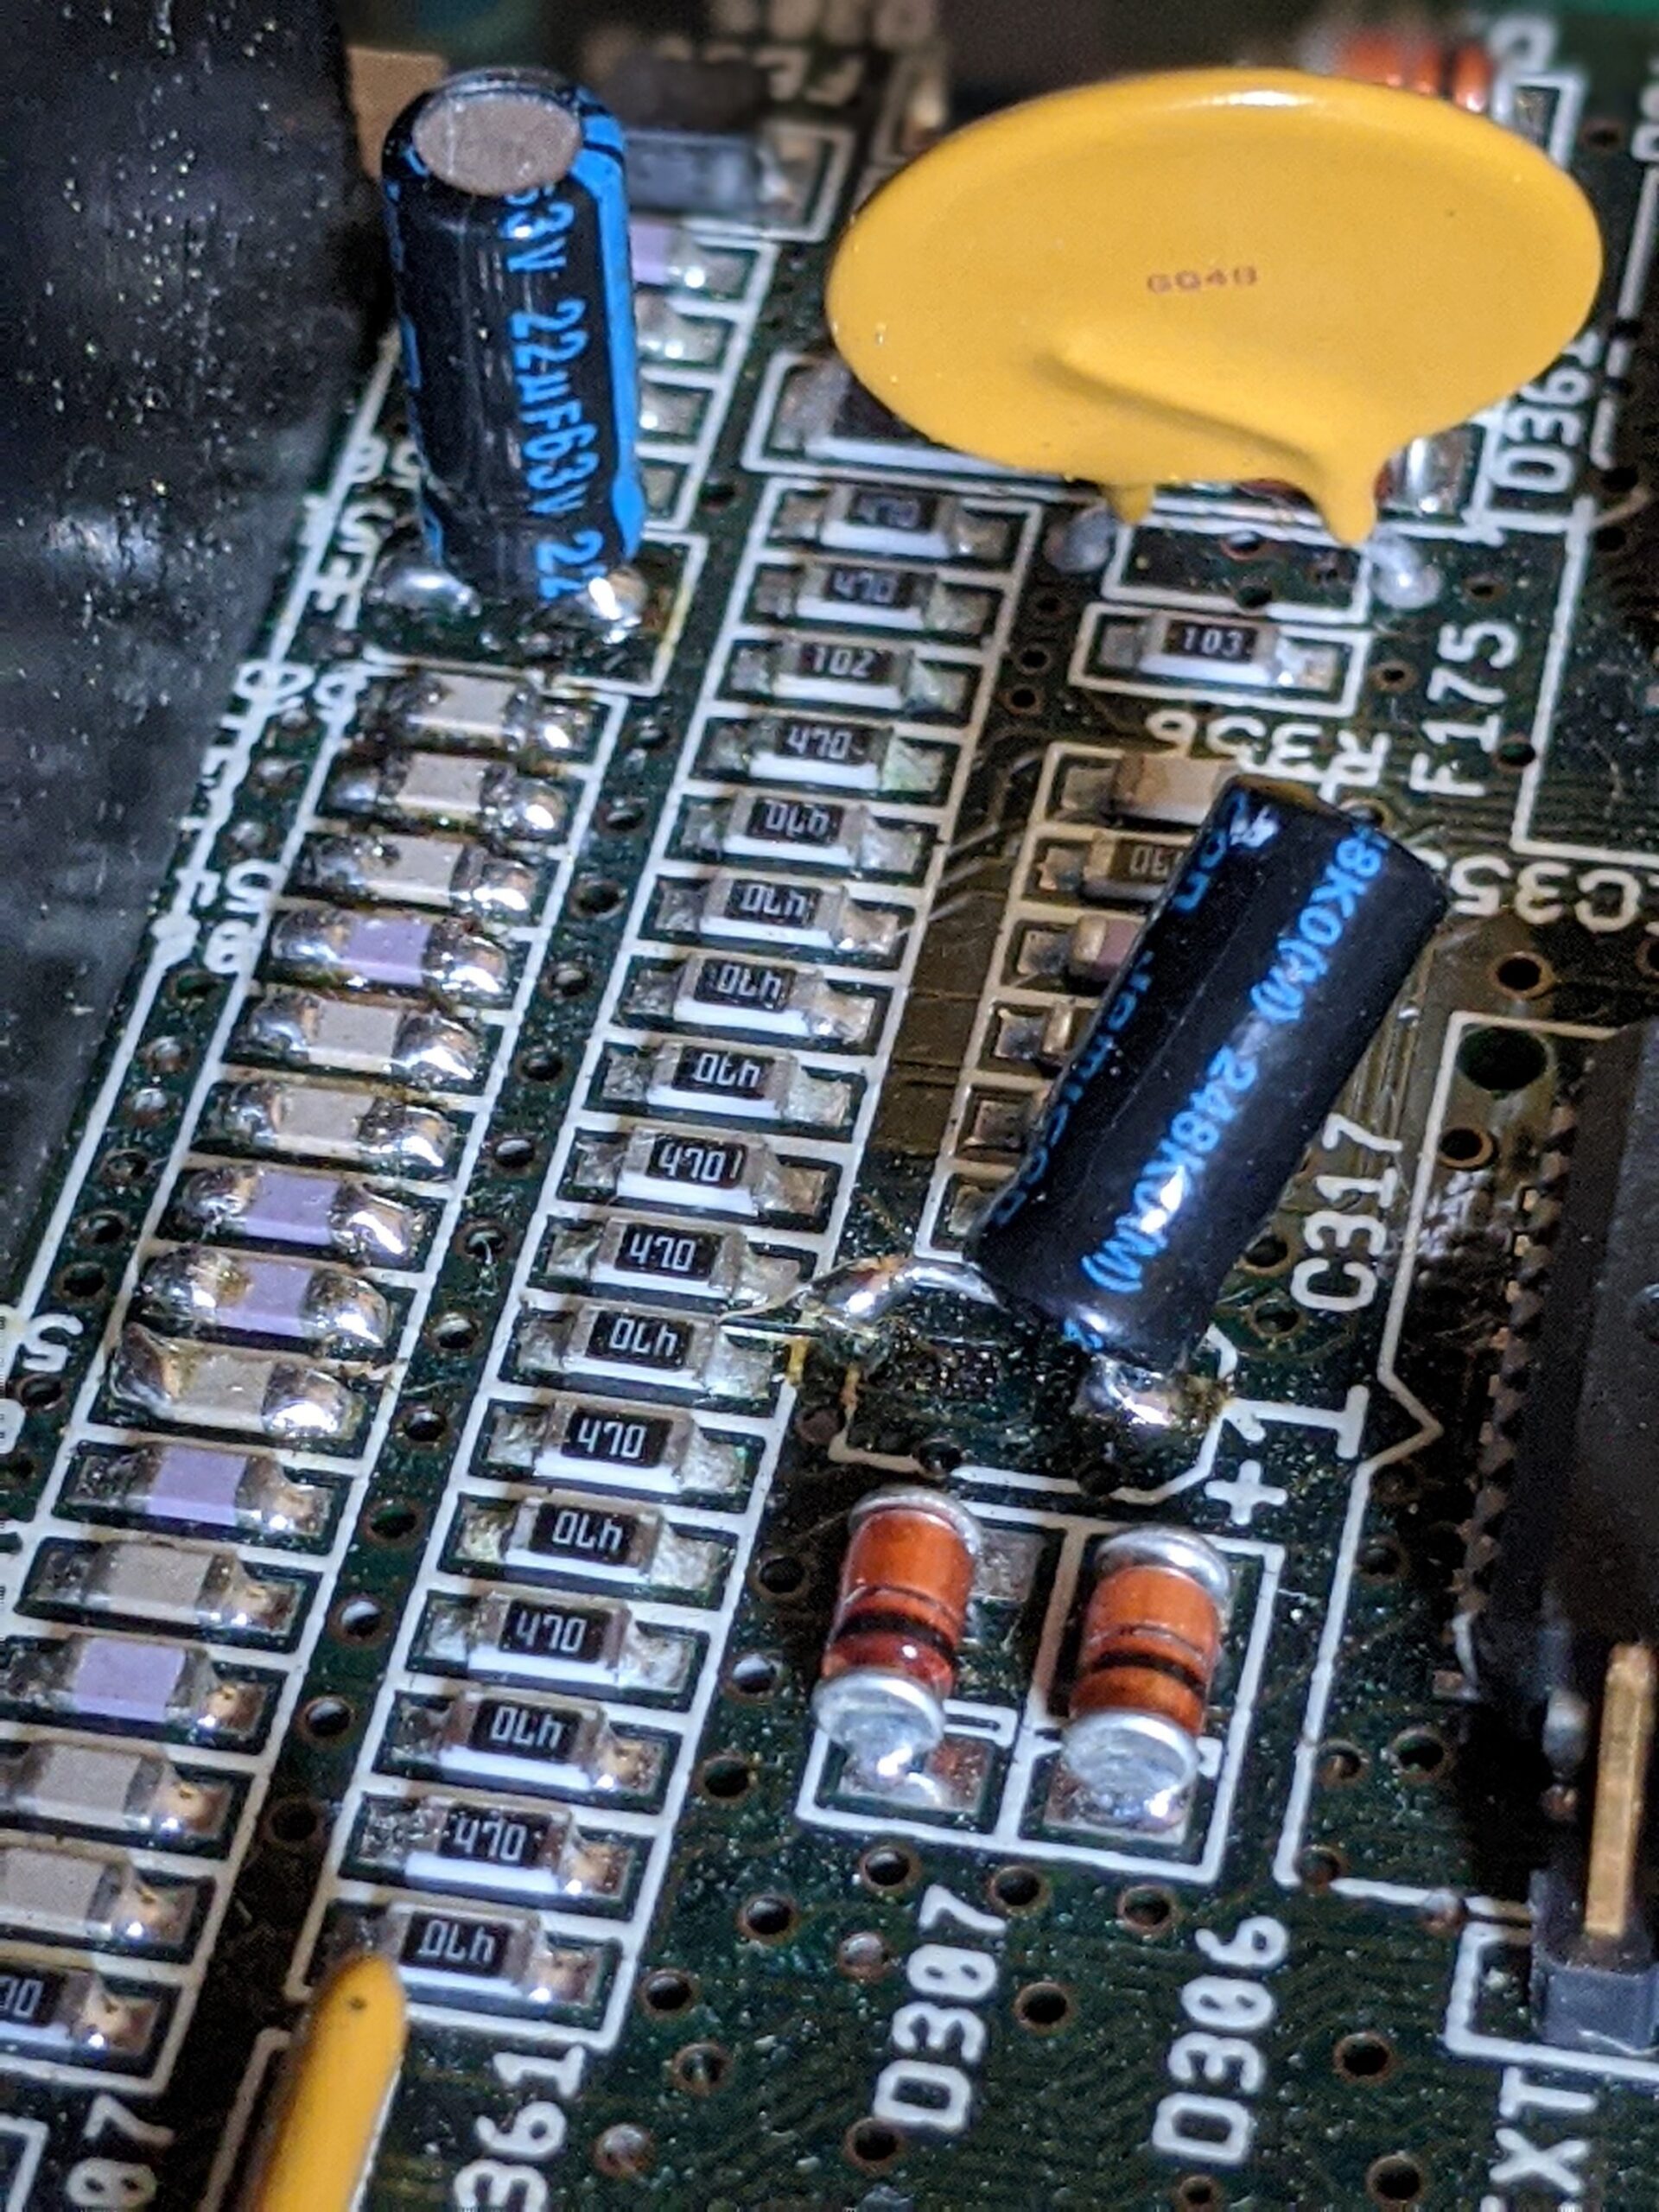
Look at those legs! 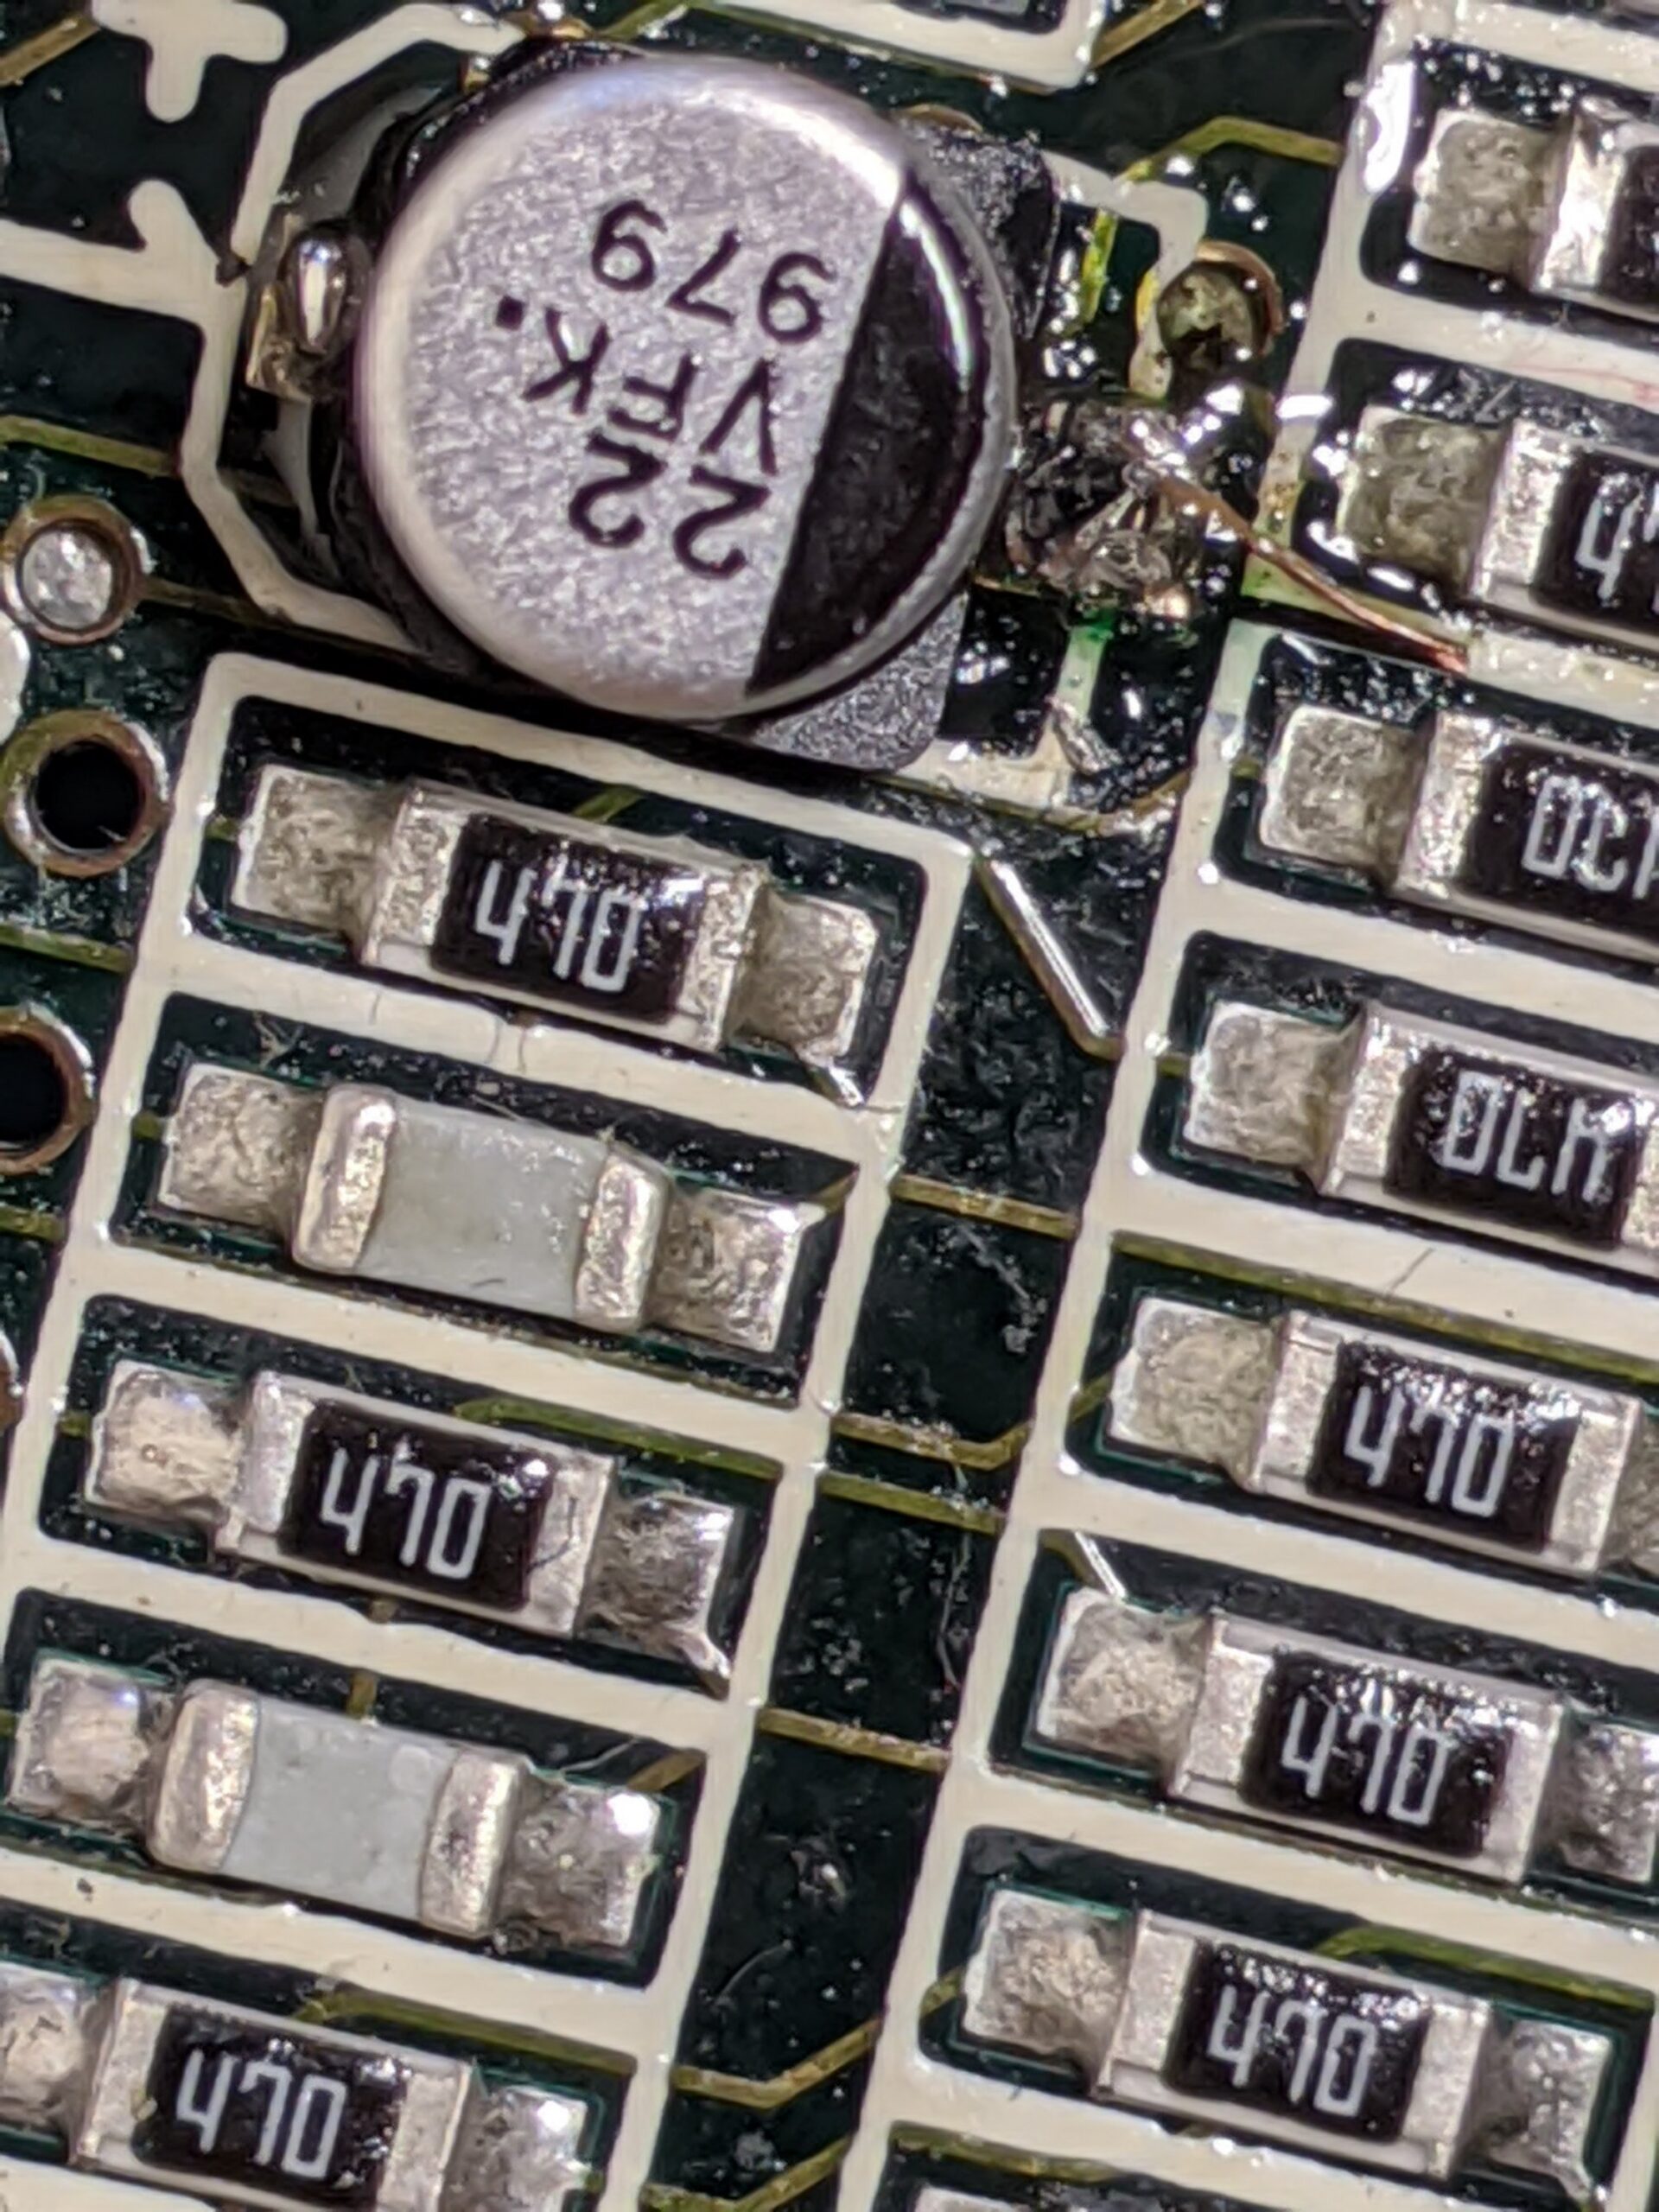

Messy messy, the fact that the pad had to be connected from the other side of the board didn’t make it easier
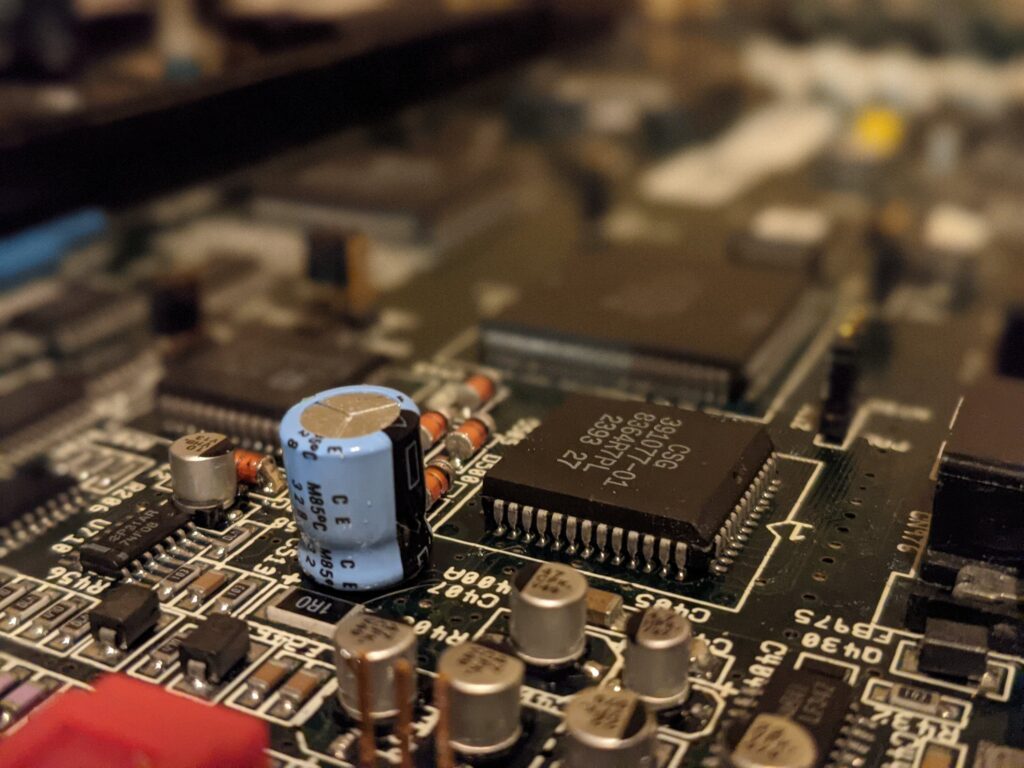
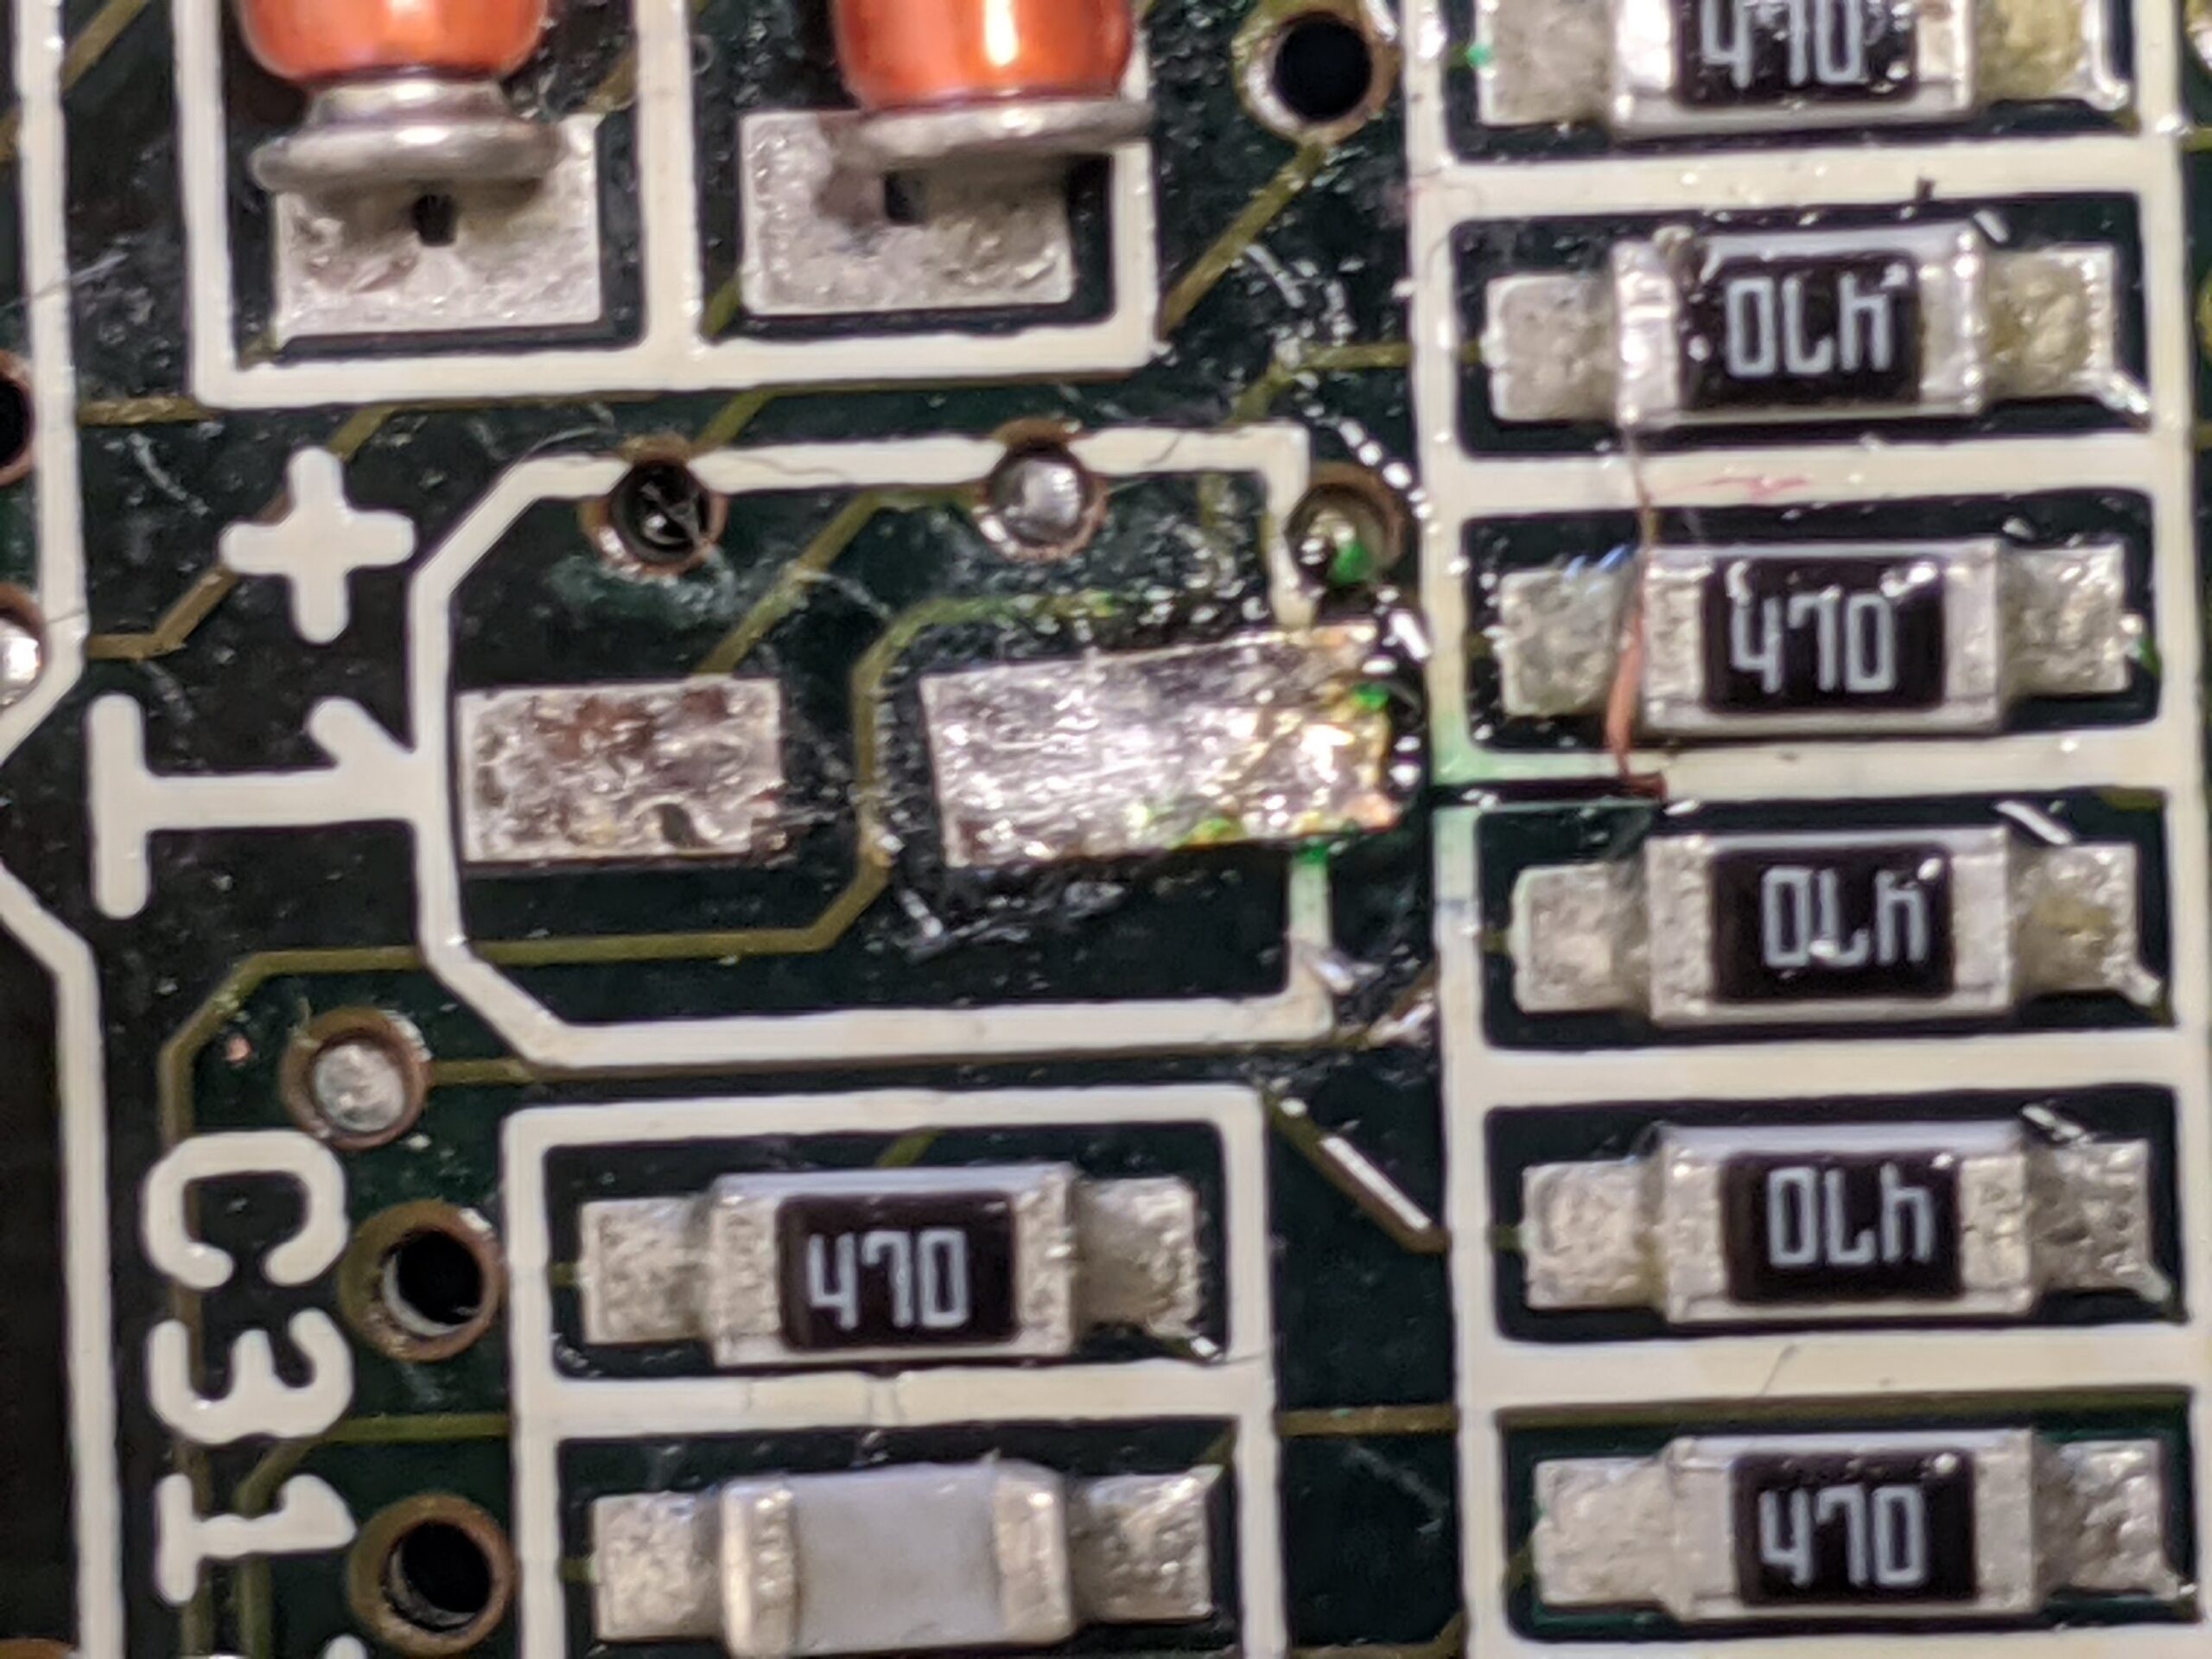
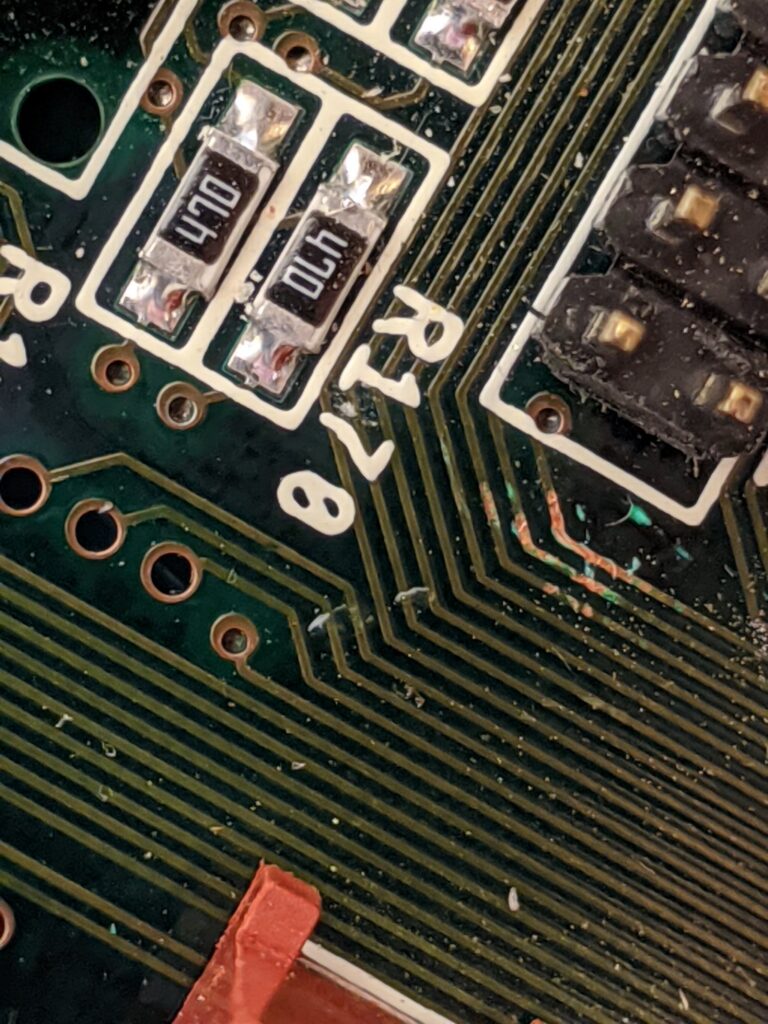
This last capacitor was the toughest one. One of the pads was ripped off and had to be replaced and then reconnected to a close via with a piece of wire.
Like with the A3640, the pad was fixed to the board with epoxy glue which you can see in the pictures with the bright green color. Cutting and gluing these pads is something I need to practice more often. The pad sits firmly on the board, but it didn’t turn out very even or clean. But we have continuity again and something to solder to.
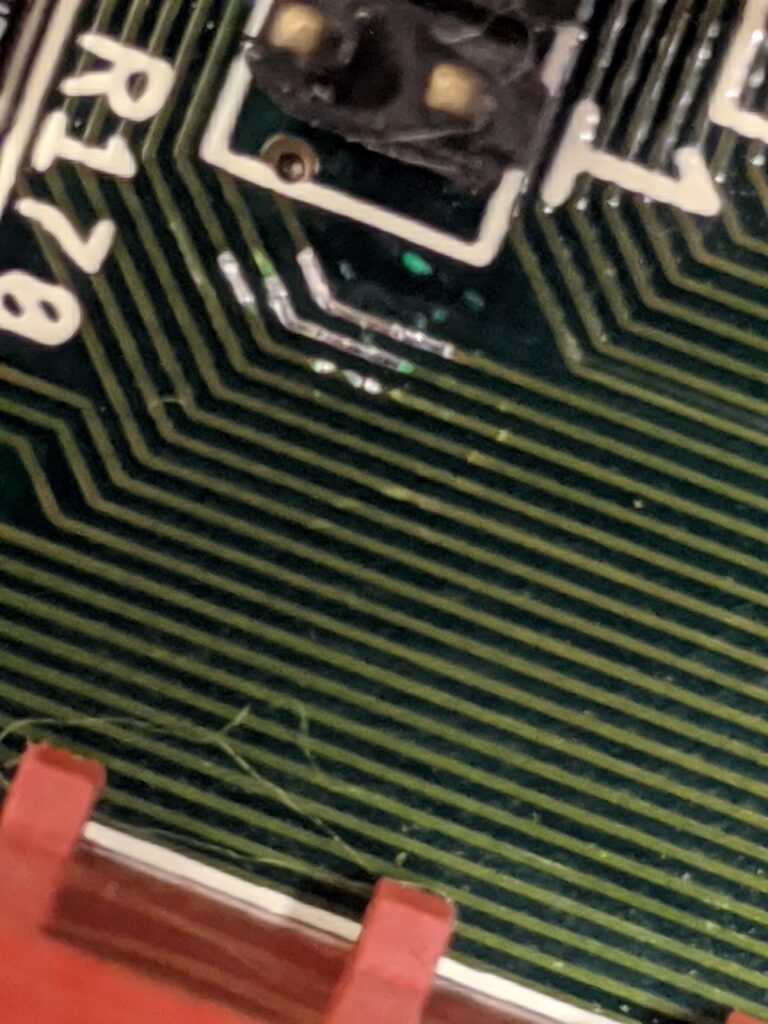
The board had a few issues with IDE devices as well, and so I went on to check that area of the board. These three traces don’t look reliable.
Adding a little solder bridged the cut trace and made the other two a bit more solid
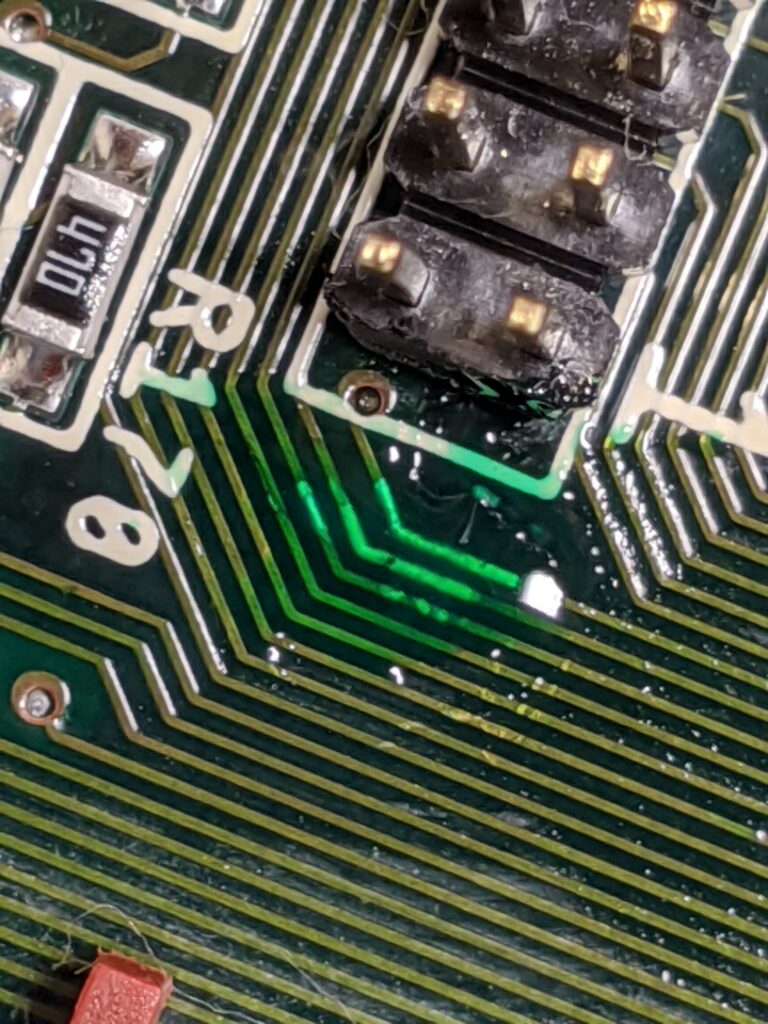
And a little epoxy to protect the traces.
Step by step, this Amiga is getting better again. Going through these photos more than one month and a bunch of practice later, I am now spending more efforts on keeping the board clean before and after the work is being done on it.