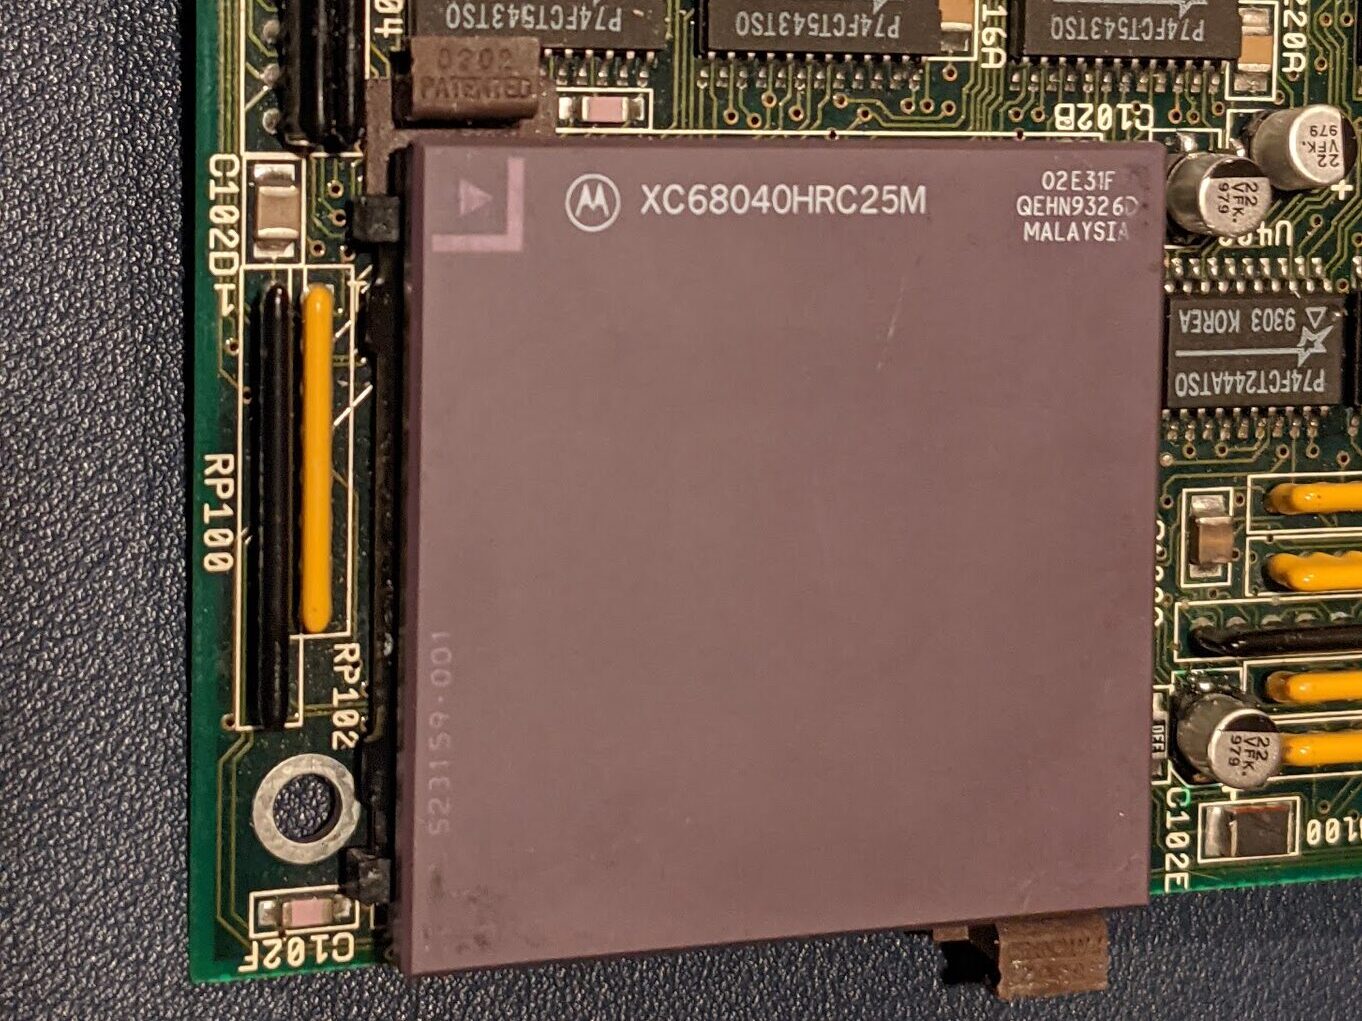
… come in threes, they say, or “Aller guten Dinge sind drei” in my native tongue German. And so I set out to make a third and final attempt at reliably delivering great 68040-to-68060 adapters. Remember, earlier in my adventure I built one of these adapters with a PCB made by OSHpark. I was so excited, that I sold it on eBay and started to make another one. And failed. And another one. And… Well, you get the story here.

Number one looked great. Kind of.

In my second attempt I found out, that I had forgotten to refresh the fill zones in KiCAD – What a rookie mistake, that left half a dozen 68060 PGA sockets dead, soldered onto PCBs where VCC and GND were never connected to the mainboard. The good news? No Amigas, and no 68060s were harmed in the production of that episode. But I promised, I would get this working. At least to myself. I had also disliked some of the characteristics of the old design.

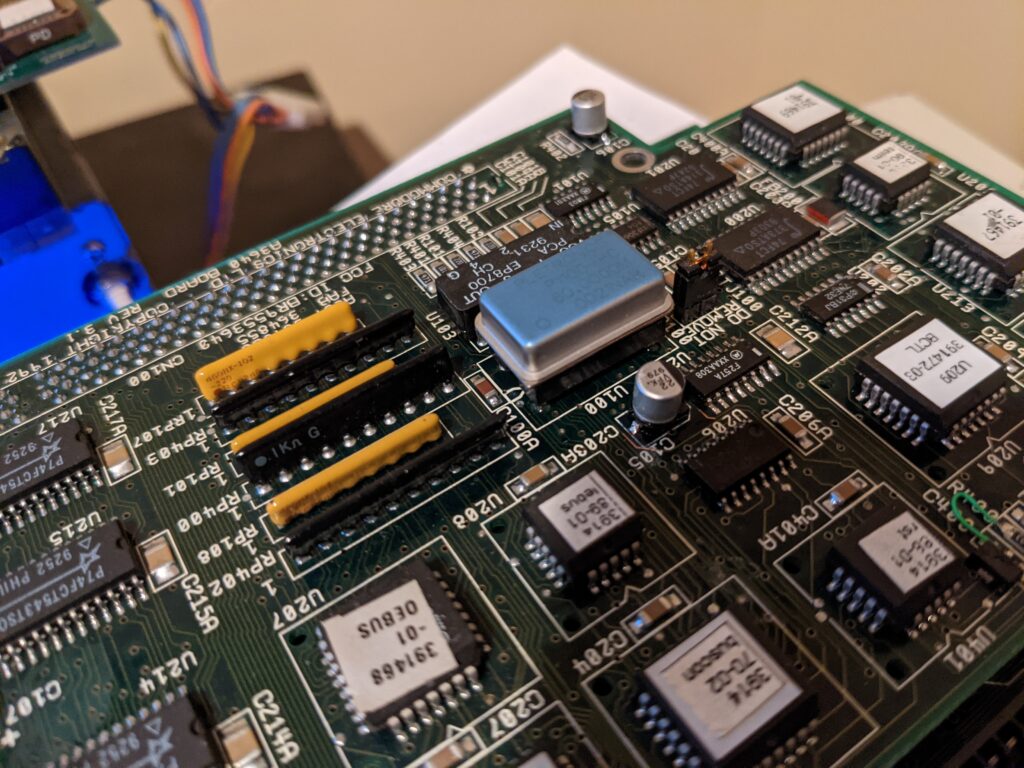
  • I had to dremel the sockets I got into shape because they tried to occupy the same space as the other parts on the PCB, in clear violations of the physical laws of this time-space.
  • The interconnect between the two boards was oddly misaligned with the rest of the pins, making it impossible to use the substrate of the socket to keep them nice and tidy (and giving another reason for more dremeling. UGH)
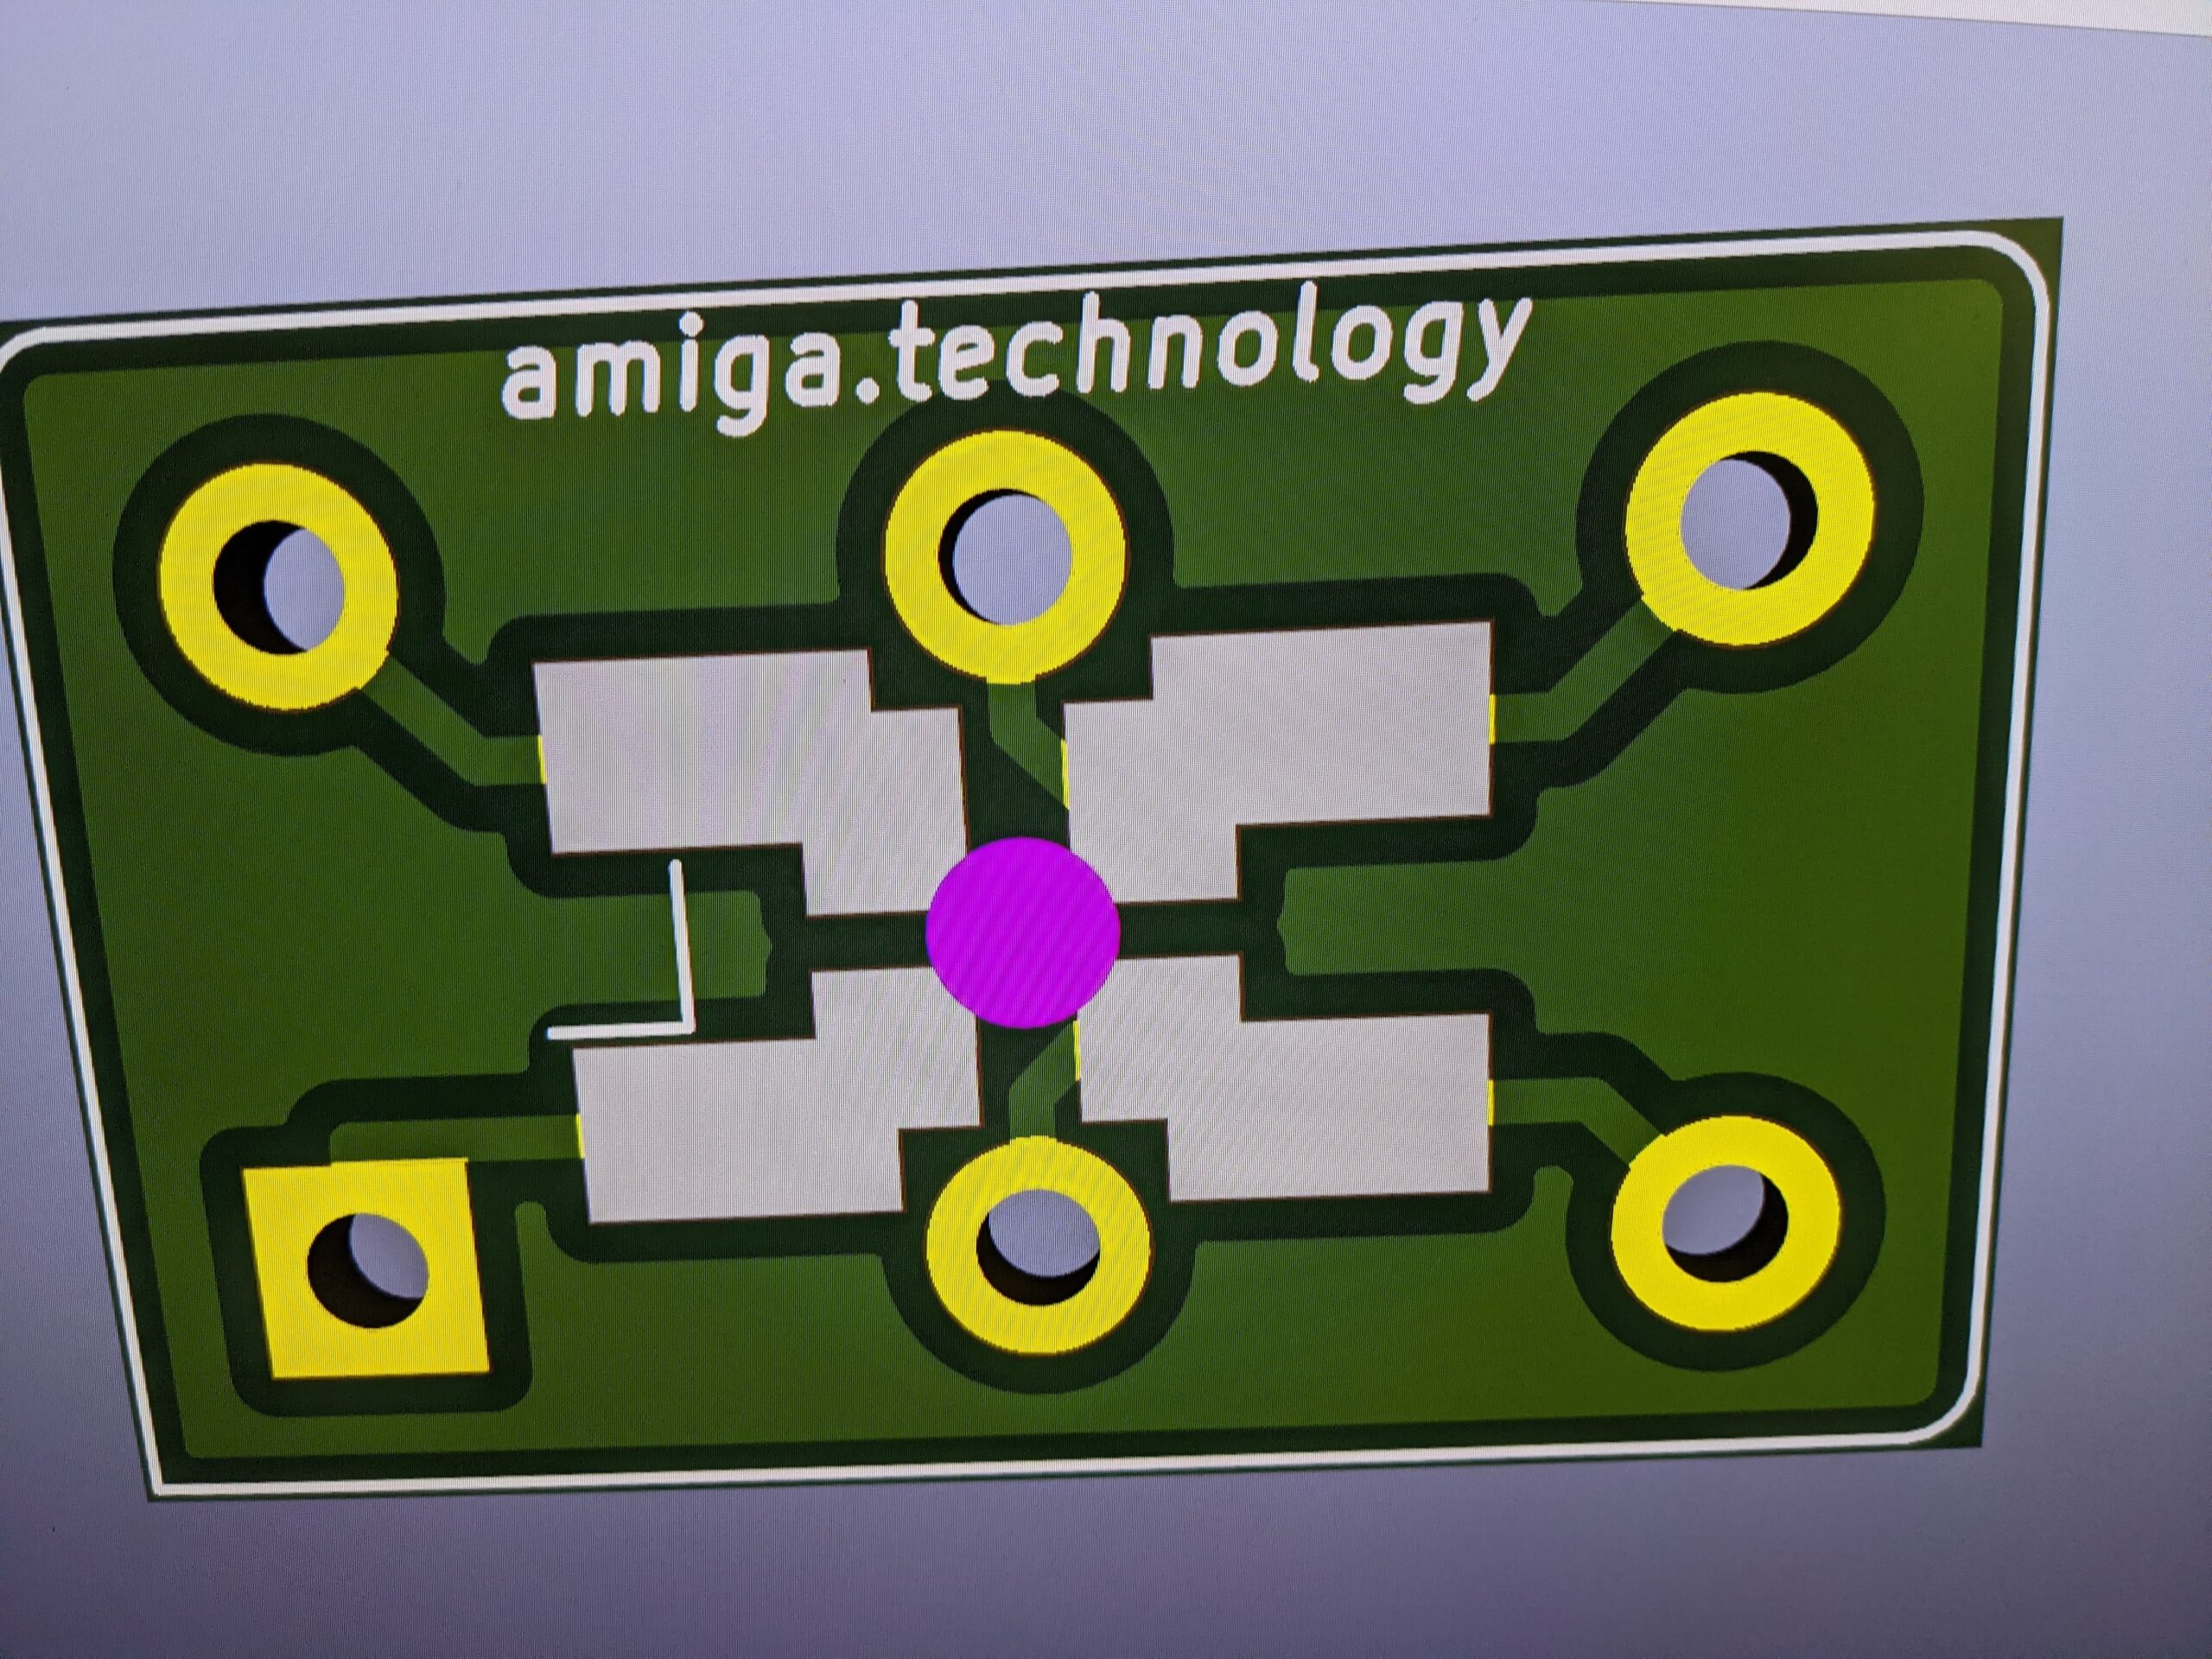
  • Compared to the original design the KiCAD version by richx used single resistors instead of resistor networks. For the sake of space, those could be replaced by nice little 0603 RNs.

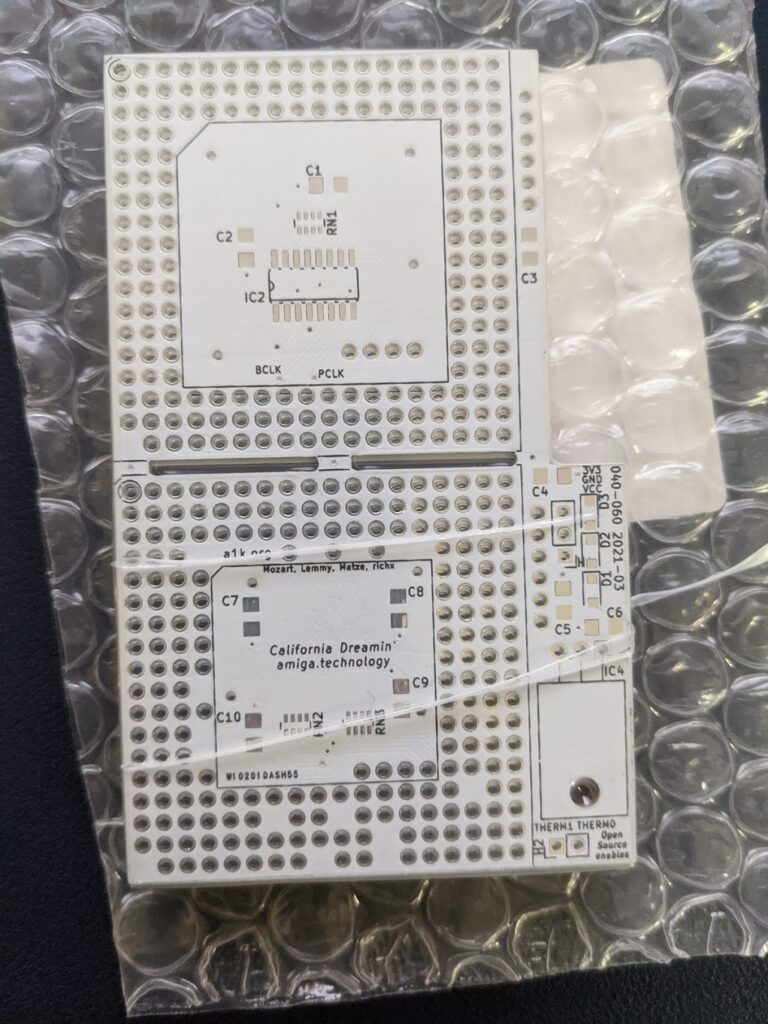
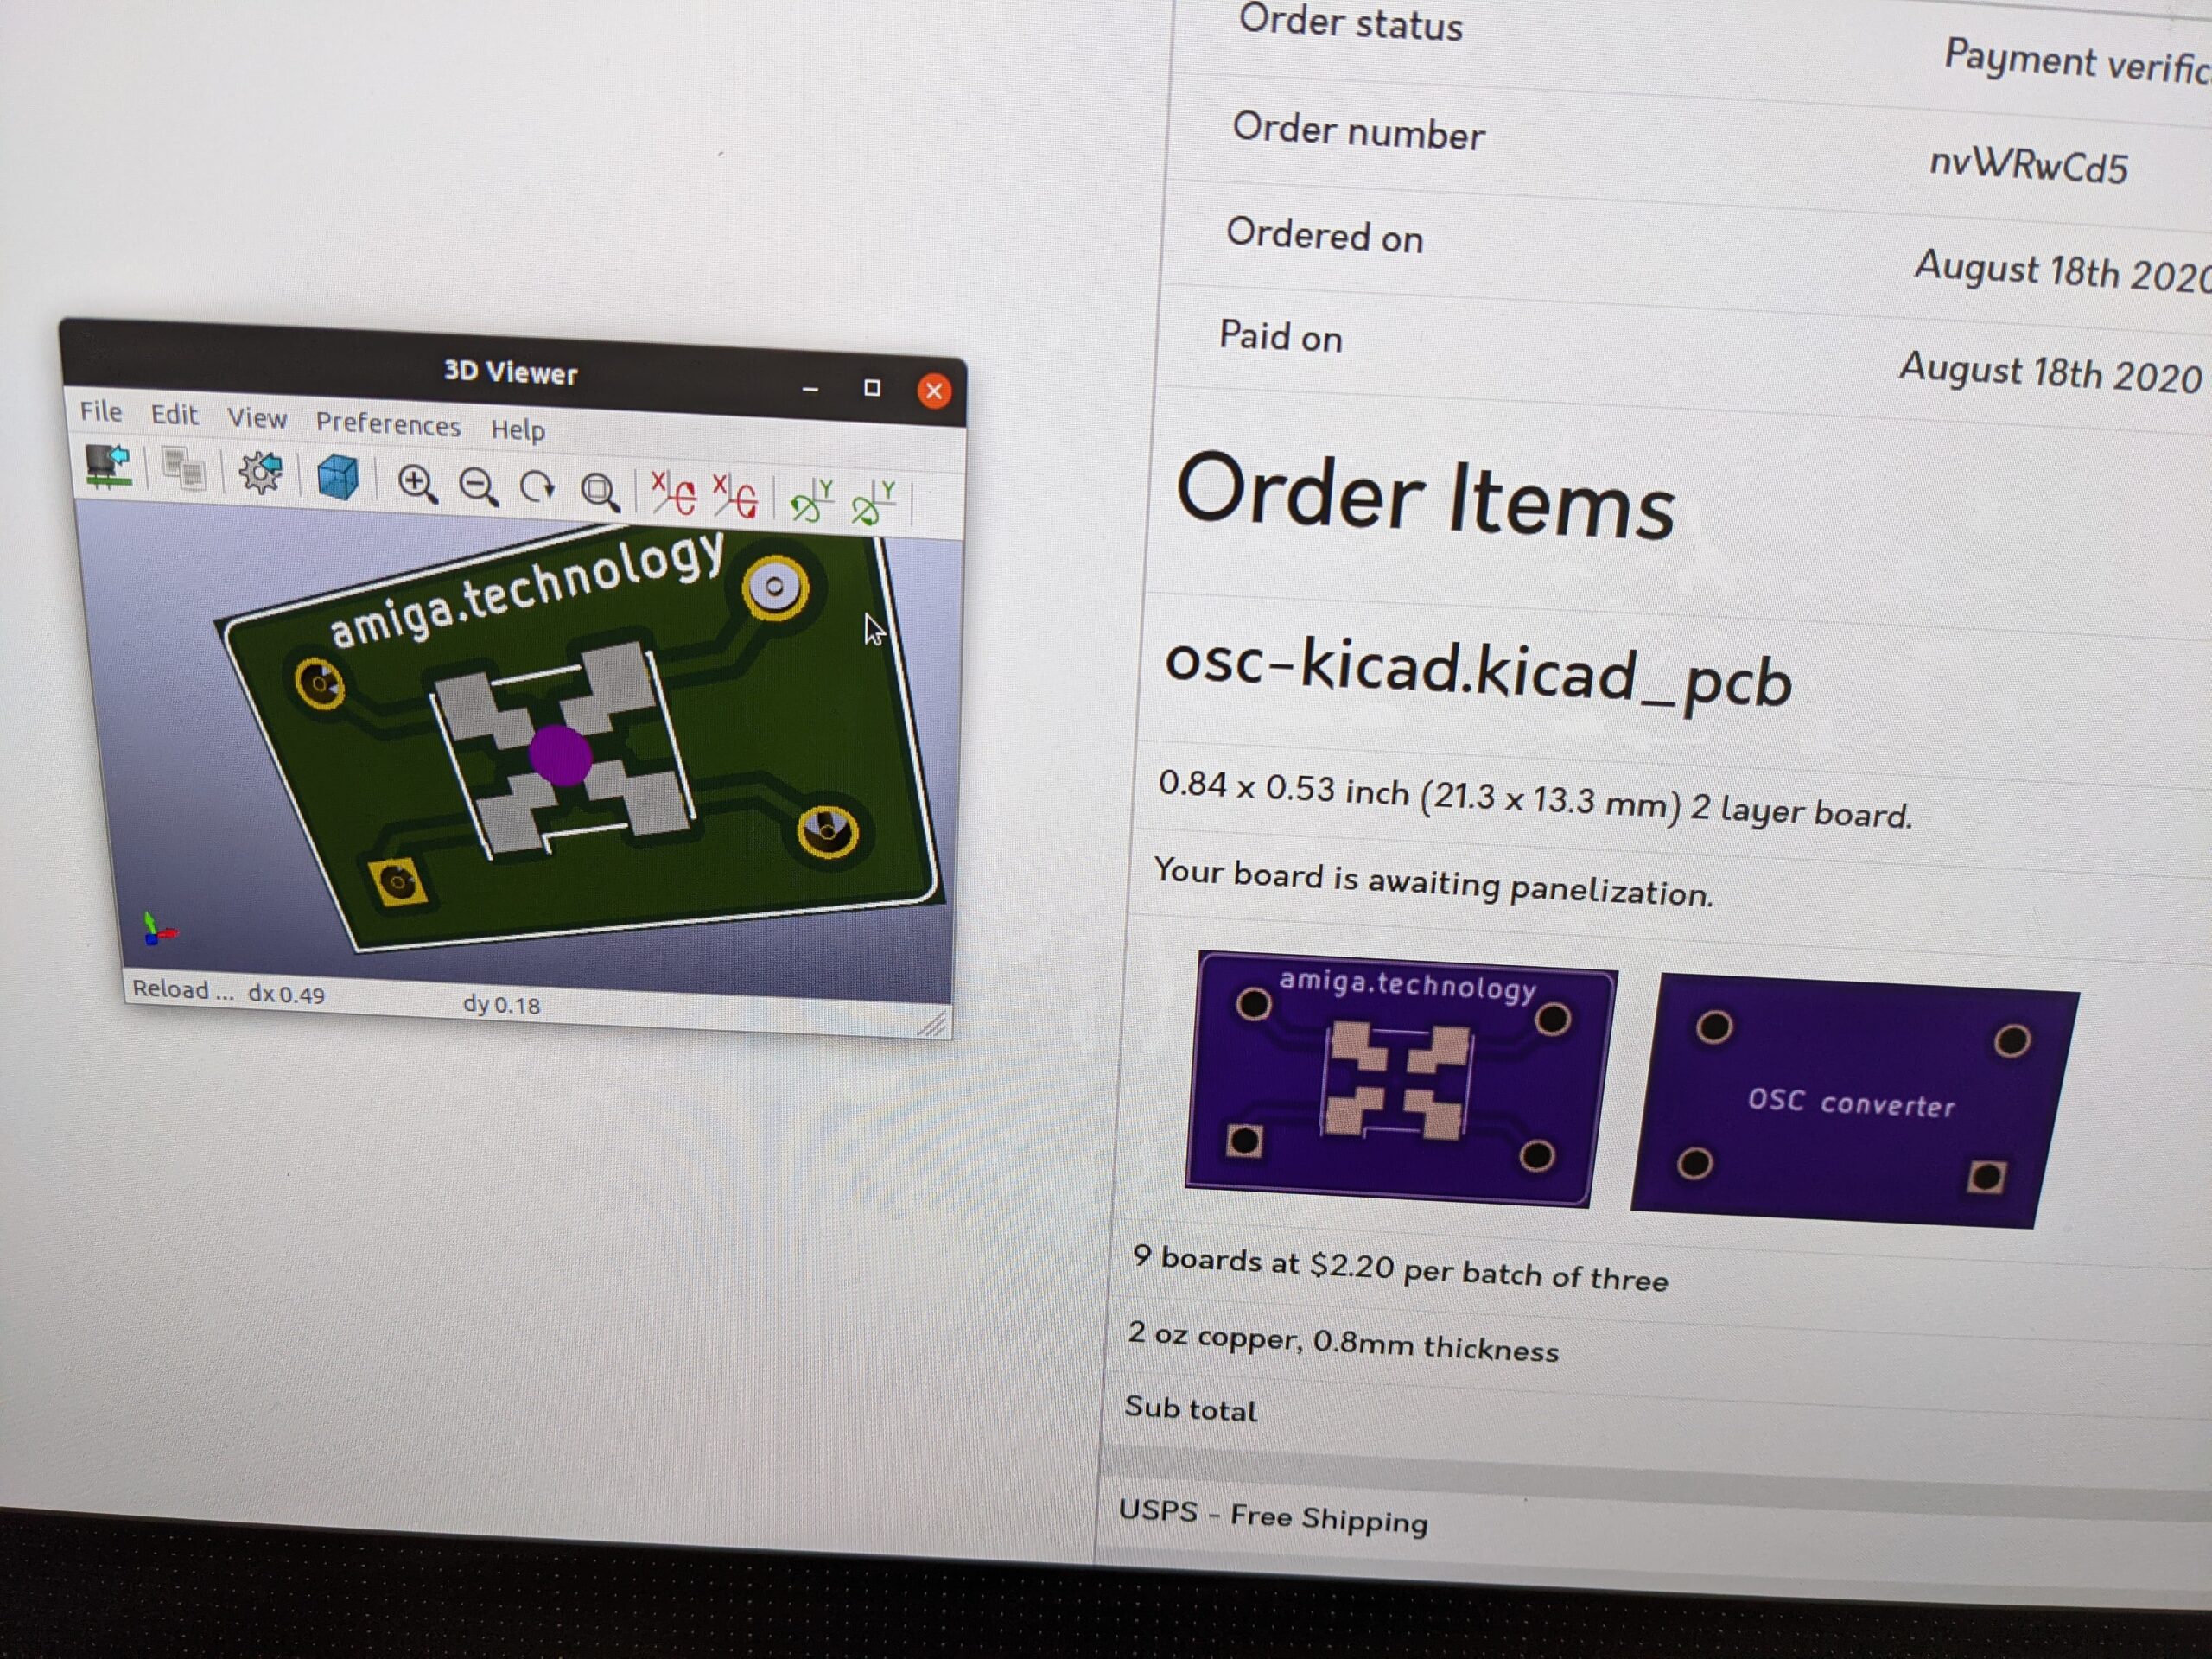
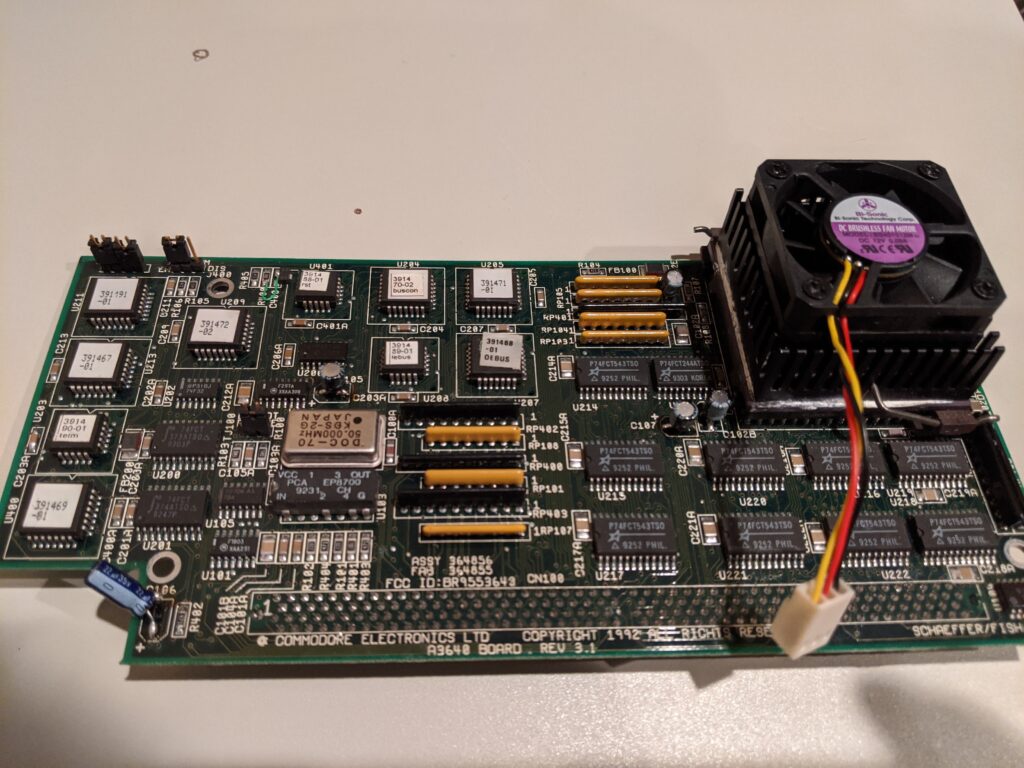
An evening with KiCAD and a few more days of waiting on a PCBway delivery, and here it is:

Exciting! New PCBs (with GND connection!)

Read More


Back in the late 80s and early 90s, when the Amiga was relevant as a technical revolution, I was never able to lay my hands on anything beyond an 68000 with 7.14MHz. Years later, around 1997, I acquired an Amiga 3000 with 25MHz as part of one of my university side gigs of porting software from various UNIXes (in this case SCO Unix) to Linux. But a 040 or even 060 was far out of reach until I was well into my first full time job at SUSE Linux when I got a Cyberstorm MK1 that – as we know – doesn’t fit into the A3000. Long story short, the first time I actually ever ran an Amiga with something faster than the 68030 @ 25 was around …. Christmas 2019.

As life happens, and we sometimes overcompensate for our youth’s desires as we grow older, I added one of Chucky’s A3660 rev 1.1 to my collection, (built by Nicolas Baumgardt who lives in Switzerland, but only few miles from where I grew up and hacked on the Amiga back in 1987) that so far consisted of the A3640 that screamed for pad replacements and recaps.

Along the way I learned that the Amiga CPU local bus is really a 68030 bus, so memory access on everything above a 030 has to be translated and is then slightly slower than with an actual 68030. Ouch.

I also learned that the Zorro III slot is not really all that great. Well, Super Buster is not in its current implementation. While the theoretical maximum of Zorro III beats the first PCI standard, the actual implementation is stuck at 8-10MB/s memory access speed. We need an update Dave Haynie! Then our BigRAM+es could be really super awesome!

But back to … back to the 68060. Once I tasted the sweet excess of the Motorola flagship’s raw CPU power, and when I got my beautiful Hakko soldering station, I had to upgrade my 3640 to a 060 processor as well.

Read More


… When I have been playing my overclocking games, I was sourcing a lot of oscillators from eBay. One thing I noticed was that there are a lot more choices for modern SMD oscillators than for the old DIP14 tin cans. As a matter of fact, I found 50 and 100MHz oscillators in all sizes quite easily, but what if you want to go up gradually, say 105 or 108 MHz? Maybe I looked in the wrong places, but I was out of luck.

A solution had to be found, and that was to put a rock under the clock to make it fit. And of course I was just looking for a project simple enough to try and build something with KiCad.

The rock: oscillator adapter board

Being a hardware developer in 2020 is almost as easy as being a software developer in 1980. You basically need a computer and a lot of patience.  Once my KiCad design was done, the first version was quickly uploaded to OSHPARK. This place is fabulous. Want to try some hardware really quickly? Get three boards of decent build quality and great looks for two bucks in the mail, with no delivery fees. It’s almost paradise.

The order process is simple and small design are not discouraged by 15 dollar delivery fees

Read More


Lots of things happening at work, so it’s good to do a little meditation by soldering in the evening. Guillaume sent me a Greaseweazle kit but the STM32 still looks like the next level of soldering to me. It makes 0805 components look large. I’m missing a 74F257 that was lost in the mail, so the 060 adapter has to wait for a while. But there are other ways to treat an A3640 rev 3.1.

First, a socket for the oscillator will make it easier to test a little overclocking.

The 68040@25MHz worked nicely with a 60MHz oscillator, pushing it up to 30MHz.

Since the A3640 provides the clock for the Amiga mainboard, the chipset and memory will get a tad faster, too. This hack is super easy and will cost you 2 bucks for a socket and an oscillator.

The next and a little more involved one is an upgrade of the v3.1 card to v3.2. Gladly this is a simple GAL update, but unfortunately the GALs are not socketed. This leads to a brief intermezzo with my favorite tool ever, the hot air rework station.

The kapton tape job was a bit sloppy and over eager

Read More


When I got my A4000 late last year, I could not have been a happier kid. I fleas surprised to get it for a fabulous price and it arrived just in time before the holidays.

The A3640 was a good first victim. Notice the through hole caps that ripped off the pads

That joy lasted until I noticed that there was no mouse, a Super Buster r6 (WTH) and a semi-professionally done replacement of all the capacitors on the board. Unfortunately through hole caps were used in the recap process.

You will find enough discussion about this on the internet, and people will suggest all sorts of craziness, like twisting off old caps or putting through hole caps on SMD pads. These are all terrible ideas. Don’t do it. If you have an Amiga (or any 30yr old computer), do it right or pay somebody to do it right. Recap services are not expensive and are definitely worth it.

One of the tricky parts is that the silk screen on the A3640 is incorrectly showing the direction of three capacitors. Make sure to consult the schematics.

Ruined! It is ruined! Or is it?

Read More