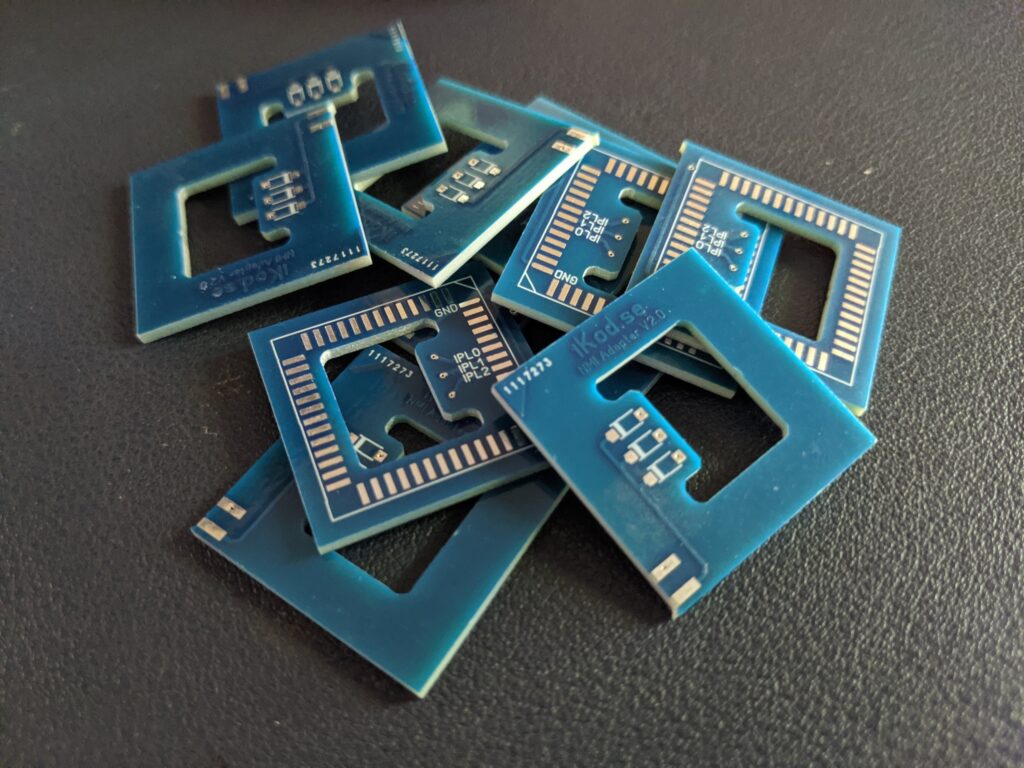
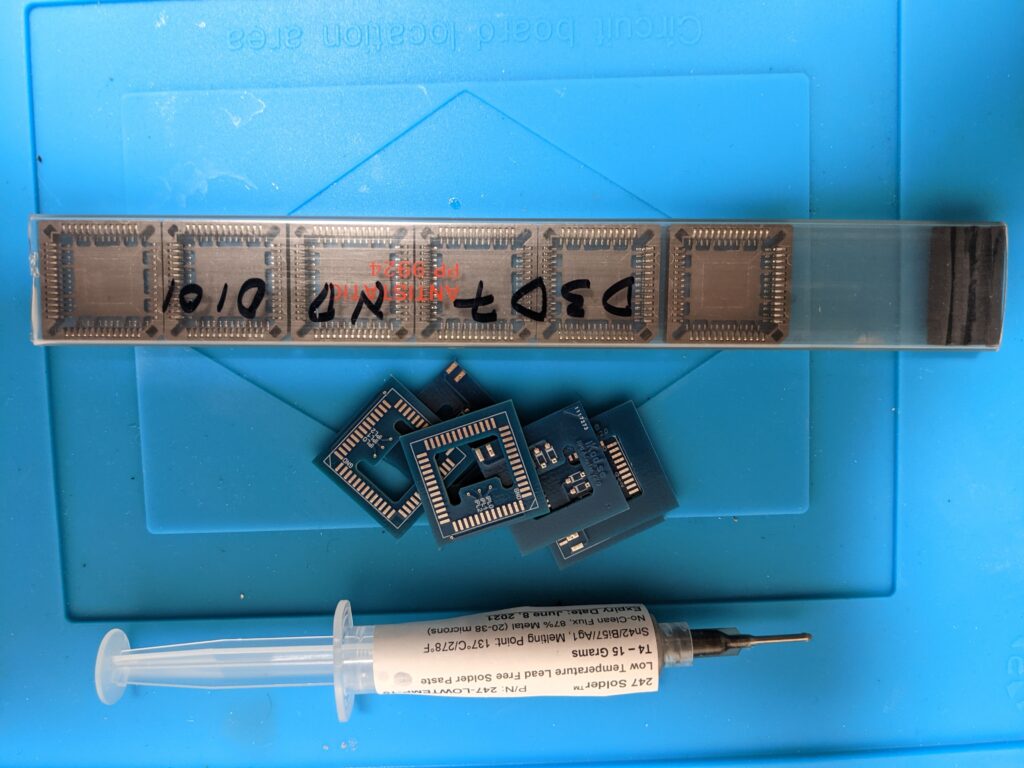
Alright, there is some progress on the front of my 68040 to 68060 adapters. In the last month I have made a serious improvement of my lab: a simul focal microscope with double boom stand.

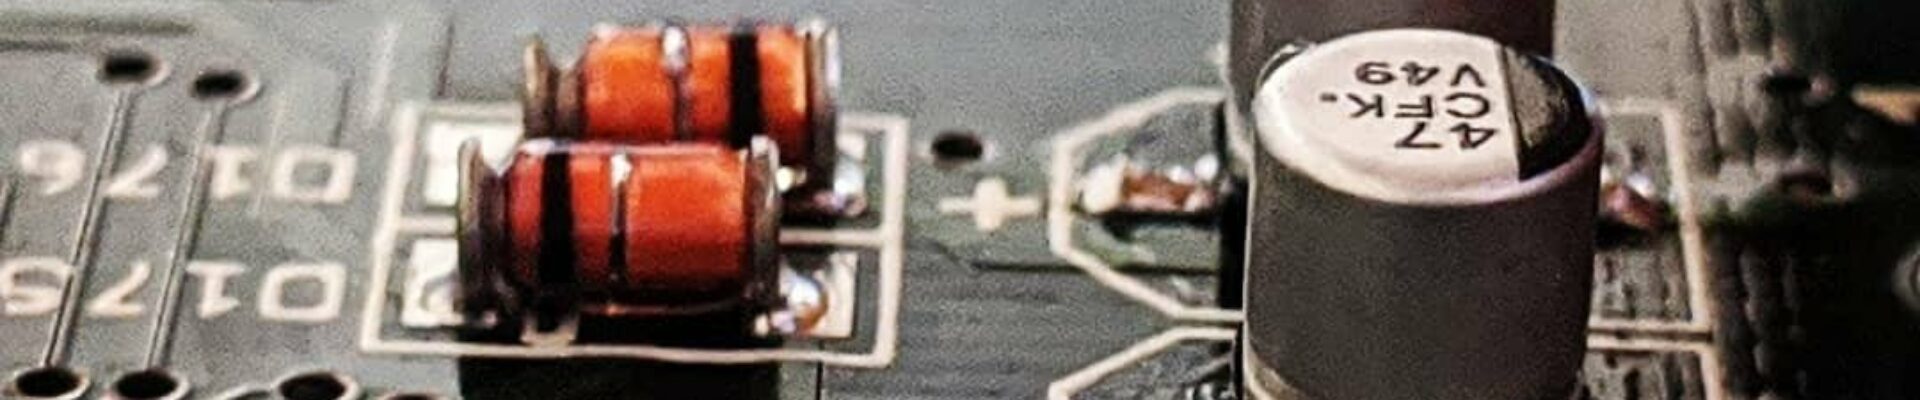
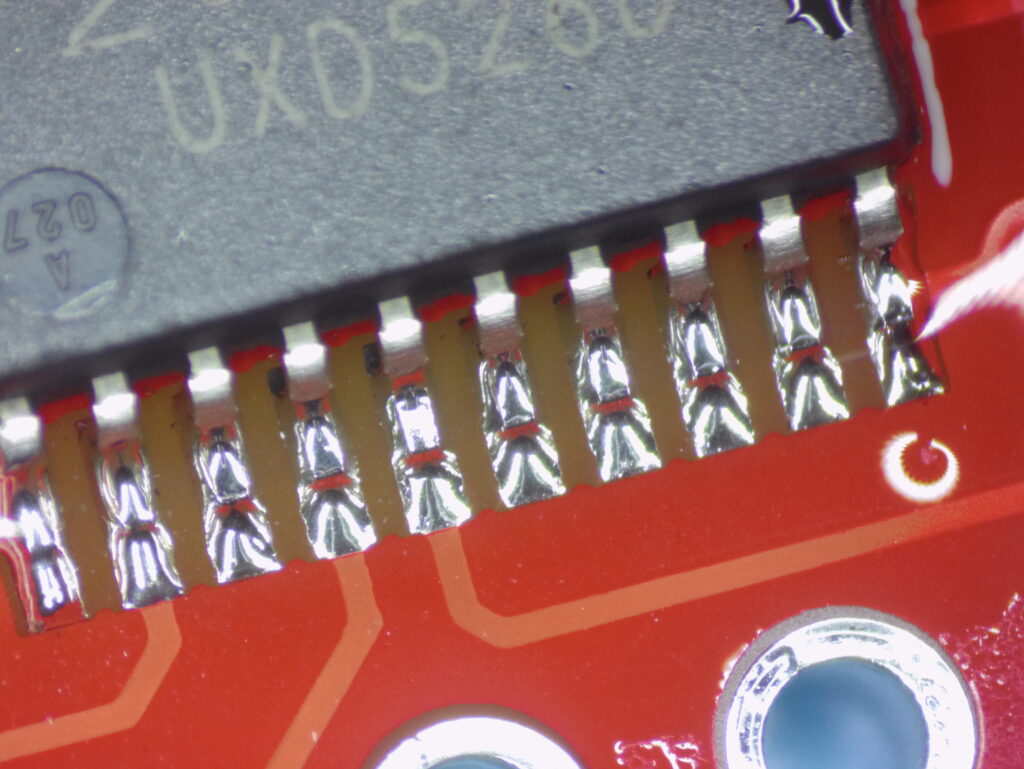
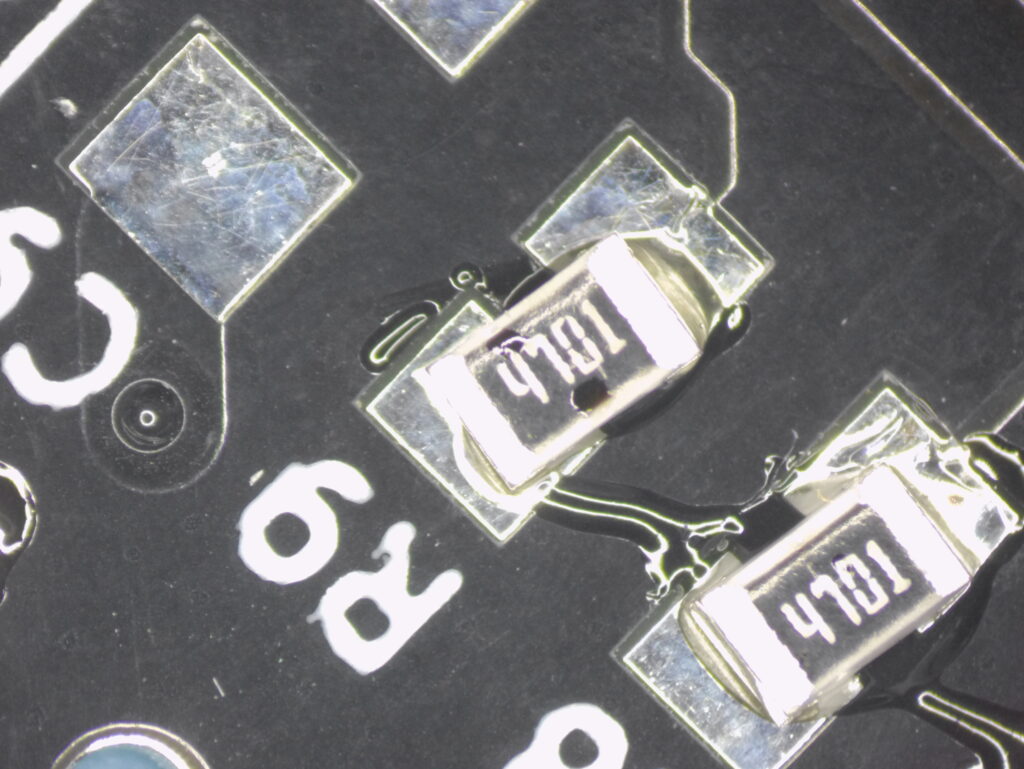
This has vastly improved my ability to see what I am actually soldering, instead of almost flying blind.

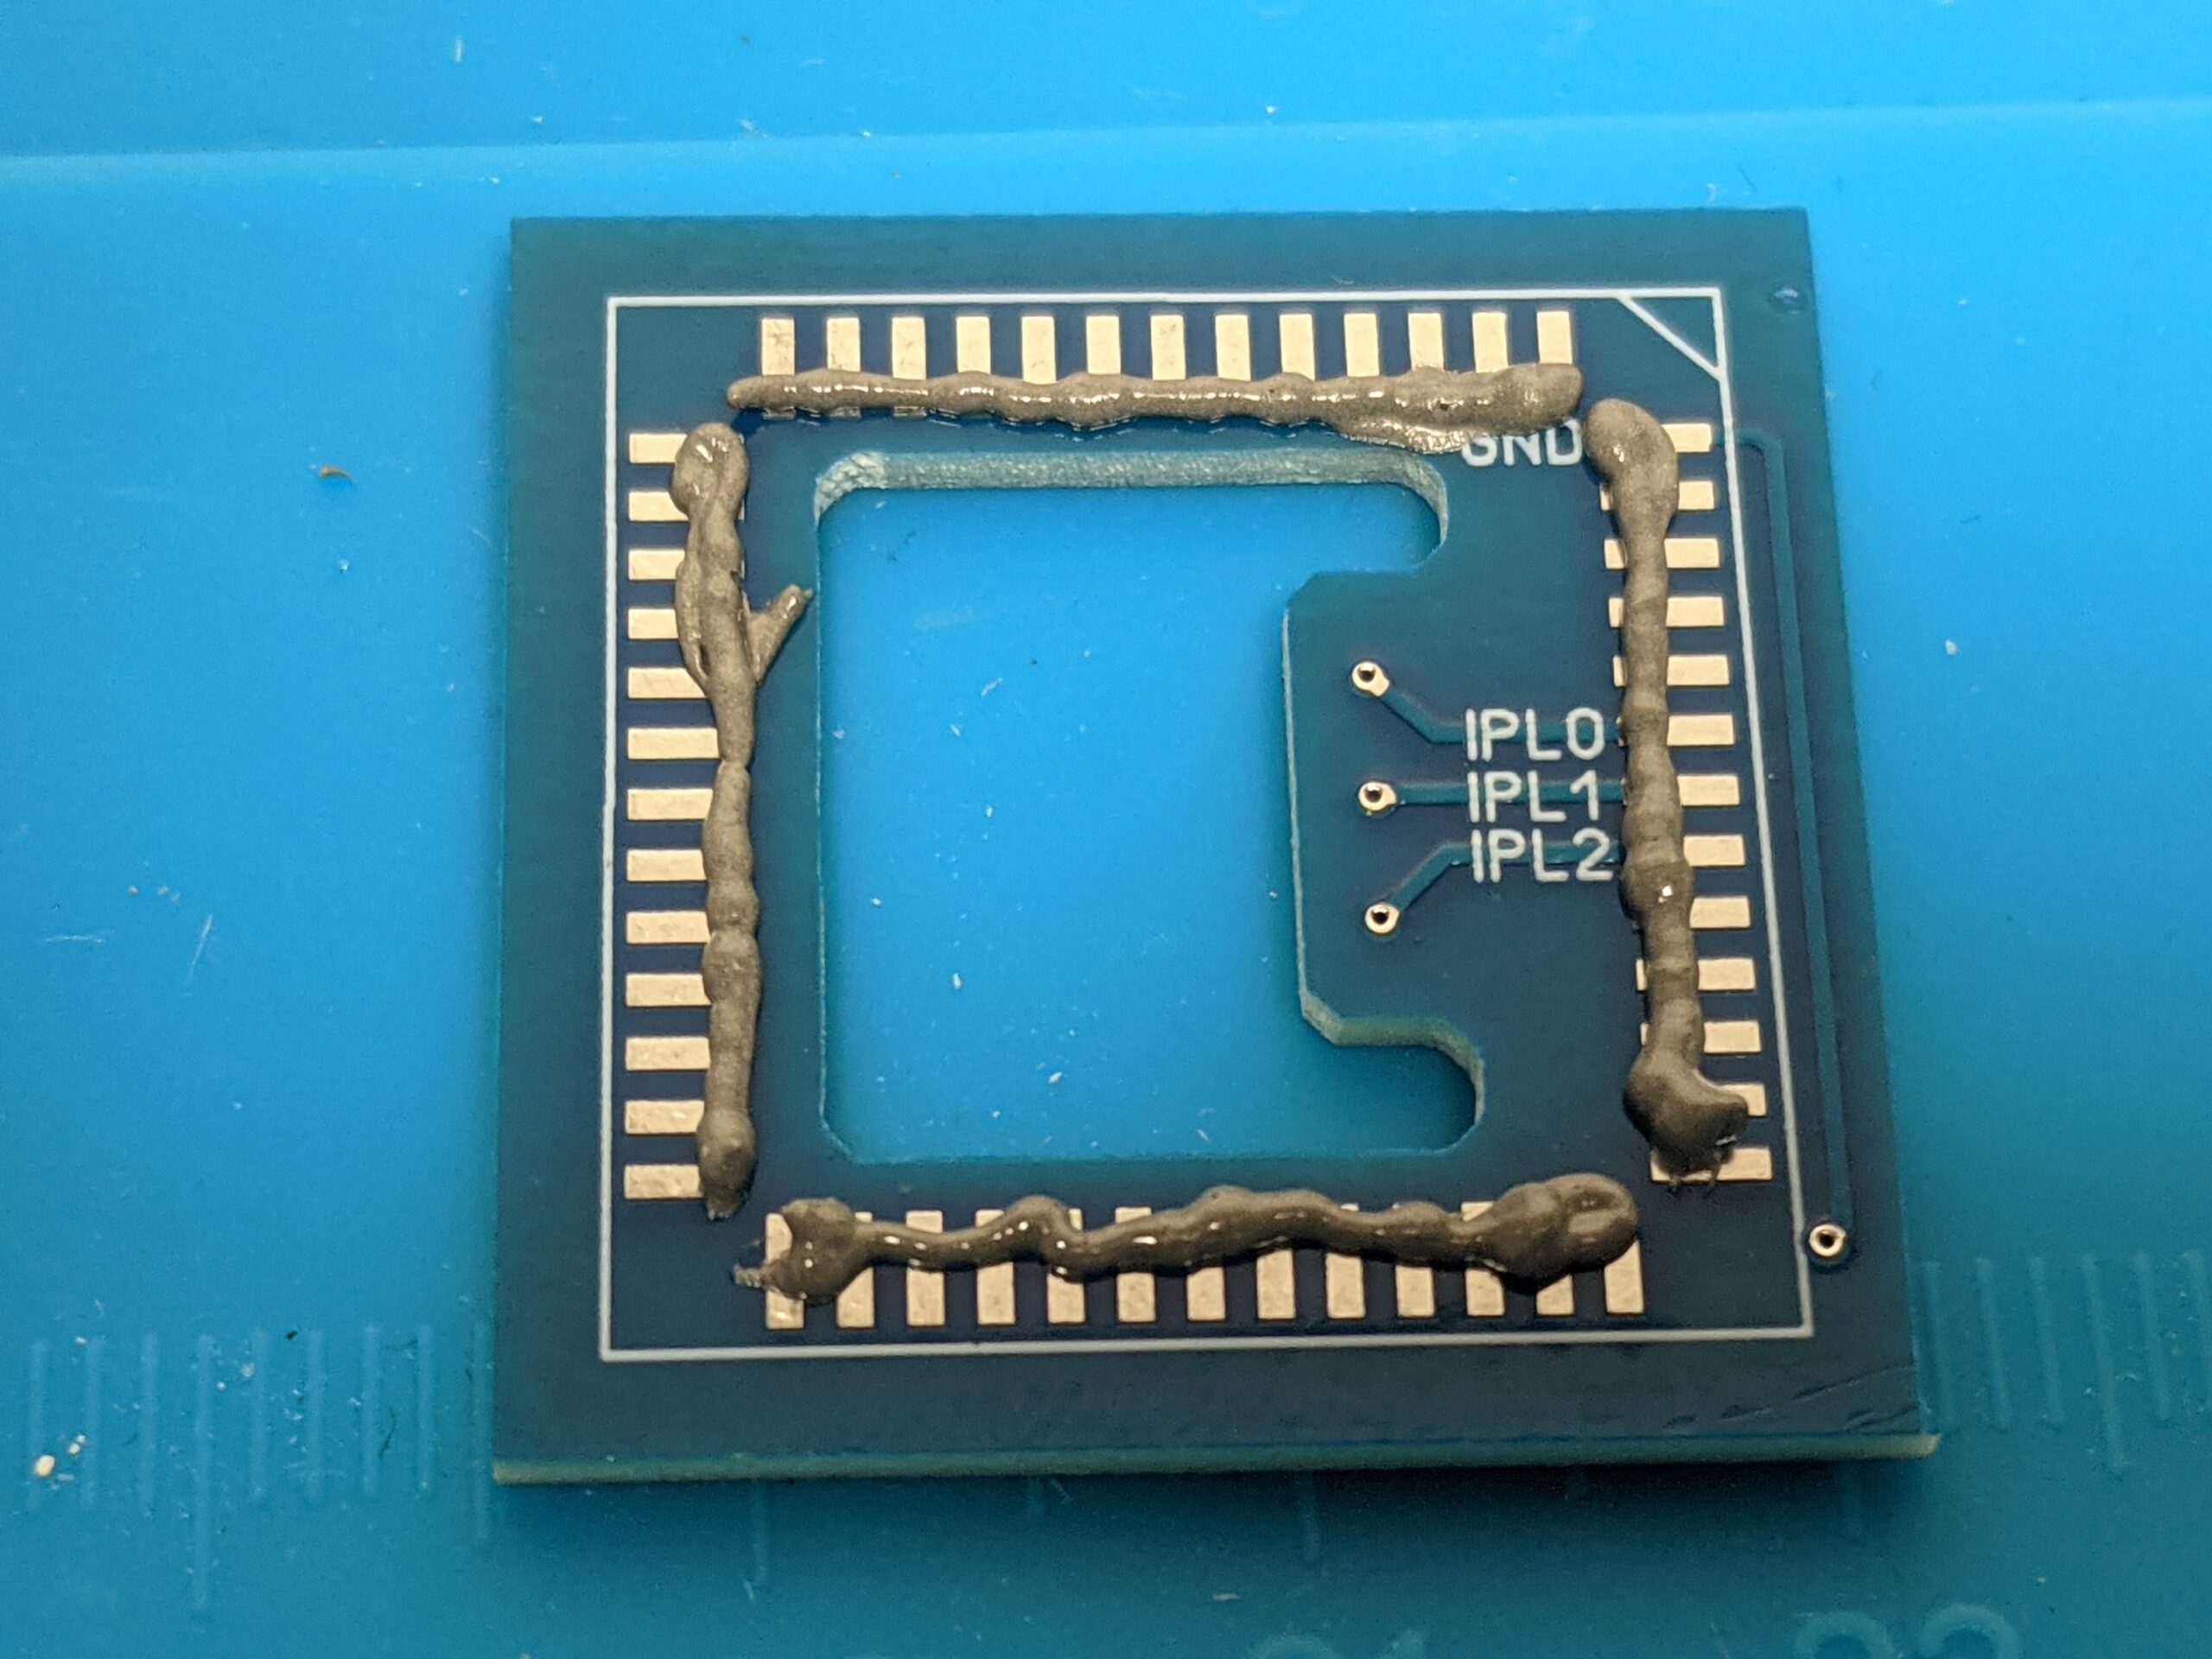
This led me to attempt another approach to making 68060 adapters, this time I could maybe be less of a butcher with a soldering iron. And with so much visibility, it makes sense to learn from the others out there. Adam Polkosnik has perfected his way of making 060 adapters and was kind enough to teach me all of his secret tricks, some of which I will document here.

so much clarity

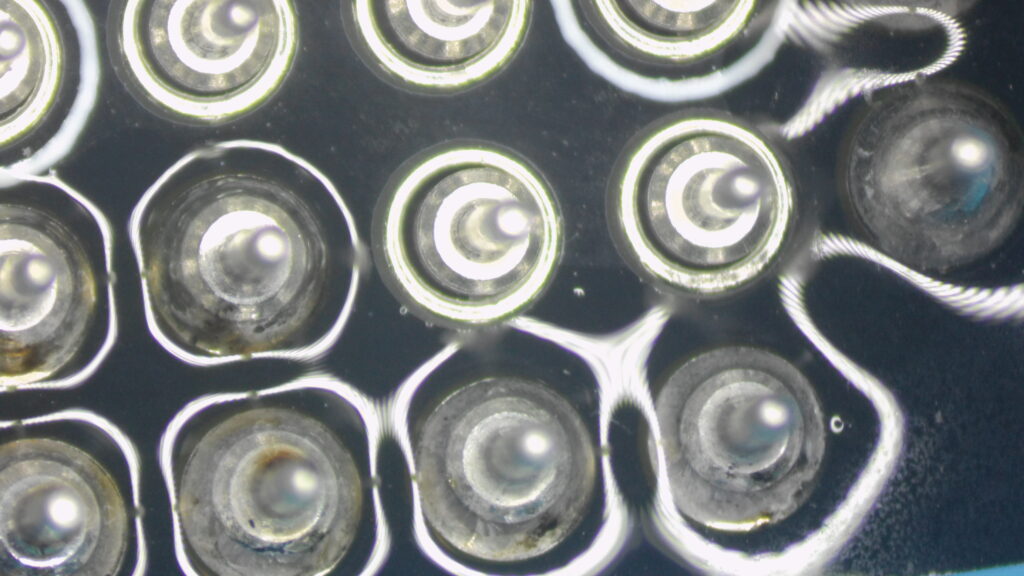
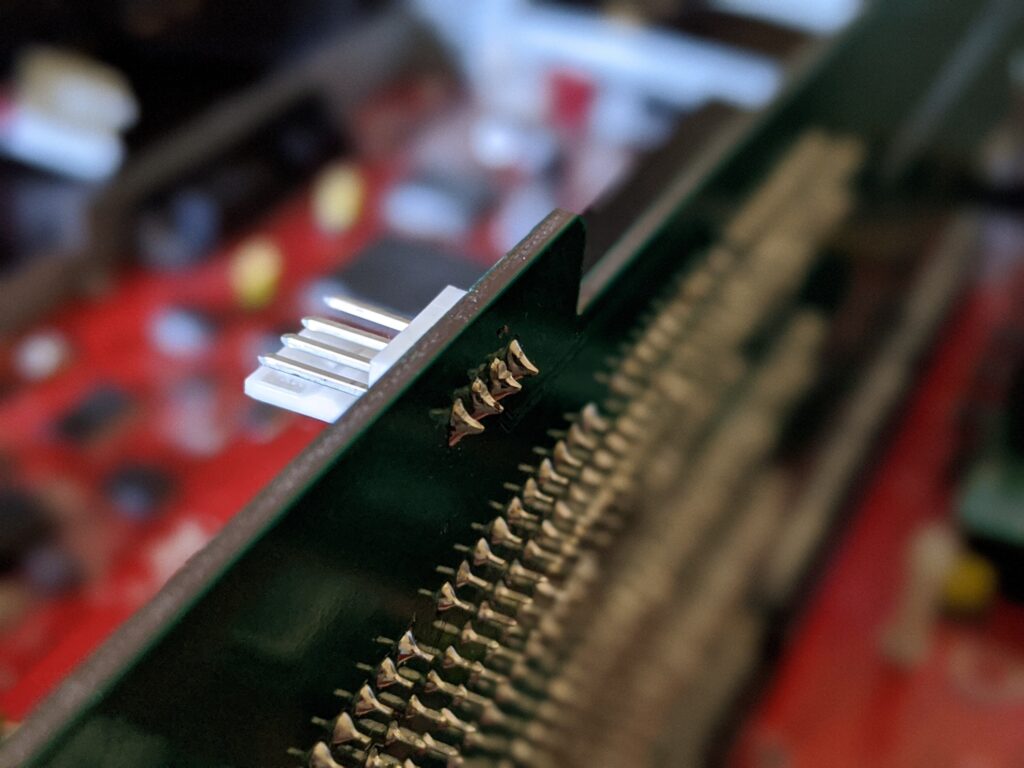
My favorite of these tricks is to use actual PGA sockets instead of cutting 400 single pins out of pin headers. The original 68060 adapter instructions suggested to cut the VCC pins between the upper and lower PCB. A smarter and cleaner way that I learned from Adam, is to use a third PGA socket to keep the distance and separate the 5V and 3.3V circuits safely. This gets rid of a very destructive part of the construction of these adapters.

Read More


Don’t you know the feeling when you’re just on cloud 7 with your Amiga?

Maybe you remember the action replay for Amiga 500 which let you scan memory for lives and mods? Or you miss a nice and handy debugger when debugging that latest 68000 assembly of yours?

ikod.se had the right solution for your Amiga 1200 or 4000: an int 7 adapter. It is easily assembled with only a 52pin PLCC socket, 3 1n4148 diodes and a pin header and switch.

The thing is, it’s hardly worth, or even possible, to order anything in single quantities when doing PCBs. The price for 10 might just be the same. So let’s find solace in the soothing effects of soldering

Indiscriminate use of solder paste

This was one of the projects that I used to practice working with solder paste and hot air. In the picture above I used a little bit too much in some places.

Read More


Back in the late 80s and early 90s, when the Amiga was relevant as a technical revolution, I was never able to lay my hands on anything beyond an 68000 with 7.14MHz. Years later, around 1997, I acquired an Amiga 3000 with 25MHz as part of one of my university side gigs of porting software from various UNIXes (in this case SCO Unix) to Linux. But a 040 or even 060 was far out of reach until I was well into my first full time job at SUSE Linux when I got a Cyberstorm MK1 that – as we know – doesn’t fit into the A3000. Long story short, the first time I actually ever ran an Amiga with something faster than the 68030 @ 25 was around …. Christmas 2019.

As life happens, and we sometimes overcompensate for our youth’s desires as we grow older, I added one of Chucky’s A3660 rev 1.1 to my collection, (built by Nicolas Baumgardt who lives in Switzerland, but only few miles from where I grew up and hacked on the Amiga back in 1987) that so far consisted of the A3640 that screamed for pad replacements and recaps.

Along the way I learned that the Amiga CPU local bus is really a 68030 bus, so memory access on everything above a 030 has to be translated and is then slightly slower than with an actual 68030. Ouch.

I also learned that the Zorro III slot is not really all that great. Well, Super Buster is not in its current implementation. While the theoretical maximum of Zorro III beats the first PCI standard, the actual implementation is stuck at 8-10MB/s memory access speed. We need an update Dave Haynie! Then our BigRAM+es could be really super awesome!

But back to … back to the 68060. Once I tasted the sweet excess of the Motorola flagship’s raw CPU power, and when I got my beautiful Hakko soldering station, I had to upgrade my 3640 to a 060 processor as well.

Read More


Or was it “Hyper, hyper!“? Scooter, please help a child of the 80s and 90s out here! This episode is about shuffling hardware, and what it takes to make your Amiga really fast!

I was lucky enough to get my hands on a Cyberstorm MK2 card (and I still have all my organs). I almost despaired when I put the card into my Amiga and nothing happened. Turns out, the Amiga wants J100 jumpers to internal despite an oscillator being present on the card. What a shock and what a relief when dummy me was told by the internet to read the manual that came with the card. Who does that anymore these days?

The previous owner parted with this piece of 90s magic with an 68060 revision 1 at the factory frequency of 50MHz.

That’s no fun, thought this silly old lad, and after some journey to the Nightfall Crew and Cosmos’ Blog I felt the best possible thing I could do is to risk destroying another piece of ancient hardware and overclocking a poor 68060 CPU by no less than 100%.

For that I would have to exchange the 68060 rev 1 with the rev 6 from my A3660 (Thank you, Nicolas from Switzerland). But how to get the CPUs out of their sockets without destroying CPUs or boards. With the A3660 I was less nervous. The card is somewhat solid and I had been able to remove the CPU with my Hakko CHP 7-SA tweezers (6.50USD on Amazon, great investment), but the Cyberstorm MK2 just made me a lot more nervous, as it was starting to bend under the pressure. The Cyberstorm is super packed, there is not much room left and right, unlike the 3640/3660 design. So I found these Intel Overdrive chip removers on eBay:

One on each side, and any 68060 will follow your lead easily.

Read More


Ok. I have to make a confession. I’m really awful at keeping organized. And if I let my inner engineer engineer out for an evening or two, it can get pretty messy and it starts looking like my cat Katze’s bed, a wonderfully cozy place full of toys and no space to be:

Katze’s favorite space

Alright, I admit another thing. My space looks way worse. That’s mostly because Katze has not figured out how to order toys on the internet (yet):

Hazard Warning! Don’t do this at home. And don’t show this to your children.

So on Friday evening I just couldn’t stand the mess anymore and I stopped by at Home Depot for a solution, which I found in a nice 10in wide wooden panel that the friendly man with the giant saw cut into three pieces, two of them 10in long and one 5ft.

A few screws later …

Read More


The heat wave has hit Mountain View these last few days and caused a power outage for the better part of the weekend, so between 40C/105F and no electricity to power a soldering iron we enjoyed mango ice instead of working on all the projects.

Delicious mango shaved ice and jelly noodle shaved ice from Meet Fresh

None the less, after laborious project cat Katze (カツ)  dropped all static charges to climb into a box and help me unpack my latest Digikey order, I couldn’t just sit around.

Katze survived. Even though we all looked.

A while ago I ordered one of Edu Arana’s A4000DB daughter boards at amigastore.eu. These are an easy way to lower the temperature in the already hot Amiga 4000D case and the power consumption a little bit. Plus, as Guillaume pointed out, I’m an arananet fan boy.

Read More


A few days ago I did some temperature measurements with my zz9000 graphics card from MNT GmbH in Germany, which turned out to be surprisingly hot. It started out as a test of the CPU temperature of my freshly overclocked MC68060RC50 (rev6) running at 100MHz, when I noticed that the graphics card seemed to run hotter than the CPU.

Particularly the FPGA and the two capacitors C154 and C155 were transforming a lot of electricity into hot air.

A cheap IR temperature tool is super useful

One day later, after installing Linux/m68k from scratch over night, the Amiga 4000 didn’t boot anymore. Of course I thought that I killed the CPU. 100% overclocking can’t be good, right?

Read More


I’ve heard of the whole Chinese relabeling industry, but in the past I have always been lucky with my eBay purchases. Until this last time.

Harmless looking and the correct part on the picture

I kept ordering a number of times from the same folks on eBay, but it seems that they ran out of genuine AMD 27C400-120s and decided to ship relabeled Toshiba -150 parts instead.

My “Made in Germany” fiber glass pen to the rescue

Read More


What happens to long lived electrical engineers? They diode!

I have had trouble with the Amiga 4000’s serial port since I got the machine. At first I got a few bytes through every now and then, but it was pretty much unusable, even at 9600 bps.

When “learning online” about all the magic of open source in GitHub, I stubbled about Keir Fraser’s Amiga Test Kit, John Hertell’s DiagROM and SukkoPera’s Parallel / Serial port tester for the two.

Of course it’s not worth just ordering a single one of anything in the electronics world, and so I ended up joining the market of dongle builders. If you need one, let me know.

Read More


My keyboard is missing a key. There’s no escape!

Well actually it wasn’t escape that was broken on my nice click-a-dee-clack Amiga 4000 keyboard, but CAPS LOCK! And bit even the key itself, it was the LED that just wouldn’t show the status. No problem, let’s take it apart

So many screws!

At first I thought the LED might have died after my recent diode intermezzo on the Amiga board. But measuring with my multimeter I see that the LED is just not getting any power. Let’s look at the membrane.

It seems I forgot the before picture

There was a piece of the trace missing. It seems it had corroded away. The previous owner probably spilled Coke on it. My first approach was to scratch the green cover of the existing trace so I can connect to it.

Read More